Repairing and Replacing Desktop Case Fans
In a PC, various components generate heat and require active cooling. Case fans play a crucial role in dissipating this heat, ensuring optimal performance and longevity. However, over time, case fans may develop issues or stop functioning altogether, compromising the cooling system’s efficiency.
When faced with a faulty case fan, it is important to address the problem promptly. Whether it’s a case fan replacement or a case fan repair, taking the necessary steps can help restore your desktop’s cooling capabilities. A related repair case also appears in repairing damage from power surges, where the same fault patterns can change the best fix path.
Identifying Faulty Fans
Faulty fans in a PC can exhibit various symptoms, including grinding noises, vibrations, or suddenly stopping without warning. Checking for these signs requires opening the computer case and visually inspecting the fans. Most systems have at least four fans: intake fan, exhaust fan, CPU cooling fan, and PSU cooling fan. Intake fans are usually located at the front or sides of the case, while exhaust fans are commonly found at the back or top. If a fan has stopped spinning, it may need to be replaced.
To help you identify the signs of a faulty fan, here are the common symptoms:
Related:


- Grinding noises: If you hear grinding or rubbing sounds coming from your computer, it could indicate a faulty fan. These noises are typically caused by worn-out bearings or misalignment within the fan.
- Vibrations: Fans in good working condition should run smoothly without causing excessive vibrations. If you notice excessive shaking or vibrations coming from your computer, it could be a sign of a faulty fan or improper installation.
- Silent fan failure: In some cases, fans can fail silently, meaning they may not exhibit any noticeable symptoms. However, if your system starts to overheat or experiences unstable performance, a faulty fan could be the underlying cause.
When inspecting your fans, pay close attention to their appearance and operation. Look for any signs of damage, such as bent blades, missing or damaged fan grills, or excessive dust accumulation. These signs can also indicate a faulty fan that needs to be replaced.
| Faulty Fan Symptoms | Possible Causes |
|---|---|
| Grinding noises | Worn-out bearings, misalignment |
| Vibrations | Improper installation, faulty fan motor |
| Silent fan failure | Internal fan motor failure, electrical issues |
Identifying and replacing faulty fans is crucial for maintaining optimal cooling performance and preventing damage to other components in your PC. In the next section, we will explore how to choose the right replacement fan for your system.
Choosing the Right Fan
When replacing a case fan, it’s important to choose the right one that suits your needs. Consider several factors such as fan size, airflow, and noise level to ensure optimal performance and a comfortable computing experience. Let’s explore each aspect in detail:
Fan Size
The size of the fan plays a crucial role in determining its efficiency and compatibility with your PC case. Common fan sizes range from 70mm to 140mm, with larger fans gaining popularity due to their ability to spin at lower speeds while still providing sufficient airflow. Determine the available space in your case and choose a fan size that fits without obstructing other components.
Airflow
Airflow, measured in CFM (Cubic Feet per Minute), indicates the amount of air a fan can move within a specific time period. Higher CFM values suggest better cooling performance. Consider the heat generated by your PC’s components and select a fan that can handle the thermal load efficiently. Proper airflow promotes temperature regulation and prevents overheating, thereby improving system stability and longevity.
Noise Level
Noise level, measured in dBA (A-weighted decibels), indicates the amount of sound emitted by the fan during operation. When choosing a case fan, strike a balance between cooling performance and noise production. Fans with lower dBA ratings are quieter, making them ideal for noise-sensitive environments or when you prioritize a quieter computing experience. On the other hand, if you require maximum cooling power, you may need to tolerate slightly higher noise levels.
Keep in mind that some fans come equipped with LED lighting, which adds a touch of aesthetics to your PC build. These fans can be a great choice if you want to showcase your system with vibrant lighting effects.
To maintain positive pressure within your PC case, ensure that the intake fans have a higher CFM rating than the exhaust fans. This configuration prevents dust buildup by directing the airflow out of the case instead of drawing in unfiltered air through cracks and gaps.
Here is a summary of the factors to consider when choosing a replacement case fan:
| Factor | Description |
|---|---|
| Fan Size | Choose a fan size that fits your PC case without obstructing other components. |
| Airflow (CFM) | Consider the amount of air the fan can move per minute to ensure efficient cooling. |
| Noise Level (dBA) | Strike a balance between cooling performance and noise production, based on your preferences and environment. |
By carefully considering these factors, you can select a replacement case fan that not only keeps your system cool but also operates within a comfortable noise range. Now that you have an understanding of fan selection, let’s move on to the process of replacing a case fan in the next section.
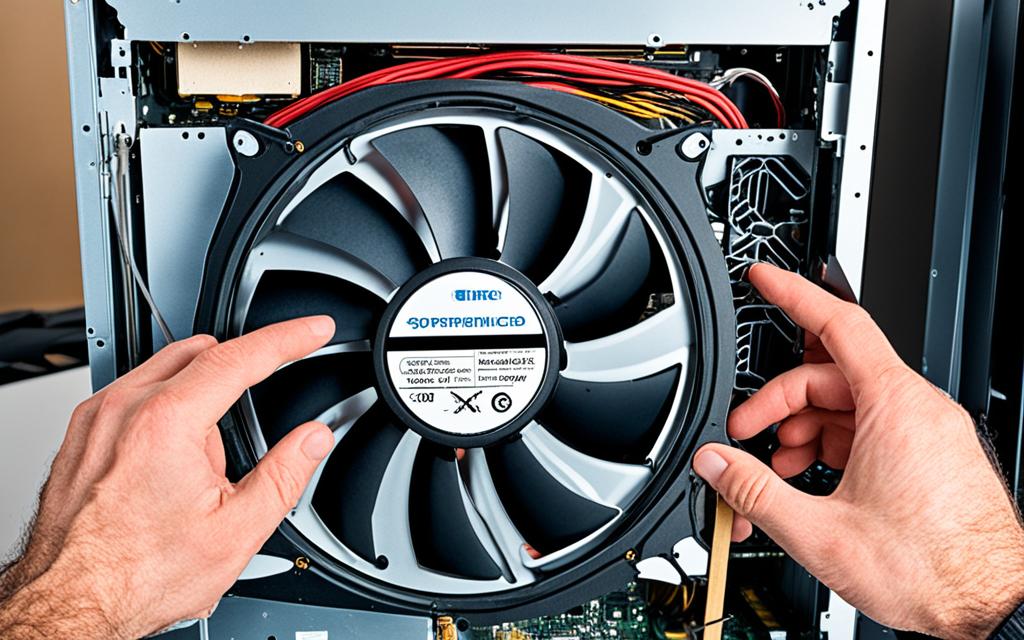
Replacing a Case Fan
When it comes to replacing a case fan in your PC, following a systematic process ensures a smooth installation and optimal cooling performance. Here’s a step-by-step guide to help you through the fan replacement process:
- Power off and disconnect: Before starting, ensure that your PC is powered off and all external devices are disconnected. This prevents any accidental damage and ensures your safety.
- Prepare your tools: Depending on the fan mounting mechanism, you may need a screwdriver or a tool kit to open the case. Keep them handy for easy access.
- Unscrew and remove: If the fan is secured by screws, carefully unscrew and remove the old fan from its position. Set aside the screws for later use.
- Disconnect the cable: Locate the cable connected to the fan. If it’s connected to a header on the motherboard or a MOLEX connection, unplug it to free the fan.
- Plastic friction clips: In some cases, the fan may be held in place by plastic friction clips. Simply unsnap the clips, remove the old fan, and prepare for the new one.
- Mount the new fan: Carefully position the new fan in the appropriate location, ensuring it aligns with the mounting holes or clips. If necessary, refer to the fan’s manual for specific instructions.
- Secure with screws: If your case fan requires screws for installation, use the screws that came with the fan or the ones you previously removed to securely fasten the new fan in place.
- Connect the fan: Finally, connect the new fan to an unused fan header on your motherboard. Alternatively, you can utilize a fan controller or a MOLEX adapter if available.
Following these steps allows for a hassle-free fan replacement process, ensuring optimal cooling efficiency and safeguarding your PC’s performance.
Note: Make sure you refer to your specific case and fan manufacturer’s instructions for any specific requirements or recommendations during the replacement process.
Maintenance and Thermal Paste Application
Keeping your computer clean and properly maintained is vital for its performance and longevity. Regularly cleaning dust from the computer case, applying thermal paste, and maintaining the cooling system can help improve airflow, prevent overheating, and ensure optimal operation.
1. Cleaning Dust from the Computer
Dust accumulation inside the computer case can obstruct airflow, causing components to overheat and potentially leading to system instability or damage. To clean the dust, follow these steps:
- Ensure the computer is turned off and unplugged from the power source.
- Open the computer case by removing the side panel.
- Use compressed air to blow away dust and debris from the components, including fans, heatsinks, and the motherboard.
- Pay special attention to the CPU cooler, as dust buildup can hinder heat dissipation.
- Wipe the exterior of the case with a soft cloth or antistatic cleaning wipe.
- Close the computer case and reconnect all cables.
Cleaning the computer case at least once every few months is recommended, especially if you notice increased fan noise or temperatures.
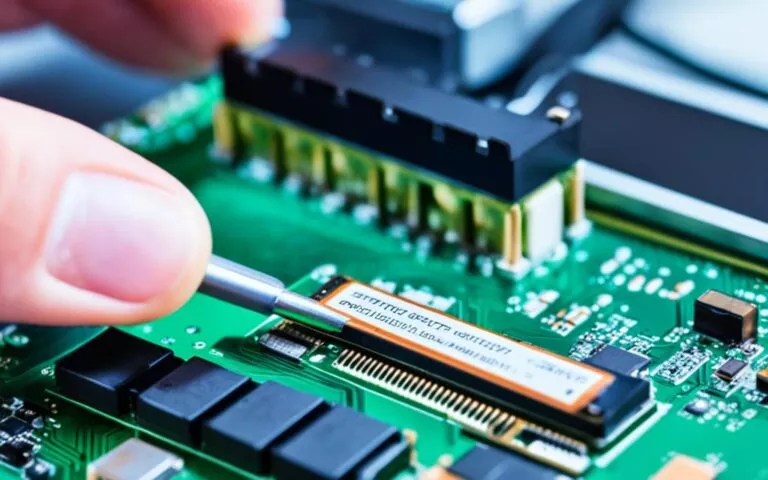
2. Applying Thermal Paste
Thermal paste is a crucial component in ensuring efficient heat transfer between the CPU and its cooler. Over time, the thermal paste may dry out or become less effective. When replacing a case fan, it’s an ideal opportunity to clean the processor and apply fresh thermal paste. Follow these steps:
- Ensure the computer is turned off and unplugged from the power source.
- Remove the CPU cooler by disconnecting the fan cables and unscrewing the mounting brackets.
- Use a soft cloth or thermal paste remover to clean the old thermal paste from the CPU and heatsink.
- Apply a small, pea-sized amount of new thermal paste onto the center of the CPU.
- Reattach the CPU cooler, ensuring that it is properly seated and secured.
Applying thermal paste helps to maximize heat transfer and maintain lower operating temperatures, thereby enhancing the overall performance and stability of your computer.
3. Maintaining the Cooling System
Aside from cleaning dust and applying thermal paste, maintaining the cooling system is essential for optimal performance. Here are some additional tips:
- Regularly monitor fan speeds and temperatures using software utilities or BIOS settings.
- Ensure that all case fans are functioning correctly. If a fan fails, promptly replace it to prevent overheating.
- Proper cable management is crucial to avoid cable obstruction interfering with fan movement and airflow.
- Consider installing additional fans or upgrading to more efficient ones if your computer experiences high temperatures or inadequate cooling.
By regularly cleaning your computer, applying thermal paste, and maintaining the cooling system, you can ensure that your PC operates at optimal temperatures, reducing the risk of overheating and extending its lifespan.
| Benefits of Regular Maintenance | Maintenance Tasks |
|---|---|
| Improves airflow and prevents overheating | Cleaning dust from the computer case |
| Enhances CPU cooling efficiency | Applying fresh thermal paste |
| Reduces noise caused by fan obstruction | Checking and managing cable placement |
| Ensures optimal system performance | Monitoring fan speeds and temperatures |
Conclusion
Replacing case fans is an essential part of maintaining optimal PC cooling and ensuring overall system performance. By identifying faulty fans, selecting suitable replacements, and promoting positive pressure within the case, users can effectively prevent overheating and enhance the longevity of their PC components.
The fan replacement process involves opening the case and removing the old fan, taking care to clean the processor and apply fresh thermal paste before installing the new fan. Regular cleaning and maintenance, along with the proper selection of fans, play crucial roles in keeping the PC running smoothly and avoiding performance issues.
By following these steps, individuals can effectively manage their PC cooling system, reduce the risk of overheating, and maintain the optimal performance of their systems. Don’t overlook the importance of case fan replacement and regular maintenance – it’s the key to a healthy and efficient PC!
FAQ
How can I identify if a case fan is faulty?
Faulty case fans may exhibit symptoms such as grinding noises, vibrations, or sudden stops. Open your computer case and visually inspect the fans for any abnormalities.
Where are the fans usually located in a computer system?
Most computer systems have at least four fans: intake fans at the front or sides of the case, exhaust fans at the back or top, CPU cooling fans, and PSU cooling fans.
What factors should I consider when selecting a replacement fan?
Consider the size, airflow (measured in CFM), noise level (measured in dBA), and optional LED lighting when choosing a replacement case fan.
How do I replace a case fan?
To replace a case fan, ensure that the PC is powered off and disconnected from external devices. Use a screwdriver to remove the old fan, unplug the cable, and mount the new fan in the appropriate position.
How can I maintain optimal cooling in my PC?
Regularly clean dust from the computer case using compressed air, apply fresh thermal paste when replacing fans, and practice proper cable management to prevent overheating.