Repairing Damage from Power Surges in Desktop Computers
Power surges can wreak havoc on desktop computers, causing extensive damage to various hardware components. To ensure the longevity and functionality of your device, it’s crucial to understand how to diagnose and fix these issues. In this article, we will explore the signs of power surge damage in desktop computers, as well as guide you through the process of repairing and replacing affected hardware.
Power surge damage can manifest in a range of ways, from visible signs like smoke, sparks, and a burning smell, to more subtle indicators such as cracked parts or error messages. It’s important to be aware of these signs and address them promptly to prevent further complications. A related repair case also appears in diagnosing fixing desktop cpu socket, where the same fault patterns can change the best fix path.
Before attempting any repairs, it’s crucial to thoroughly test each hardware component. This includes evaluating the power supply, motherboard, memory modules, hard drive, and video card for any potential issues.
Once the faulty components have been identified, it’s time to either repair or replace them. This process requires careful handling of the computer’s internal components, following instructions and specifications, and troubleshooting compatibility or configuration issues.
After experiencing a power outage, taking certain steps can help minimize damage and restore your computer’s functionality. These include checking the power source, scanning the hard drive for errors, updating drivers and software, and performing regular data backups.
By following the steps outlined in this article, you can effectively diagnose and fix hardware problems caused by power surges. It’s crucial to remain proactive in protecting your desktop computer from future incidents by using surge protectors or uninterruptible power supply (UPS) devices. With proper care and preventive measures, you can restore your computer’s functionality and avoid data loss.
Related:


Signs of Power Surge Damage
Power surges can cause significant damage to desktop computers, and it is important to be able to identify the signs of such damage. By recognizing these signs early on, you can take the necessary steps to prevent further harm and minimize data loss. Here are some common indicators of power surge damage:
- Smoke, Sparks, or Burning Smell: If you notice smoke or sparks coming from your computer or power outlet, or if you detect a burning smell, it is a clear sign of power surge damage. Take immediate action by shutting off your computer and unplugging it from the power source.
- Cracked, Melted, or Discolored Parts: Inspect the motherboard and power supply for any cracked, melted, or discolored components. These physical abnormalities indicate that the computer has been affected by a power surge and requires inspection or replacement.
- No Power or Intermittent Power: If your computer or monitor isn’t receiving any power or experiences intermittent power disruptions, it could be due to power surge damage. Check the power source, cords, and connections before proceeding with further troubleshooting steps.
- Error Messages, Blue Screens, or System Crashes: Power surge damage can manifest as frequent error messages, blue screens, or sudden system crashes during boot or operation. These issues may be caused by corrupted files, unstable hardware, or damaged components.
- Corrupted or Missing Files, Folders, or Partitions: When a power surge occurs, it can result in data loss or corruption. If you notice missing files or folders, or if you encounter error messages related to missing partitions, it’s crucial to address the issue promptly to minimize data loss.
- Reduced Performance, Speed, or Functionality: Power surge damage can significantly impact the performance and functionality of your desktop computer. If you notice a sudden drop in speed, increased lag, or other operational issues, it could be a sign of underlying power surge damage.
To ensure the longevity and stability of your desktop computer, it is crucial to be vigilant and responsive to signs of power surge damage. By promptly addressing these issues, you can take the necessary steps to repair or replace affected components and safeguard your valuable data.
“Being able to recognize the signs of power surge damage is the first step towards protecting your desktop computer and minimizing potential data loss.”
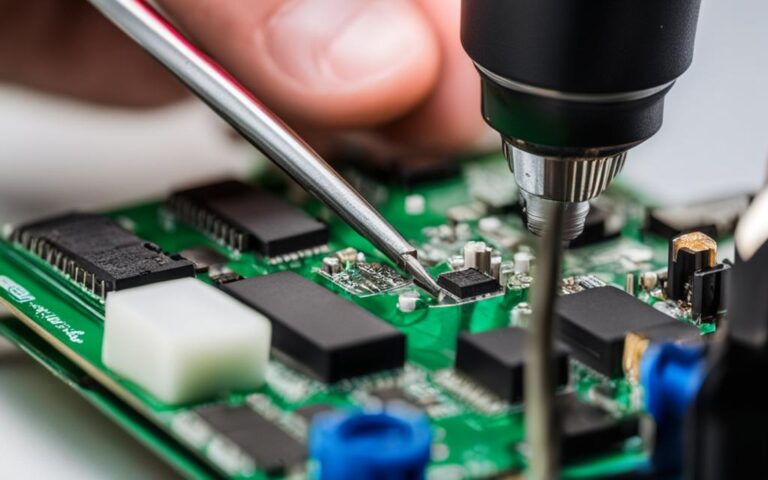
Testing Hardware Components
To diagnose and fix hardware problems caused by power surges, it is essential to test each hardware component individually. By conducting thorough testing, you can identify the specific components that have been affected and take appropriate measures to repair or replace them.
Power Supply
The power supply is a critical component that provides electrical power to the computer. To test the power supply, you can use a multimeter or a power supply tester. These tools allow you to measure the voltage and current output of the power supply and determine if it is functioning properly.
Motherboard
The motherboard is the main circuit board of the computer and houses crucial components such as the CPU, memory modules, and expansion cards. To check for visible signs of damage on the motherboard, carefully inspect it for any burnt or discolored areas. Additionally, you can use a voltmeter to check the voltage and current levels on the motherboard to ensure they are within the specified ranges.
Memory Modules
The memory modules, also known as RAM, play a vital role in storing temporary data for the computer to access quickly. To test the memory modules, you can use a diagnostic tool like MemTest86. This tool thoroughly checks the memory for errors and helps identify faulty modules that may have been damaged by a power surge.
Hard Drive
The hard drive stores all the data on your computer, including the operating system and personal files. To check the hard drive for bad sectors and errors, you can use diagnostic software like CHKDSK or Disk Utility. These tools scan the hard drive for issues and can help determine if the hard drive needs to be replaced.
Video Card and Peripherals
The video card, along with other peripherals such as network cards, sound cards, and USB devices, can also be affected by power surges. To test these components, ensure they are properly connected and functioning. You can verify the functionality by checking if the video card displays images correctly or if the peripherals are recognized by the computer.
By testing each hardware component individually, you can accurately diagnose the extent of the damage caused by a power surge. This allows you to make informed decisions on whether to repair or replace the affected components, ensuring the optimal performance and longevity of your desktop computer.
| Hardware Component | Testing Method |
|---|---|
| Power Supply | Using a multimeter or power supply tester |
| Motherboard | Inspecting for visible signs of damage and using a voltmeter |
| Memory Modules | Using a diagnostic tool like MemTest86 |
| Hard Drive | Using diagnostic software like CHKDSK or Disk Utility |
| Video Card and Peripherals | Verifying proper connection and functionality |
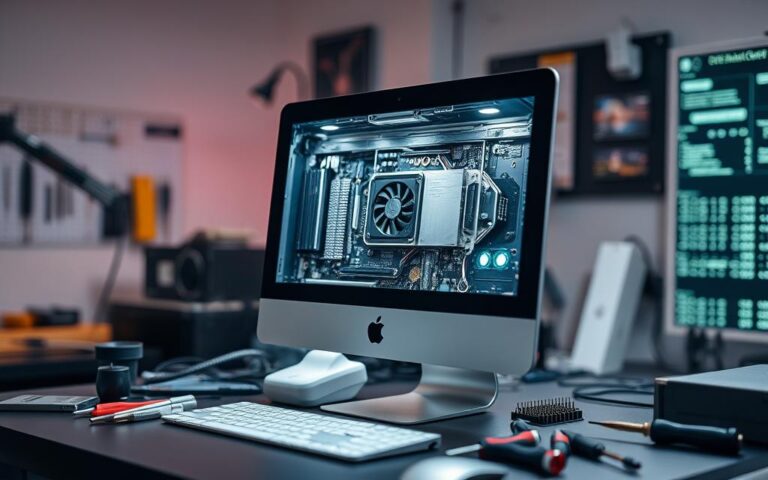
Repairing or Replacing Hardware Components
Once the faulty hardware components have been identified, the next step is to repair or replace them. This process involves opening the computer case, handling the components with care, following instructions and specifications, and troubleshooting compatibility or configuration issues.
Opening the computer case: Before beginning any repairs or replacements, it is important to turn off the computer and unplug it from the power source. This ensures both your safety and the safety of the components. Once the computer is powered down, carefully remove the screws or clips that secure the computer case. Gently slide off the side panel to gain access to the internal components.
Handling components with care: When working with hardware components, it is crucial to handle them with care to avoid causing any further damage. Be mindful of wearing an anti-static wrist strap to prevent electrostatic discharge that can harm sensitive components. Additionally, avoid touching the connectors or exposed circuitry, as oils and dirt from your fingers can lead to poor connections or short circuits.
Following instructions and specifications: Each hardware component may have unique installation instructions and specifications. It is vital to carefully review and follow these instructions to ensure proper installation and compatibility. Refer to the manufacturer’s documentation or online resources for detailed guidance on installing and configuring specific hardware components, such as memory modules, graphics cards, or hard drives.
Troubleshooting compatibility or configuration issues: In some cases, you may encounter compatibility or configuration issues when replacing or repairing hardware components. If you experience any issues, consult the documentation or online resources for troubleshooting steps. It may be necessary to update device drivers, adjust BIOS settings, or check for firmware updates to ensure optimal compatibility and performance.
By diligently following the proper procedures and guidelines for repairing or replacing hardware components, you can enhance the overall performance and longevity of your computer.
Key Recommendations:
- Turn off the computer and unplug it from the power source before opening the case.
- Wear an anti-static wrist strap to protect components from static electricity.
- Handle components with care, avoiding contact with connectors and circuitry.
- Follow manufacturer instructions and specifications for proper installation and compatibility.
- Troubleshoot any compatibility or configuration issues that may arise during the process.
Steps to Take After a Power Outage
After experiencing a power outage, it is important to take immediate steps to repair your computer and minimize potential damage. Follow these essential steps to ensure a smooth recovery:
- Check the Power Source: Start by verifying that the power source is functioning correctly. Ensure that the power cord is securely plugged into a working outlet and the surge protector, if applicable. Repair or replace any damaged power cords or adapters.
- Restart the Computer: Power on your computer and allow it to restart. This step helps to troubleshoot any boot failures that may have occurred due to the power outage. If you encounter any error messages during the boot process, consult the manufacturer’s guidelines or seek professional assistance if necessary.
- Scan the Hard Drive for Errors: Perform a thorough scan of your computer’s hard drive or solid-state drive (SSD) to check for any potential corruption or failure caused by the power outage. Use reliable disk scanning software to identify and repair any errors.
- Update Drivers and Software: It is crucial to ensure that your computer’s drivers and software are up to date after a power outage. Outdated drivers or software may result in compatibility issues and system instability. Visit the manufacturer’s website or use reputable software update tools to download and install the latest versions.
- Perform Data Backup: Data backup is an essential step to prevent permanent loss of important files and documents. Regularly backup your data to an external hard drive, cloud storage, or other reliable backup solutions. This ensures that your files are safe in case of future power outages or other unforeseen events.
By following these steps, you can effectively recover from a power outage and minimize any potential damage to your computer system. Remember to always prioritize safety and consult professional assistance if needed.
Conclusion
Repairing damage from power surges in desktop computers can be a complex process, but by following the steps outlined in this article, you can effectively diagnose and fix hardware problems. It is important to be aware of the signs of power surge damage, thoroughly test and evaluate each hardware component, and take the necessary steps to repair or replace the affected parts.
Additionally, taking measures to prevent future issues, such as using surge protectors or UPS devices, can help protect your computer from power surges and potential damage. By being proactive and taking the appropriate actions, you can restore your desktop computer’s functionality and prevent data loss.
Remember, when dealing with power surge damage repair in desktop computers, it is crucial to remain attentive to the signs of damage and promptly address any issues. By following the diagnostic and repair processes outlined in this article, you can maintain the optimal performance of your desktop computer and safeguard your valuable data.
FAQ
How can power surges damage desktop computers?
Power surges can cause significant damage to desktop computers, leading to various hardware problems.
What are the signs of power surge damage in desktop computers?
Signs of power surge damage include smoke, sparks, or a burning smell, cracked, melted, or discolored parts on the motherboard or power supply, no power or intermittent power, error messages, blue screens, system crashes, corrupted or missing files, and reduced performance or functionality.
How can I diagnose hardware problems caused by power surges?
It is essential to test each hardware component individually, including the power supply, motherboard, memory modules, hard drive, and video cards, using appropriate diagnostic tools and methods.
What should I do if I identify faulty hardware components?
Once identified, you should either repair or replace the affected hardware components, following instructions and specifications, and taking necessary precautions to handle the components with care.
What steps should I take after a power outage to repair my computer?
Steps to take after a power outage include checking the power source, restarting the computer, scanning the hard drive for errors, updating drivers and software, and performing a data backup to avoid permanent loss.
How can I prevent power surge damage in my desktop computer?
Using surge protectors or uninterruptible power supply (UPS) devices can help protect your computer from power surges and potential damage.