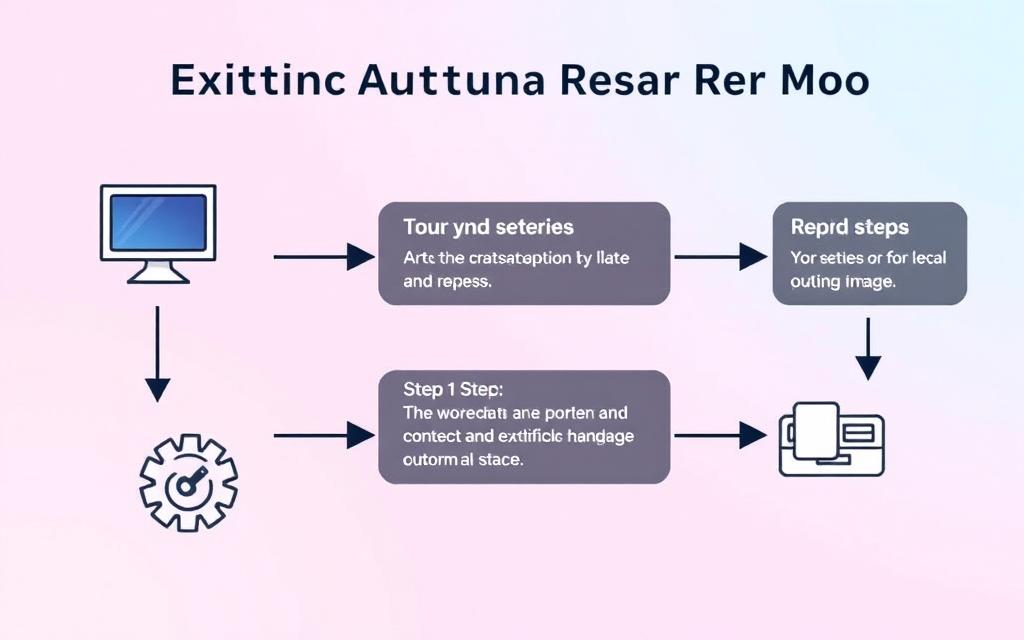
Getting stuck in automatic repair mode is common for Windows 10, 11, and older versions. This feature tries to fix problems that stop the operating system from starting properly. Yet, many users find themselves caught in an endless loop, often due to corrupted files or hardware issues. This guide will show you how to break free from automatic repair mode.
To fix Windows startup issues, understanding the problem is key. By following this article, you will learn how to tackle these challenges. Let’s explore the intricacies of automatic repair mode together. A related repair case also appears in computer is stuck automatic how, where the same fault patterns can change the best fix path.
Automatic Repair Mode is a vital Windows repair feature. It helps fix problems that stop Windows from starting right. When the system hits a big glitch, this mode tries to fix it. It deals with issues like missing or corrupted system files which can prevent a proper boot.
What is Automatic Repair Mode?
It’s a part of Windows 10 designed to spot and solve startup troubles. If your computer fails to start several times, it might enter this mode. This helps keep your system stable and reduces downtime. It aims to get you back to work quickly.
Common Causes of Automatic Repair Issues
Knowing why the automatic repair loop happens is key to fixing it. Common reasons include:
Figuring out these problems helps in fixing your device. If you can’t fix it on your own, reaching out to sources like ASUS Support might help.
Cause
Description
Missing System Files
Essential files needed for Windows to run are missing or broken.
Faulty Hardware
Parts that are broken cause problems when the computer starts.
Malware
Bad software that harms your system’s working and safety.
Driver Issues
When drivers that let devices work are wrong or missing.
Symptoms Indicating Automatic Repair Problems
Knowing when there’s a problem with Automatic Repair is key. Users see specific signs that hint at issues. Recognising these helps figure out what to do next.
Blue Screen Errors
The blue screen of death is a well-known warning of repair trouble in Windows. It shows codes that users need to decode to fix their PCs. These codes often point to hardware issues, driver problems, or corrupt files. It’s crucial to act quickly when this error appears to prevent more damage.
Black Screen Stuck on Repairing
A black screen saying “Preparing Automatic Repair” or “Diagnosing your PC” is common too. It means the PC is trying to find and fix the problem but isn’t succeeding. This often leads to the PC restarting over and over, which is a bad sign. It could mean there’s something wrong with the system files or the hardware.
Symptom
Description
Common Causes
Blue Screen of Death
Error screen indicating system failure
Hardware failure, driver conflicts
Black Screen Automatic Repair
Stuck on repairing process
Corrupt system files, faulty hardware
Initial Troubleshooting Steps
Facing issues with Automatic Repair might seem tough at first. The early steps you take are key to solving these problems. Using two restart methods can help. You can remove external devices or do a forced shutdown. Both ways aim to reset your computer. This might fix starting up problems.
Remove External Devices and Restart
Taking out USB drives, printers, and hard drives can help. These items might cause the boot process to fail. By disconnecting them, your PC might start without trouble. Doing this regularly can save you time and avoid headaches.
Force Shutdown and Restart Your PC
If taking out devices doesn’t work, try a force shutdown. Simply hold down the power button until the PC shuts off. Then, wait a bit before you turn it on again. This can fix short-term issues. It gives your system a clean slate. These first steps are often good ways to begin fixing Automatic Repair problems.
Running Repairs via Advanced Options
Sometimes, fixing problems with Automatic Repair means using the advanced repair options in the Windows Recovery Environment (WinRE). We’ll show you how to get to these options and use key repair methods. These include startup repair Windows and system restore.
Accessing Advanced Options
To start, you need to boot your computer into the Windows Recovery Environment. Usually, this involves restarting your device and pressing a specific key until you see the recovery screen. Once you’re there, go to the Advanced options menu. This menu has tools that fix common startup issues.
Running Startup Repair
Startup repair Windows is a tool that automatically solves errors stopping your system from loading properly. After going to advanced options, select Troubleshoot. Then click on Advanced options again, and choose Startup Repair. Fixing simple issues usually takes between 15 to 30 minutes. But, it could take longer for complicated problems. It finds and fixes problems that interfere with the boot process.
Performing System Restore
If startup repair doesn’t fix your problem, try the system restore feature next. Go to the advanced options menu and pick System Restore. This lets you take your system back to a time when it worked well. You’ll need to select a restore point made before your problems started.
How do I get my computer out of automatic repair?
If your computer is stuck in Automatic Repair Mode, don’t worry. You can try some advanced steps to fix it. The Command Prompt is a strong tool you might use. It includes important commands like Fixboot and chkdsk. These can help fix deep-rooted issues and get your computer running smoothly again.
Using Command Prompt for Repairs
To use Command Prompt, start by booting into the Advanced Options menu. You usually get there by choosing “Troubleshoot” after a failed boot. Command Prompt lets you pinpoint and fix specific problems. This makes it a great first step when tackling Automatic Repair issues.
Running Fixboot and Chkdsk Commands
Inside the Command Prompt, start with the Fixboot command. It creates a new boot sector on your system partition. This is helpful if your boot manager is corrupted. Then, use the chkdsk utility. It checks and fixes any file system errors, which could be slowing down your system.
Type bootrec /fixboot and press Enter to execute the Fixboot command.
Next, enter chkdsk C: /f /r to run the chkdsk utility and scan for issues on the primary drive.
These steps are very helpful for escaping the Automatic Repair loop. When used along with other troubleshooting techniques, they can keep your computer in good shape. Doing this regularly saves time and avoids bigger problems later.
Resetting Your Windows Device
Resetting Windows is often the last solution for fixing a stuck device. This process has various options based on the user’s needs. It’s important to know the Windows 10 reset options. These can either delete all files or save your important data.
Options for Resetting Windows 10
Users can choose between a full reset or a selective one when resetting Windows. A full reset erases everything and sets up the OS anew. It helps in many cases. On the other hand, the choice to preserve files during reset is less radical. It solves issues while saving your files.
Here’s how the options compare:
Reset Option
Description
Data Preservation
Full Reset
Erases all installed applications and settings, reinstalling Windows 10 from scratch.
No
Keep My Files
Reinstalls Windows while maintaining personal files and some system settings.
Yes
Preserving Your Files During a Reset
Choosing to preserve files during reset is a safer recovery option. Before you reset, back up your important files. This is just to be safe. To start the reset, go to the settings menu and find the recovery section. Pick what suits you best and follow the steps to start the resetting Windows process.
Conclusion
The path to exit Automatic Repair Mode can seem tough but is doable. The exit automatic repair guide explains key steps. These include knowing common causes and symptoms that show when your device doesn’t start correctly. It’s important to understand these for fixing Windows problems effectively.
Our PC repair summary provides a step-by-step method to get your device working again. It suggests using backup solutions and checking your system’s health with tools like Startup Repair and System Restore. Remember, reinstalling Windows could be the last option if other efforts don’t fix the problems.
Handling Automatic Repair issues can be hard, but if you follow the guide carefully, you can find a solution. For more help, especially after damage from power surges, visit repairing damage from power surges in desktops. By arming yourself with knowledge and keeping your system backed up, you can avoid many future issues.
FAQ
What is Automatic Repair Mode?
Automatic Repair Mode is a feature in Windows. It helps find and fix start-up problems. For example, it fixes corrupted files or incompatible drivers.
What are the common causes of Automatic Repair issues?
Issues often come from corrupt system files, bad hardware, or malware. These problems mess up how the system works.
How can I identify symptoms of Automatic Repair problems?
Look for Blue Screen errors with diagnostic codes. They show specific problems. A black screen with “Preparing Automatic Repair” also signals start-up issues.
What initial troubleshooting steps should I take?
First, unplug any external devices to check for conflicts. If problems persist, turn off your computer by holding the power button. This may reset the system.
How do I access advanced options in Windows Recovery Environment?
Restart your PC and press the key needed (often F8 or Shift + F8). In Windows Recovery Environment, you’ll find repair choices like Startup Repair and System Restore.
What repairs can be run via Command Prompt?
The Command Prompt lets you use repair commands. “chkdsk” checks the file system for errors. “fixboot” writes a new boot sector to tackle stubborn issues.
What options are available for resetting Windows?
There are two reset options. One clears all data, and the other keeps your files but not the apps. This helps you keep what’s important while fixing the system.
Are there any risks involved with resetting my device?
Yes, there are risks. A full reset removes everything, including apps and data. Keeping files only saves personal stuff, not apps. So, back up important data first.
A computer PSU (Power Supply Unit) is a critical yet often underestimated component in any computer system. This essential piece of hardware is responsible for converting alternating current (AC) into direct current (DC), thereby powering all of the computer’s internal components. Understanding the intricacies of a computer power supply can offer invaluable insights when you’re…
After long-term use, the laptop display ribbon cable is prone to damage, such as wire core breakage, bending, loose interface and other problems, which will cause the laptop to not work properly. In addition, the material of the cable will age and harden, and the interface elasticity will decrease, which will also lead to poor…
Welcome to our comprehensive guide on troubleshooting and resolving SATA port failures in desktop computers. Whether you’re an IT professional or a home user, encountering SATA port issues can be frustrating and disruptive. In this article, we will discuss common symptoms, diagnostic techniques, troubleshooting solutions, and the importance of thorough testing. By following our expert…
Liquid cooling, also known as water cooling, is a popular method among PC enthusiasts for achieving optimal performance and maintaining cool temperatures. To keep your liquid cooling system running smoothly, regular maintenance and troubleshooting are essential. In this guide, we will explore the important aspects of DIY liquid cooling maintenance and provide helpful tips for…
In an era driven by connectivity and digital communication, reliable network connectivity is essential for seamless access to the internet. The Ethernet port, an integral component of modern computer systems, serves as the gateway to the local network and the broader internet. However, users may encounter occasional issues with their Ethernet ports, disrupting their ability…
Are you experiencing visual glitches on your desktop? Perhaps you’re seeing strange colors, pixelation, or even freezing and crashing? These issues can be frustrating, especially when you’re in the middle of an important task or gaming session. But fear not, there are ways to fix graphics card artifacts on your desktop. Graphics card artifacts, also…