Diagnosing Desktop Motherboard Component Failures
A motherboard failure can cause various symptoms, such as no power, no display, no sound, random crashes, or error messages. To identify the cause of a motherboard failure, you should consider potential causes such as power surge or outage, overheating or dust buildup, physical damage or corrosion, faulty or incompatible components or drivers, and BIOS or firmware errors or updates. To narrow down the cause, check the power supply and power cord, the cooling system and fans, the motherboard and case for any signs of damage, the components and cables for any loose or broken connections, and the BIOS settings and firmware version.
A related storage fault also appears in desktop SATA port failures, where damaged ports can interrupt drives and data flow.
A closely related example also appears in beep post codes post, where many of the same practical issues show up in a slightly different way.
How to Test the Components
When diagnosing faulty components connected to the motherboard, there are several methods you can use: a multimeter, a POST card, or a spare computer.
Using a Multimeter
A multimeter is a useful tool for measuring voltage, current, and resistance. To use a multimeter, first disconnect the power cord and remove the battery if applicable. Open the case and ground yourself to avoid static electricity. Then, remove all non-essential components such as the hard drive, optical drive, GPU, and peripherals.
Related:


Connect the power cord and turn on the computer. Observe the lights, sounds, and display. If the computer boots up, this indicates that the motherboard and the connected components are functioning properly. To identify a faulty component, add one component at a time and test again until you find the one causing the issue.
If the computer doesn’t boot up, you can use a multimeter to check the power supply output. The multimeter will help you determine if the power supply is providing the correct voltage to the components. Refer to the manufacturer’s specifications to ensure the readings are within the acceptable range.
Using a POST Card
A POST card is a diagnostic tool that displays POST (Power-On Self-Test) codes, which indicate the status of the motherboard and its components during the boot process. To use a POST card, follow the same steps as mentioned above: disconnect the power cord, remove non-essential components, connect the power cord, and turn on the computer.
Observe the POST code displayed on the POST card. If there’s an error, refer to the motherboard’s manual or an online database to identify the specific issue indicated by the code. Troubleshooting based on the POST code can help you pinpoint the faulty component.
Using a Spare Computer
If you have access to a spare computer with compatible components, you can use it to swap and test the components connected to the motherboard. Start by disconnecting the power cord and removing non-essential components from both the spare computer and the target computer. Ground yourself to avoid static electricity.
Connect the power cord and turn on the spare computer. Observe its lights, sounds, and display to ensure it is functioning properly. Now, one by one, swap the components from the target computer to the spare computer and test them. By this process of elimination, you can identify the faulty component causing the issue.
How to Replace or Repair the Motherboard
If the motherboard is confirmed to be the source of the problem, you can choose to replace or repair it. Replacing the motherboard is usually simpler but more expensive and time-consuming than repairing it. Repairing the motherboard may involve soldering, reflowing, or replacing some components such as capacitors, resistors, or chips. However, it requires advanced skills and equipment and may not guarantee a successful outcome.
To replace or repair the motherboard, find a compatible replacement or a reputable repair service for your model and brand. Back up your data and settings if possible. Disconnect the power cord and remove the battery if applicable. Open the case and ground yourself to avoid static electricity. Unscrew and lift the motherboard from the case. Install or send the new or repaired motherboard. Reconnect all components and cables to the motherboard. Close the case, connect the power cord, and battery if applicable. Finally, turn on the computer and restore your data and settings if needed.
| Advantages of Replacing the Motherboard | Advantages of Repairing the Motherboard |
|---|---|
|
|
Choosing a Compatible Replacement or Reputable Repair Service
When considering a replacement motherboard, ensure it is compatible with your computer’s model and brand. Check the specifications and requirements to verify the compatibility of the processor socket, RAM slots, expansion slots, and other necessary connections.
If you opt for a repair service, choose a reputable provider with experienced technicians who specialize in motherboard repairs. Research customer reviews and ratings to ensure their reliability.
“Replacing the motherboard is usually simpler but more expensive and time-consuming than repairing it.”
Soldering and Reflowing for Repairs
If you decide to repair the motherboard yourself, you may need to use soldering and reflow techniques. Soldering involves melting solder to join electronic components securely. Reflowing is a process that reconnects loose or disconnected solder joints by applying heat.
Before attempting these techniques, it’s essential to have the necessary tools, such as a soldering iron, solder wire, flux, and a heat gun. Make sure to follow safety protocols and exercise caution while working on the delicate motherboard components.
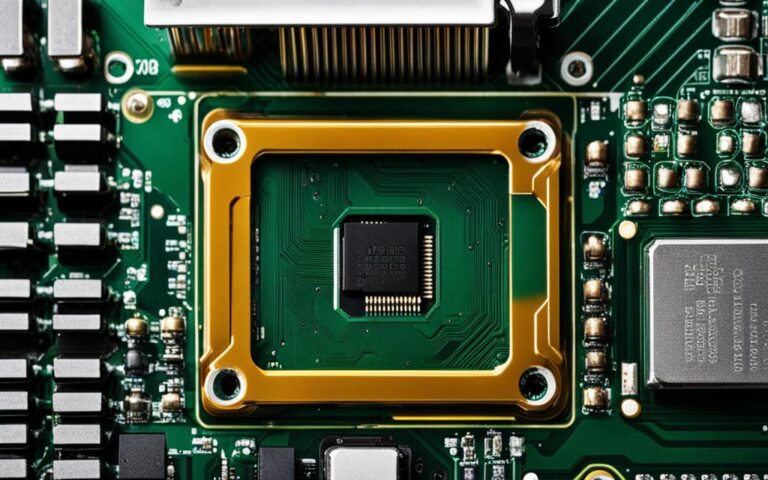
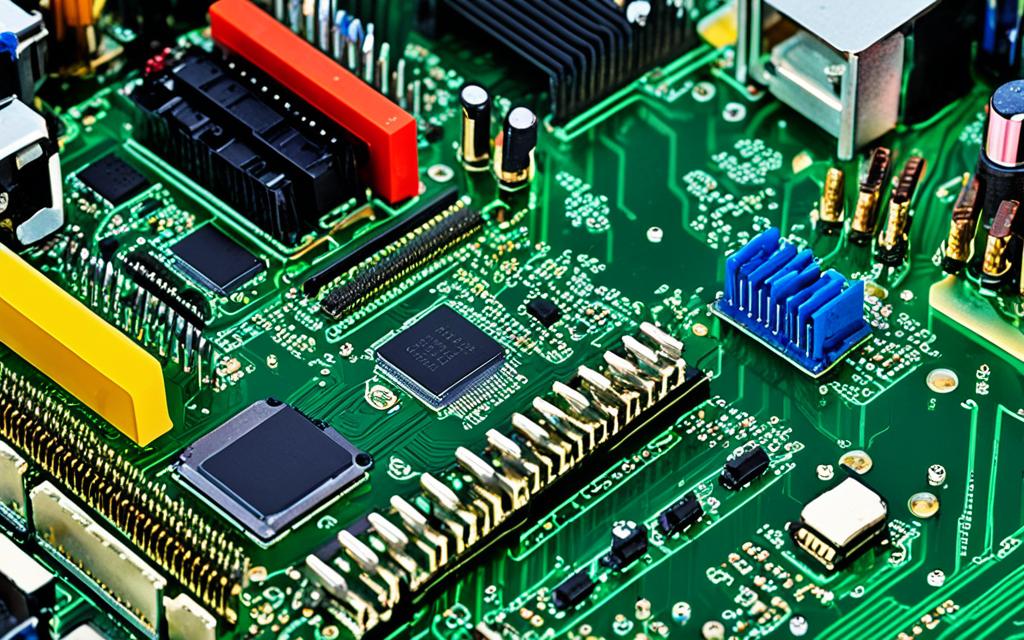
Visual Inspection and Software Tools
In addition to testing the components, performing a visual inspection of the motherboard is crucial in diagnosing potential issues. Look for any signs of bulged or blown capacitors, as well as bent pins on the CPU. These physical abnormalities can often be the underlying cause of motherboard problems.
Image depicting bulged capacitors on a motherboard.
Furthermore, software diagnostic tools can be valuable in identifying motherboard failures. Programs like HWiNFO and Intel Processor Diagnostic Tool are designed to assess the motherboard and CPU for any possible faults. However, it’s important to note that software tools may not detect every potential failure, which is why a visual inspection remains essential.
HWiNFO
HWiNFO is a powerful diagnostic tool that provides detailed information about your motherboard’s hardware components. It can help you monitor the temperature, voltage, and performance of various motherboard elements, providing valuable insights into their health and functionality.
Intel Processor Diagnostic Tool
The Intel Processor Diagnostic Tool is specifically tailored to test the CPU’s performance and functionality. Although primarily focused on the processor, this tool indirectly assesses the motherboard’s capabilities, as issues with the CPU can impact the overall system.
| Software Diagnostic Tool | Key Features |
|---|---|
| HWiNFO | – Detailed hardware information – Temperature and voltage monitoring – Performance analysis |
| Intel Processor Diagnostic Tool | – CPU health testing – Stress testing – System stability analysis |
While software diagnostic tools can provide valuable insights, they should be used in conjunction with a visual inspection for a comprehensive motherboard assessment. Combined with other diagnostic methods, such as testing the components and checking power connections, a thorough investigation can help pinpoint and resolve motherboard issues effectively.
Power and Component Checks
If your system won’t turn on, it’s important to check the power cables and ensure they are properly connected and matched with the correct power supply cords. Modern motherboards often require multiple power cables, including a main 20- to 24-pin connector and a secondary four- or eight-pin connector near the processor socket.
Additionally, it’s crucial to verify that all components such as RAM, graphics card, and CPU are correctly installed. Improper installation of these components can lead to motherboard malfunctions and system instability. Take the time to check the connections and seating of these critical components to ensure they are properly installed.
| Component | Installation Check |
|---|---|
| RAM | Ensure that the RAM modules are firmly seated in their slots and properly aligned with the notches. Gently press down on the modules until you hear a click, indicating they are securely in place. |
| Graphics Card | Confirm that the graphics card is fully inserted into the PCI-Express slot and securely fastened with the appropriate screws. Ensure that any power connectors required by the graphics card are properly connected as well. |
| CPU | Check that the CPU is correctly installed in the socket and properly aligned with the corresponding notches or markers. Ensure that the CPU cooler is securely mounted and making proper contact with the CPU for efficient heat dissipation. |
By double-checking the power cables and component installations, you can avoid potential issues caused by loose connections or incorrect installations. These simple steps can help ensure the smooth operation of your motherboard and overall system stability.
Preventing Short Circuits and Checking Front Panel Connectors
Short circuits can be a common issue when the motherboard comes into contact with metallic components inside the PC case. To prevent this, it is essential to use standoffs, which are small spacers that keep the motherboard elevated and prevent it from touching the case. Standoffs ensure that there is no direct contact between the motherboard and the metallic components, reducing the risk of a short circuit.
Another important precaution is to ensure that all internal wires are properly shielded with a rubber or plastic exterior. This shielding protects the wires from coming into contact with the metal parts of the case, eliminating the potential for short circuits to occur. It is crucial to inspect the wires carefully and ensure that they are adequately covered to avoid any contact with the metallic components.
Additionally, it is vital to check the front panel connectors that connect the power button, reset button, and other buttons or lights on the computer case to the motherboard. These connectors are responsible for transmitting the command to the motherboard to turn on or perform specific functions. Properly connecting these front panel connectors is crucial for the motherboard to receive the necessary signals and function correctly.
Refer to the motherboard manual or the manufacturer’s documentation to identify the correct pin configuration for the front panel connectors. Take care to connect the cables to the corresponding pins on the motherboard accurately. Secure the connections by firmly pushing the connectors into place, ensuring a reliable and secure connection between the motherboard and the front panel.
Safeguarding Against Short Circuits
“Using standoffs and ensuring proper shielding of internal wires are essential for preventing short circuits in desktop computers. These precautions minimize the risk of motherboard damage, protecting your investment and ensuring the reliable operation of your system.”
Conclusion
Diagnosing desktop motherboard component failures involves a systematic approach that includes careful inspection, component testing, and consideration of whether to replace or repair the motherboard. Identifying the underlying cause of the failure is essential in order to effectively troubleshoot motherboard problems. Visual inspection of the motherboard can reveal issues such as bulged or blown capacitors and bent pins, while software tools can provide additional diagnostic information.
Checking power and component installation is also critical, as improper connections or faulty installations can lead to motherboard malfunctions. Preventing short circuits by using standoffs and ensuring proper connection of front panel connectors are important preventive measures that can help avoid motherboard issues in the first place. When faced with a faulty motherboard, the decision to replace or repair depends on the severity of the failure and the availability of compatible replacements or reputable repair services.
By following these steps and considerations, individuals can effectively troubleshoot motherboard problems and restore normal functionality to their desktop computers. Whether it involves replacing a faulty motherboard or repairing it through advanced soldering or reflowing techniques, the goal is to ensure a reliable and efficient computing experience.
FAQ
What are some common symptoms of a motherboard failure?
Common symptoms of a motherboard failure include no power, no display, no sound, random crashes, or error messages.
What are the potential causes of a motherboard failure?
Potential causes of a motherboard failure include power surge or outage, overheating or dust buildup, physical damage or corrosion, faulty or incompatible components or drivers, and BIOS or firmware errors or updates.
How can I test the components connected to the motherboard?
You can test the components connected to the motherboard using a multimeter, a POST card, or a spare computer.
Should I replace or repair the motherboard if it is the source of the problem?
Whether to replace or repair the motherboard depends on personal preference and circumstances. Replacing the motherboard is usually simpler but more expensive and time-consuming than repairing it.
How can I prevent short circuits and ensure proper connection of front panel connectors?
To prevent short circuits, use standoffs to keep the motherboard elevated and make sure all internal wires are properly shielded. To ensure proper connection of front panel connectors, check that they are properly connected to the motherboard.
What should I check if my system won’t turn on?
If your system won’t turn on, check the power cables to ensure they are properly plugged in and matched with the correct power supply cords. Additionally, ensure that all components such as RAM, graphics card, and CPU are properly installed.
How can I perform a visual inspection of the motherboard?
To perform a visual inspection, check for bulged or blown capacitors and bent pins on the CPU. These issues can cause motherboard problems.
Are there any software tools available to diagnose motherboard issues?
Yes, you can use software tools like HWiNFO and Intel Processor Diagnostic Tool to test your motherboard and CPU for failures. However, keep in mind that software tools may not detect every possible failure, so a visual inspection is still recommended.
Can improper installation of components cause motherboard malfunctions?
Yes, improper installation of components can cause motherboard malfunctions and system instability. It’s important to ensure that all components are properly installed and seated.