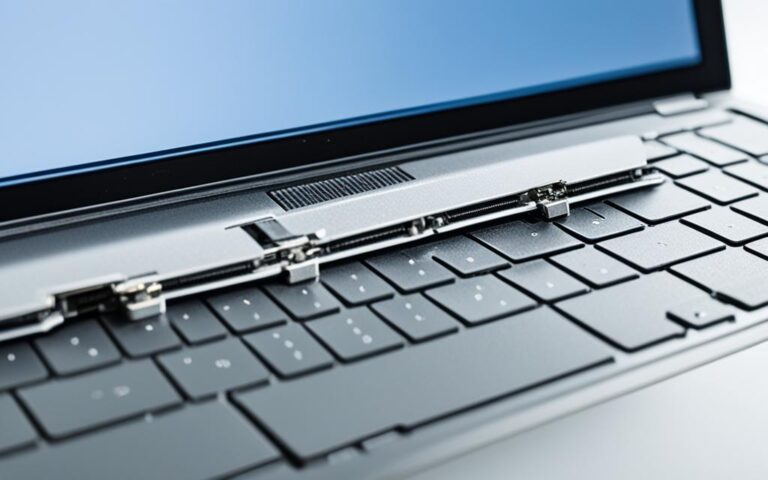
Repairing Laptop Audio Jack Problems
If you’re experiencing issues with the audio jack on your laptop, such as no sound, distorted sound, or static noise when using headphones or speakers, it can be quite frustrating. However, there are several steps you can take to troubleshoot and fix the problem. In this article, we will walk you through six simple steps to help you resolve any audio jack issues on your laptop.
Whether you need to perform an audio jack repair, troubleshoot sound issues, or fix laptop audio jack problems, we have got you covered. From checking the basics to running the audio troubleshooter, and from disabling audio enhancements to changing the default format, we will guide you through each step.
Ready to get started? Let’s dive in and get your laptop audio jack working flawlessly again.
Checking the Basics
Before delving into more intricate troubleshooting methods, it’s important to start with the basics. Follow these simple steps to ensure your audio jack is functioning optimally:
- Check the volume settings: Ensure that the volume on your laptop is turned up and not muted. Sometimes, the simplest solution is the most effective.
- Verify audio settings: Make sure the audio settings on your laptop are configured correctly. Check that the audio output is set to the desired device (headphones or speakers).
- Try different headphones or speakers: To rule out any issues with the audio jack itself, plug in a different pair of headphones or speakers. If they work fine, it indicates that the problem lies with the previous ones.
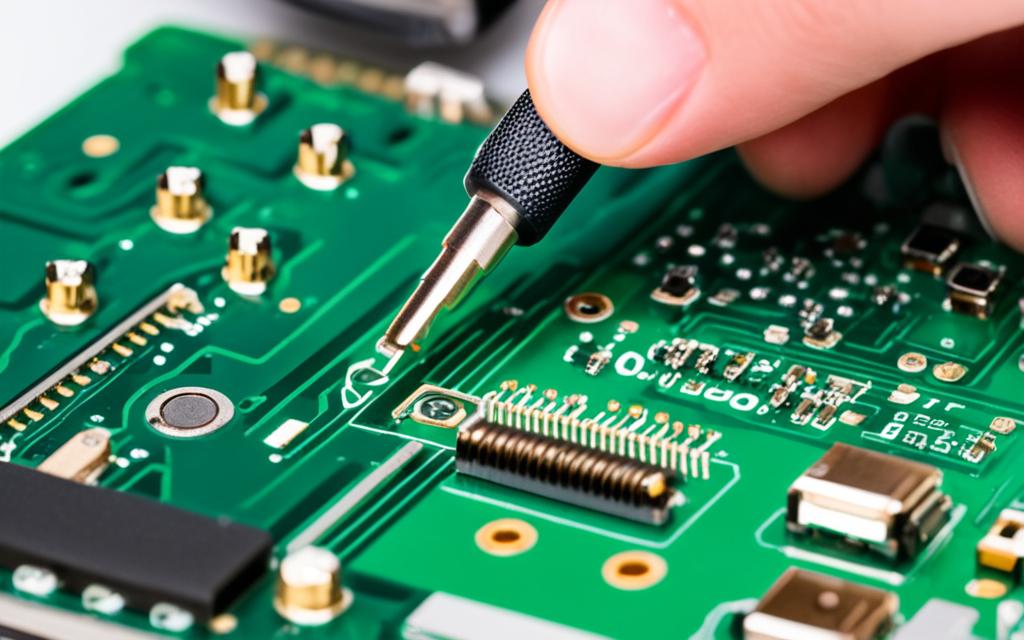
- Clean the audio jack: Over time, dirt or debris can accumulate in the audio jack, causing connectivity issues. Gently clean the jack with a cotton swab or compressed air to remove any obstructions that may be affecting the audio quality.
If the aforementioned steps do not resolve the problem, it might be necessary to update your audio driver. Follow the instructions below to proceed:
To update your audio driver, follow these steps:
Related:
- Go to the manufacturer’s website for your laptop or the audio device.
- Look for the “Support” or “Downloads” section.
- Enter your laptop or audio device model number to find the latest audio driver.
- Download and install the driver according to the provided instructions.
- Restart your laptop to apply the changes.


Sample Table for Troubleshooting Audio Jack
| Issue | Possible Cause | Solution |
|---|---|---|
| No sound | Incorrect volume settings | Adjust volume or unmute |
| Distorted sound | Dirty audio jack | Clean audio jack with a cotton swab or compressed air |
| Static noise | Loose audio jack connection | Tighten audio jack or try a different cable |
| No audio from one speaker | Unbalanced audio settings | Adjust audio balance settings or check speaker connections |
Running the Audio Troubleshooter
If the basic checks didn’t resolve the issue, the next step is to run the audio troubleshooter. This built-in tool in Windows can scan and fix common audio problems. To access it, right-click on the speaker icon in the lower-right corner of the screen and select “Troubleshoot sound problems.”
Follow the instructions provided by the troubleshooter and restart your laptop to see if the audio jack is now functioning properly.
If the audio troubleshooter does not resolve the problem, move on to the next troubleshooting steps.
Disabling Audio Enhancements
Audio enhancements can sometimes interfere with the proper functioning of the audio jack on your laptop. When enabled, these enhancements can cause issues such as distorted sound or audio cutting out. Disabling them can help resolve conflicts and ensure smooth audio playback through the audio jack.
To disable audio enhancements, follow these steps:
- Right-click on the speaker icon in the taskbar and select “Sounds.”
- In the “Playback” tab, choose your default audio device and click on “Properties.”
- In the properties window, navigate to the “Enhancements” tab.
- Check the box next to “Disable all enhancements.”
- Click “OK” to save the changes.
Once you have disabled the audio enhancements, restart your laptop for the changes to take effect. This should help resolve any interference issues between the audio enhancements and the audio jack.
Disabling audio enhancements can be especially helpful if you notice any compatibility issues or distorted sound when using headphones or external speakers with your laptop. By turning off these enhancements, you allow the audio jack to function without any added processing, ensuring a clean audio output.
“Disabling audio enhancements can help resolve conflicts and ensure smooth audio playback through the audio jack.”
Changing the Default Format
If the default format of your laptop’s audio output is incompatible with your headphones or speakers, it can lead to problems with the audio jack. To resolve this issue, you can change the default format settings.
- Right-click on the speaker icon in the taskbar and select “Sounds.”
- In the “Playback” tab, choose your default audio device and click on “Properties.”
- Navigate to the “Advanced” tab.
- Under the “Default Format” section, you will find various options for sample rate and bit depth.
- Select a different option from the dropdown menu that matches the specifications of your headphones or speakers.
- Click “Apply” and then “OK” to save the changes.
- Restart your laptop to see if the audio jack works properly with the new settings.
This simple adjustment can often resolve compatibility issues between the default audio format and your external audio devices.
Example:
“I was experiencing issues with my audio jack, and I couldn’t figure out why. Then I learned about the default format settings and decided to give it a try. After changing the sample rate and bit depth to match my headphones’ specifications, the audio jack started working flawlessly. It’s amazing how a small adjustment can make such a big difference.”
By changing the default format, you can ensure that your laptop’s audio output is perfectly compatible with your headphones or speakers, allowing you to enjoy high-quality sound without any glitches or compatibility issues.
| Sample Rate | Bit Depth | Audio Quality |
|---|---|---|
| 44.1 kHz | 16-bit | CD quality |
| 48 kHz | 16-bit | DVD and broadcasting quality |
| 96 kHz | 24-bit | High-resolution audio |
| 192 kHz | 24-bit | Studio-quality audio |
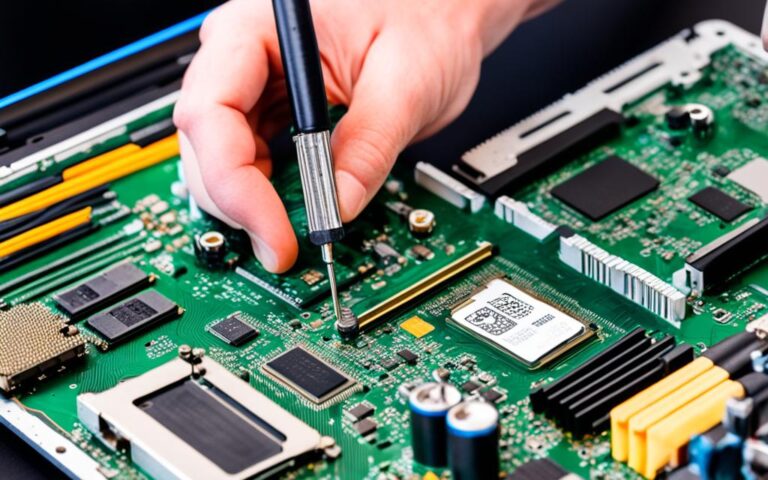
Using an External USB Sound Card
If none of the previous troubleshooting steps have resolved the issue with your laptop’s audio jack, or if the audio jack is physically damaged, using an external USB sound card can be a viable alternative. These USB sound cards are small devices that plug into your laptop’s USB port and provide an alternative audio jack for connecting headphones or speakers.
You can easily purchase USB sound cards online or from electronic stores at an affordable price. Once you have the USB sound card, simply plug it into your laptop’s USB port. Windows will automatically recognize and install the device. After installation, you need to set the USB sound card as the default audio device in the sound settings of your laptop.
By using an external USB sound card, you can bypass the problematic audio jack and ensure a smooth audio experience. Whether your laptop’s audio jack is physically damaged or you simply prefer an alternative option, the USB sound card provides a convenient solution for enjoying audio through headphones or speakers without any glitches or interruptions.