MacBook Pro Hard Drive to SSD Conversion
This article provides step-by-step instructions on how to upgrade a MacBook Pro by replacing the hard drive with a solid-state drive (SSD). By performing this conversion, you can significantly improve the speed and performance of your MacBook Pro. The process outlined here is applicable to older MacBook Pro models (non-Retina) from 2012-2015.
Tools and Preparation for the SSD Conversion
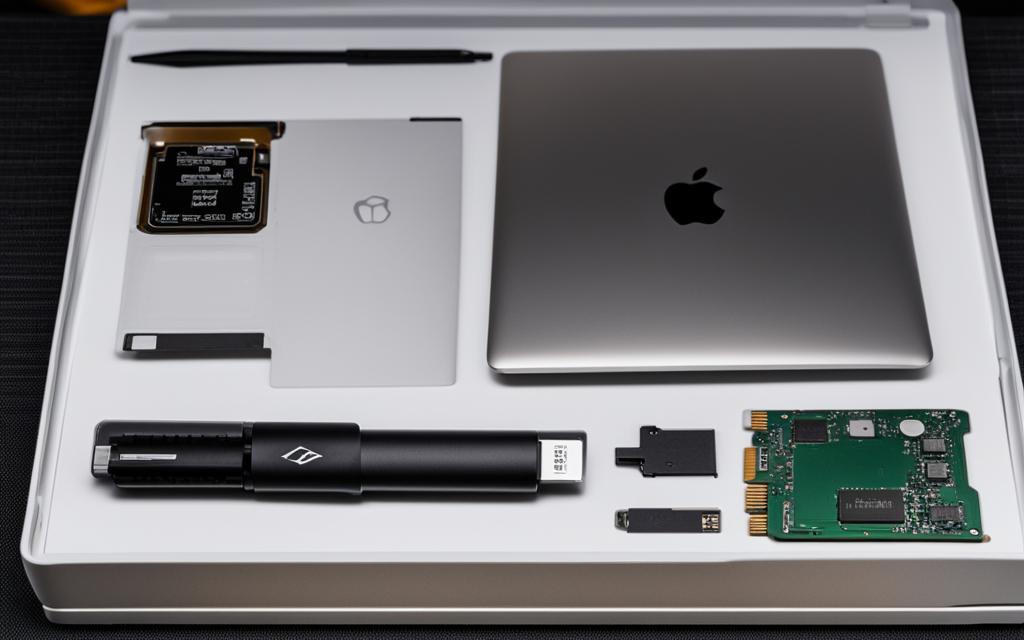
Before embarking on the SSD conversion process for your MacBook Pro, it’s crucial to gather all the necessary tools and materials. Ensuring you have everything you need beforehand will help streamline the process and avoid any unnecessary delays or interruptions. Here’s a list of the essential tools and items you’ll need:
- A new SSD: The most crucial component for the conversion is, of course, the solid-state drive itself. Select a high-quality SSD with a suitable storage capacity that meets your specific requirements.
- A T6 Torx screwdriver: This specialized screwdriver is essential for removing the screws that secure the MacBook Pro’s bottom case and accessing the internal components.
- A Philips #00 screwdriver: This screwdriver allows you to remove the screws that hold the hard drive in place within the MacBook Pro.
- A SATA to USB cable: This cable facilitates the connection between your new SSD and your MacBook Pro, enabling the data transfer required for the cloning process.
- A spudger tool: This handy tool helps safely disconnect various connectors and cables within your MacBook Pro during the conversion process.
By gathering these tools in advance, you’ll be well-prepared to tackle the SSD conversion with confidence and efficiency.
Preparing Your SSD
Before proceeding with the SSD conversion, it’s crucial to ensure that your new SSD is properly formatted and ready for use. Follow the steps below to prepare your SSD:
- Connect your new SSD to your MacBook Pro using the SATA to USB cable.
- Launch Disk Utility, a built-in utility on macOS, which allows you to manage and format storage devices.
- In Disk Utility, locate your SSD under the “External” label in the left column.
- Select your SSD and choose the “Erase” option.
- Assign a new name to your SSD, ensuring it is easily identifiable.
- Choose “macOS Extended (Journaled)” as the format for your SSD. This format is compatible with macOS and offers excellent performance.
- Select “GUID Partition Table” as the scheme. This scheme is necessary for Intel-based Macs, including the MacBook Pro.
- Click “Erase” to initiate the formatting process. This process will erase any existing data on the SSD, so ensure you have backed up any important files.
Completing these steps will ensure that your SSD is properly formatted and ready to be used for the upcoming cloning process.
| Required Tools and Materials |
|---|
| New SSD |
| T6 Torx screwdriver |
| Philips #00 screwdriver |
| SATA to USB cable |
| Spudger tool |
Formatting the SSD
To enhance the performance of your MacBook Pro, it’s crucial to properly format the new solid-state drive (SSD). Follow these step-by-step instructions to format your SSD using the Disk Utility tool.
Related:


- Connect your new SSD to your MacBook Pro using a SATA to USB cable. Ensure a stable connection between the SSD and your device.
- Open Disk Utility by navigating to Applications > Utilities > Disk Utility.
- In the Disk Utility window, locate the SSD under the “External” label in the left column. It should be listed with its assigned name or as “Untitled”.
- Click on the SSD’s name to select it.
- Next, choose the “Erase” tab at the top of the Disk Utility window.
- Enter a new name for your SSD. Choose a name that is memorable and allows easy identification.
- From the “Format” dropdown menu, select “macOS Extended (Journaled)”. This format is compatible with macOS and ensures optimal performance.
- Under the “Scheme” dropdown menu, select “GUID Partition Table”. This is the recommended partition scheme for Intel-based Mac computers.
- Double-check that you have selected the correct SSD and that the chosen format and partition scheme are accurate.
- Finally, click on the “Erase” button to initiate the formatting process. Disk Utility will erase all data on the SSD and prepare it for use.
By following these steps, you will successfully format your new SSD using Disk Utility, providing a clean slate for your MacBook Pro’s operating system and ensuring optimal performance.
Note:
Formatting your SSD erases all data on the drive. Ensure that you have backed up any important files before proceeding. Once the formatting process is complete, you can proceed to clone your existing hard drive onto the SSD, as outlined in the next section.
Cloning Your Hard Drive to the SSD
Once you have successfully formatted your SSD, the next step is to clone your existing hard drive onto the new SSD. This process is crucial to ensure that all your data and settings are transferred seamlessly to the new drive.
There are two popular options for cloning software: SuperDuper and Disk Utility. Both programs provide a user-friendly interface and offer efficient cloning capabilities. You can choose the one that best suits your needs.
To begin the cloning process, follow these steps:
- Launch the cloning software of your choice.
- Connect your MacBook Pro to an external storage device or secondary storage using a reliable and compatible interface.
- Select your existing hard drive as the source and the new SSD as the destination in the cloning software.
- Review the cloning options and settings to ensure a smooth transfer of data.
- Start the cloning process and wait for it to complete. The time taken may vary depending on the size of your hard drive.
During the cloning process, ensure that your MacBook Pro remains connected to a stable power source to avoid any interruptions. It’s also advisable to close any unnecessary applications to free up system resources.
Once the cloning process is finished, verify that the cloned data is intact by accessing files and applications on the new SSD. You should also check that all your settings, preferences, and configurations have been successfully transferred.
Remember to keep a backup of your original hard drive until you are certain everything is functioning correctly on your new SSD. This will serve as an additional safeguard in case any unexpected issues arise.
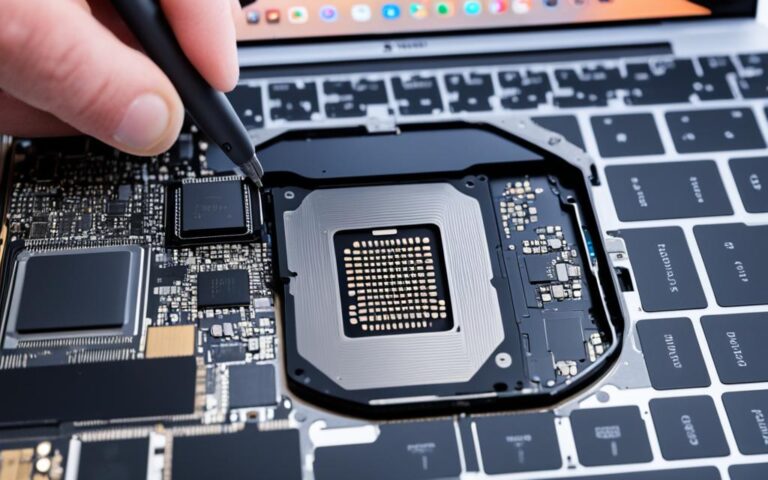
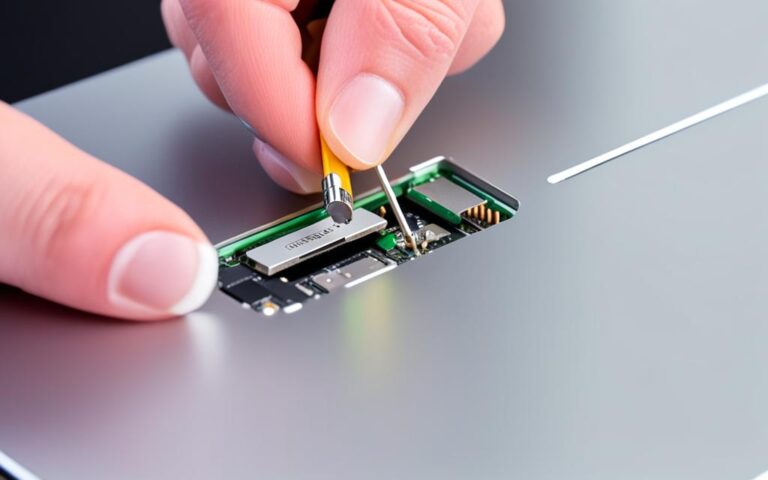
Swapping Your Hard Drive for the SSD
Once you have successfully cloned your hard drive onto the SSD, it’s time to replace the old hard drive with the new SSD. Follow these step-by-step instructions to complete the hard drive replacement process for your MacBook Pro.
- Power off your MacBook Pro: Before beginning any hardware modifications, it’s crucial to turn off your MacBook Pro to ensure safety.
- Remove the bottom lid: Use a Philips #00 screwdriver to remove the screws securing the bottom lid of your MacBook Pro.
- Locate the hard drive: Once the bottom lid is removed, locate the existing hard drive in your MacBook Pro. It is typically located near the center of the device.
- Remove the screws: Use a T6 Torx screwdriver to remove the screws that are holding the hard drive in place. Keep these screws in a safe place as you will need them later.
- Disconnect the connector cable: Carefully unplug the connector cable that is attached to the hard drive. Ensure that you handle the cable and connector with caution to avoid damage.
- Transfer the adhesive tab: Remove the adhesive tab from the old hard drive and attach it to the new SSD. This will make it easier to handle during the installation process.
- Attach the connector cable: Connect the connector cable to the SSD, making sure it is securely in place.
- Place the SSD back in the cradle: Fit the SSD into the space previously occupied by the old hard drive. Ensure it is properly aligned with the screw holes.
- Secure the hard drive bracket: Use the screws that were removed earlier to secure the hard drive bracket, ensuring that the SSD is firmly held in place.
- Reattach the bottom lid: Carefully align the bottom lid of your MacBook Pro and use the Philips #00 screwdriver to reattach the screws.
Congratulations! You have successfully swapped your hard drive for the new SSD. Your MacBook Pro is now equipped with improved storage performance and enhanced speed.
Conclusion
Upgrading your MacBook Pro’s hard drive to an SSD can have a transformative effect on its speed, performance, and overall durability. With the simple steps provided in this article, you can successfully convert your MacBook Pro’s hard drive to an SSD, giving your device a significant performance boost and prolonging its lifespan.
By making the switch to an SSD, you’ll enjoy faster boot times, improved application loading speeds, and enhanced battery performance. The improved speed and responsiveness of your MacBook Pro will make multitasking a breeze and allow you to work more efficiently.
Furthermore, the durable nature of SSDs ensures that your data remains safe and secure, with a reduced risk of mechanical failure compared to traditional hard drives. This added durability means your MacBook Pro will be more resilient to accidental drops or bumps, providing peace of mind for both work and personal use.