Navigating Through Laptop Motherboard Component Replacement
Welcome to our comprehensive guide on laptop motherboard component replacement. If you’re looking to upgrade or repair your laptop’s components, this article will provide you with the information you need. Whether you’re a DIY enthusiast or a professional technician, understanding the proper steps to replace motherboard components is crucial for a successful repair or upgrade.
At some point, you may encounter issues with your laptop’s motherboard components, such as expansion cards, memory modules, or storage devices. These components play a vital role in the overall performance of your laptop. Upgrading or replacing them can significantly enhance your laptop’s capabilities.
In this guide, we will walk you through the entire process, from preparing for the replacement to reassembling your laptop. We will provide detailed instructions and safety precautions to ensure a smooth and error-free component replacement. Along the way, we will cover essential topics such as removing and replacing components, aligning the motherboard, installing memory modules and storage devices, troubleshooting the laptop, and more.
Whether you’re an experienced technician or a novice, this guide will equip you with the knowledge and guidance needed to successfully navigate laptop motherboard component replacement. Don’t let a faulty component hold back your laptop’s performance – join us on this journey of repair and upgrade!
Preparing for Laptop Motherboard Component Replacement
Before embarking on the process of replacing motherboard components in your laptop, it is crucial to take the necessary preparatory steps to ensure a smooth and safe replacement experience. By following these safety precautions, you can minimize the risk of damage to your laptop or its components.
Powering Off the Laptop Correctly
The first step in preparing for a successful motherboard component replacement is to power off your laptop properly. It is essential to navigate to the shutdown option in the operating system to ensure a clean shutdown. This allows the laptop’s system to close all running processes and programs before safely powering down.
Related:


")


Furthermore, it is important to unplug the power cable from the laptop to eliminate any potential electrical hazards. This also prevents any accidental power surges or shorts that could occur during the replacement process.
Once you have powered down the laptop and unplugged the power cable, it is vital to ensure that the laptop is completely shut down. Check that the display is no longer lit, and there are no signs of power or activity. This step ensures that the laptop is in a safe state for handling and component replacement.
Taking Safety Precautions
When preparing for laptop motherboard component replacement, it is important to prioritize safety and take the following precautions:
- Work in a clean and well-lit area: Find a spacious and tidy workspace where you can comfortably work on the laptop. Adequate lighting will help you identify components and avoid accidental damage.
- Ground yourself: Prevent electrostatic discharge (ESD) by grounding yourself before touching any components. This can be done by wearing an anti-static wrist strap or by touching a grounded metal object.
- Handle components with care: Motherboard components are delicate, so it is important to handle them gently and avoid applying excessive force. Avoid touching any sensitive components directly, such as the gold contacts on memory modules or the motherboard itself.
- Keep track of screws and small parts: As you disassemble the laptop, place screws and other small parts in labeled containers or use a magnetic mat to prevent them from getting lost.
Following these safety precautions will minimize the risk of accidental damage to your laptop and ensure a smooth replacement process.
| Safety Precautions for Laptop Motherboard Component Replacement |
|---|
| Power off the laptop correctly |
| Unplug the power cable |
| Ensure the laptop is completely shut down |
| Work in a clean and well-lit area |
| Ground yourself to prevent electrostatic discharge (ESD) |
| Handle components with care |
| Keep track of screws and small parts |
Removing Components for Laptop Motherboard Component Replacement
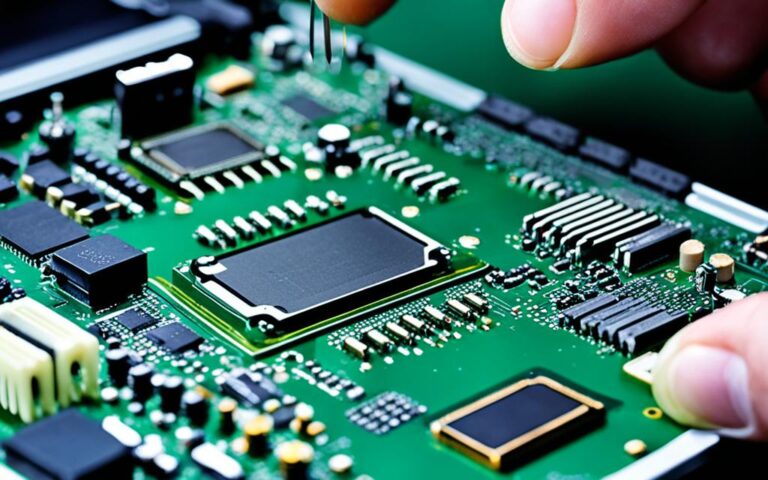
When replacing motherboard components in a laptop, it is necessary to carefully remove various parts, including expansion cards, storage devices, memory modules, and cables. This process involves unscrewing fasteners, disconnecting cables, and delicately lifting and sliding out the components. It is crucial to follow the specific instructions for each component to ensure a damage-free removal process.
Firstly, let’s focus on removing expansion cards. Start by locating the expansion card slots on the motherboard. Gently press down on the expansion card’s release lever to release it from the slot. Once released, carefully remove the expansion card by pulling it straight out.
Next, we’ll move on to disconnecting cables. Identify the cables connected to the components you need to remove. Depending on the component, the cables may include power cables, data cables, or ribbon cables. Take note of the cable connections and use gentle force to unplug them from their respective ports. Avoid pulling the cables forcefully to prevent any damage to the connectors or the motherboard itself.
Now, let’s discuss unscrewing fasteners. Take a close look at the components and locate the screws holding them in place. Use the appropriate screwdriver to unscrew the fasteners, ensuring not to strip the screws. Keep the screws organized and separate for each component, so you can easily find them during reassembly.
Below is a helpful table summarizing the steps involved in removing various components during laptop motherboard component replacement:
| Component | Removal Steps |
|---|---|
| Expansion Cards | – Locate expansion card slots on the motherboard. – Press down on the release lever of the expansion card. – Carefully remove the expansion card by pulling it straight out. |
| Storage Devices | – Identify the storage device, such as an SSD or hard drive. – Locate the screws holding the storage device in place. – Unscrew the fasteners to release the storage device. |
| Memory Modules | – Locate the memory module slots on the motherboard. – Press the clips securing the memory module. – Carefully lift the memory module out of the slot at a 20-degree angle. |
| Cables | – Identify the cables connected to the component. – Gently unplug the cables from their respective ports. – Avoid pulling forcefully to prevent damage. |
It is essential to exercise caution and patience when removing components to avoid any accidental damage. By following the proper steps and using the right tools, you can ensure a smooth removal process during laptop motherboard component replacement.
Replacing the Motherboard in a Laptop
Once the old components have been removed, it is time to replace the motherboard in your laptop. This critical step requires aligning the new motherboard with the bottom cover and securing it using the appropriate fasteners. It is crucial to handle the motherboard with care and avoid touching any sensitive components to prevent any damage.
“Proper alignment and secure fastening of the motherboard are essential for the smooth functioning of your laptop.”
After aligning the motherboard, the next step is to reconnect the cables. This includes reconnecting the display cable, webcam cable, audio cable, and WiFi cable. Take your time to ensure that each cable is properly inserted into its respective port, and securely fasten them to prevent any loose connections.
Aligning the Motherboard
When aligning the motherboard, make sure it is positioned correctly by matching the screw holes on the motherboard with the corresponding holes in the bottom cover. This will ensure a proper fit and alignment. Take extra care not to force the motherboard into place, as this can cause damage.
Securing the Fasteners
Once the motherboard is aligned, securely fasten it using the appropriate screws or fasteners. Refer to the laptop’s manual or manufacturer’s instructions to determine the correct type and size of screws to use. Tighten the screws firmly, but avoid overtightening as it can potentially damage the motherboard or strip the screw threads.
Reconnecting the Cables
After securing the motherboard, it’s important to reconnect all the cables. Start by carefully inserting the cables into their corresponding ports, ensuring a snug fit. Take note of any labels or markings on the cables that indicate their proper orientation. After inserting the cables, firmly press them in to ensure a secure connection.
Once the motherboard is aligned, fastened, and all cables are securely connected, the installation process is complete. Proceed to the next section to learn about installing memory modules and storage devices.
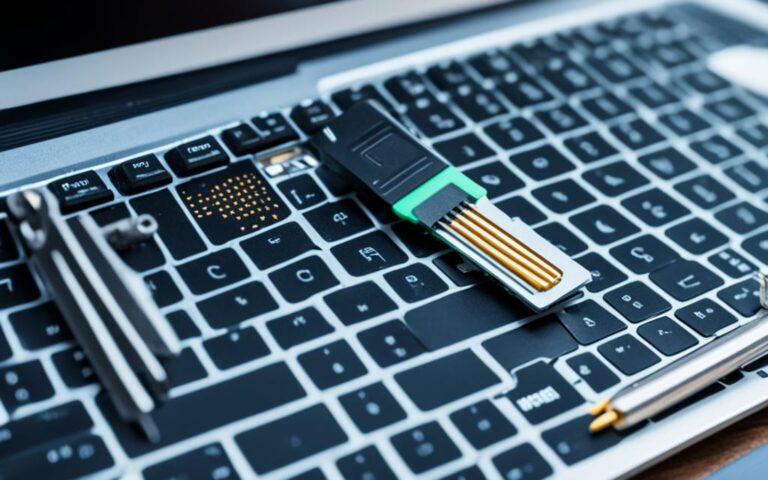
Installing Memory Modules and Storage Devices
After replacing the motherboard, it’s time to install the memory modules and storage devices. Properly installing these components is essential for the smooth functioning of your laptop. Here’s a step-by-step guide on how to do it:
Installing Memory Modules
- Locate the memory slots on your motherboard. These slots are usually located near the CPU socket.
- Take the memory module and align the notch at the bottom with the slot on the motherboard.
- Insert the memory module at a 20-degree angle and press it firmly into the slot until the clips on the side snap into place.
- Repeat the process for additional memory modules, if applicable.
Remember to use the correct memory modules compatible with your laptop’s motherboard. Refer to the user manual or contact the manufacturer if you are unsure about the compatibility.
Inserting Storage Devices
Along with memory modules, your laptop may require storage devices like solid-state drives (SSDs) or hard drives for storing data. Here’s how to insert them:
- Locate the appropriate slots for storage devices on your motherboard.
- Take the SSD or hard drive and align the connectors with the socket on the motherboard.
- Gently push the device into the socket until it is fully inserted.
- Secure the storage device by fastening the screws on its sides.
Proper alignment and secure fastening will ensure the stability and reliability of your storage device.
Once you have successfully installed the memory modules and storage devices, you can proceed to the next step of reassembling your laptop.
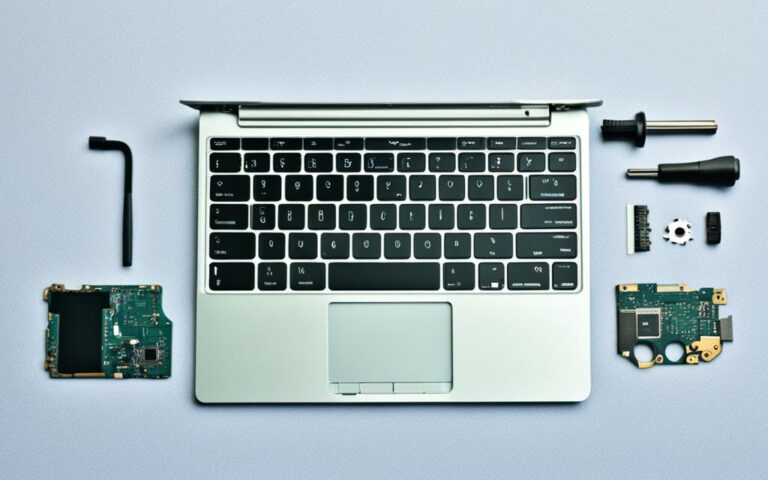
Reassembling the Laptop
Now that all the components and cables are connected, it’s time to reassemble your laptop. This step is crucial to ensure that everything is properly aligned and secured. Follow the reverse order of the disassembly process to avoid any mistakes during reassembly. Additionally, taking pictures during the disassembly process can serve as a helpful visual guide for reassembly.
One important task in reassembling the laptop is attaching the hinge cover plate. This plate helps protect the hinges and provides a clean finish to the laptop’s design. Carefully align the hinge cover plate with the hinges on the laptop and gently press it into place. Make sure it fits securely before moving on to the next step.
Once the hinge cover plate is attached, it’s time to secure the screws. Refer to your laptop’s manual or disassembly guide to identify the specific locations where the screws need to be inserted. Use the appropriate screwdriver to tighten the screws firmly, but be careful not to overtighten them, as it may damage the laptop’s casing.
Ensure that all parts, including the keyboard, touchpad, and any other removable components, are aligned correctly as you reassemble the laptop. Take your time to double-check everything before proceeding.
Reassembling a laptop can be a delicate process, so it’s important to handle the components with care. Avoid applying excessive force during the reassembly to prevent any damage to the laptop or its internal components.
By following these steps and paying attention to details, you can successfully reassemble your laptop and complete the component replacement process.
Testing and Troubleshooting the Laptop
After the motherboard component replacement and reassembly, it is crucial to thoroughly test the laptop to ensure that all the replaced components are functioning correctly. This step ensures that the laptop operates optimally and eliminates any potential issues that may arise.
To start the testing process, power on the laptop by pressing the power button. Pay close attention to the boot-up sequence and check if the laptop successfully powers on without any errors or abnormalities. If the laptop fails to boot up or encounters any issues, troubleshooting steps should be taken to identify and resolve the problem.
Booting Up after Replacement
When testing the laptop after motherboard component replacement, ensure that the system boots up properly into the operating system. Observe the startup screen and look for any error messages, such as “Operating System Not Found” or “No Bootable Device.” These messages indicate potential issues with the hard drive or storage devices.
If you encounter such error messages, start by checking the connections of the storage devices. Ensure that the cables are securely connected, and the storage devices are properly inserted into their respective sockets. Sometimes, improper connection or loose cables can cause the system to not detect the storage devices during boot-up.
If the connections are secure and the issue persists, it may be necessary to boot from a USB or optical drive to reinstall the operating system. Refer to the laptop’s manual or the manufacturer’s website for detailed instructions on how to perform a clean installation of the operating system.
Troubleshooting Issues
In the event that you encounter any other issues during the testing process, it is important to follow troubleshooting steps to identify and resolve them. Begin by referring to the laptop’s manual or the manufacturer’s website for specific troubleshooting instructions.
Example Troubleshooting Steps:
- Check for loose connections: Ensure that all cables and connections are securely plugged into their respective ports and sockets.
- Perform a system memory test: Use built-in diagnostic tools or third-party software to check for any issues with the installed memory modules.
- Update drivers and firmware: Visit the manufacturer’s website to download and install the latest drivers and firmware updates for your laptop and its components.
- Reset the BIOS settings: In case of any misconfiguration, resetting the BIOS settings to their default values can help resolve certain issues.
If you have followed the troubleshooting steps and the issue persists, it is recommended to seek professional help from a certified technician or contact the laptop’s manufacturer for further assistance. They will have the expertise and resources to diagnose and resolve complex hardware or software-related problems.
Remember, proper testing and troubleshooting are essential to ensure a successful motherboard component replacement. By diligently addressing any issues that may arise, you can ensure the optimal performance and reliability of your laptop.
Conclusion
Successfully repairing and upgrading components in a laptop requires expert advice and careful execution. Laptop motherboard component replacement, though challenging, can be achieved by following the right steps, taking necessary safety precautions, and using the correct tools. By doing so, you can ensure a seamless replacement process for a variety of laptop components.
When undertaking laptop repairs and upgrades, it is important to remember that attention to detail is key. By seeking expert advice and guidance, you can navigate the complexities of component replacement with confidence. This ensures that your laptop functions optimally and extends its overall lifespan.
In the United Kingdom, trusted professionals are available to provide the necessary support for your laptop repairs and upgrades. With their expertise, they can guide you through the process, ensuring successful component replacement and a fully functioning laptop.