How to Fix a Stuck or Broken Laptop Key
If you’re experiencing a laptop key that is stuck or broken, you might be wondering how to resolve the issue. Luckily, with the right tools and a little know-how, you can easily repair the key and restore your keyboard’s functionality. In this article, we will guide you through the step-by-step process of fixing a laptop key, whether it’s stuck or broken.
In this section, we will cover the basic steps of laptop key repair, including cleaning the area around the key, removing the key, inspecting the key’s internal parts, and re-inserting the key for optimal functionality. By following these instructions, you’ll be able to fix your broken key and get back to using your laptop without any hassle.
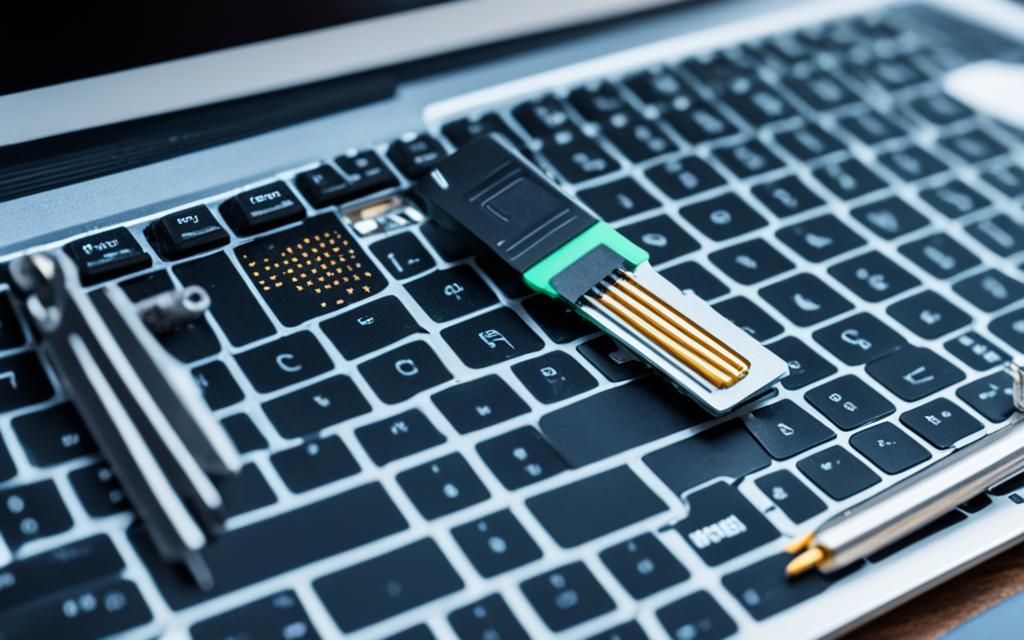
Before we dive into the repair process, it’s important to gather the necessary equipment. You’ll need a prying item, such as a credit card or spudger, a Q-tip, a toothpick, tweezers, and a container to hold the key’s internal parts. Having these tools on hand will make the repair process much smoother and more efficient.
Understanding the anatomy of a laptop key is another crucial step in the repair process. Most keyboard keys consist of three components: the key cap, the key carriage, and the key pad. Familiarizing yourself with these parts will help you identify any issues and determine the best course of action when repairing the key.
Now that you have everything you need and a good understanding of the key’s anatomy, it’s time to prepare your workspace. Find a clean, flat surface where you can work and ensure that your laptop is turned off and unplugged. This will help prevent any accidental damage to your device.
The first step in the repair process is to clean the area around the key and remove the key itself. Use a damp Q-tip to gently clean the space between the keys and remove any dust or debris. If there is any stickiness or grime, you can use a small amount of isopropyl alcohol on the Q-tip for a deeper clean. Then, use a toothpick to carefully scrape away any debris from beneath the key.
Once the area is clean, you can proceed to remove the key by prying it up at a 45-degree angle using a prying item. Be gentle and ensure that you don’t apply too much force to avoid damaging the key or the keyboard.
Now that the key is removed, it’s time to inspect the key’s internal parts for any issues. Check the key carriage for any bent or out-of-place parts and remove any obstructions that may be affecting the key’s functionality.
After inspecting and cleaning the key’s internal parts, it’s time to re-insert them and test the key. Place the key’s carriage and pad back into their correct positions, aligning them carefully. Then, insert the key back into its slot at a 45-degree angle and press down firmly to snap it back into place.
Finally, test the repaired key to ensure it is functioning properly. Press the key multiple times to check for any sticking or responsiveness issues. If the key is still not functioning correctly, you may need to consider replacing it.
By following these steps, you’ll be able to fix a stuck or broken key on your laptop and restore its functionality. Remember to take your time and work carefully to avoid causing any additional damage. With a little patience and the right tools, you’ll have your laptop keyboard back in perfect working order in no time.
Gather Your Repair Equipment
To attempt to repair a key on your laptop’s keyboard, you’ll need a few essential tools. Having these tools on hand will make the repair process much easier.
- A prying item: such as a credit card or spudger. This tool will help you safely remove the key from the keyboard.
- A Q-tip: for cleaning and applying any necessary cleaning agents.
- A toothpick: useful for removing debris and obstructions from under the key.
- Tweezers: for handling small components and aligning the key’s internal parts.
- A container: to keep track of all the key’s components and prevent them from getting lost.
With these repair equipment items, you’ll be well-prepared to clean, fix, and reassemble your laptop key with ease.
| Repair Equipment | Description |
|---|---|
| A prying item | A credit card or spudger to safely remove the key |
| A Q-tip | Used for cleaning and applying cleaning agents |
| A toothpick | Helpful for removing debris and obstructions |
| Tweezers | Useful for handling small components and aligning key parts |
| A container | To keep track of key components during the repair process |
Know the Anatomy of a Key
When attempting to fix a stuck or broken key on your laptop, it’s essential to understand the anatomy of a key. Most keyboard keys consist of three primary components: the key cap, key carriage, and key pad.
The key cap refers to the visible part of the key—the one you press with your finger. It is usually made of plastic and contains the letter, number, or symbol corresponding to the key’s function.
The key carriage is the flat piece of plastic that serves as the foundation for the key cap. This component provides support and stability by securely holding the key cap in place.
The key pad is a piece of rubber situated between the key cap and key carriage. It acts as a cushion, allowing the key cap to depress and create electrical contact with the keyboard’s circuitry when pressed.
The Anatomy of a Key
| Component | Description |
|---|---|
| Key Cap | The visible part of the key containing the symbol or character. |
| Key Carriage | A flat piece of plastic providing support and stability for the key cap. |
| Key Pad | A rubber cushion between the key cap and key carriage. |
Understanding the different components of a key is crucial as it allows you to identify and address specific issues related to a stuck or broken key. By familiarizing yourself with these components, you will be better equipped to troubleshoot and resolve key-related problems on your laptop.
Find a Clean Workspace and Turn Off Your Computer
Before embarking on the laptop key repair process, it’s crucial to ensure you have a clean and suitable workspace. A flat, clutter-free area will not only provide ample room for your repair tools but also prevent any dirt, debris, or accidental spills from finding their way into your laptop. By dedicating a clean workspace to your repair task, you minimize the risk of further damage and improve your chances of a successful repair.
Additionally, it’s imperative to turn off your computer and disconnect it from any power source before attempting any repairs. This precautionary step prevents accidental power surges or electrical shocks that could potentially harm you or your device. Always prioritize safety when working with electronics.
To further protect your laptop from potential damage during the repair process, consider grounding yourself. Grounding involves touching a grounded metal object to discharge any built-up static electricity in your body. This simple action helps prevent electrostatic discharge that may harm the delicate electronic components of your laptop.
Follow these essential steps to ensure a clean workspace and safeguard your laptop from preventable damage:
- Clear a flat surface free from any clutter or potentially damaging objects.
- Place a clean and soft cloth on the workspace to protect the laptop’s surface from scratches.
- Turn off your computer and unplug it from any power source.
- Ground yourself by touching a grounded metal object before proceeding with the repair.
Protect Your Laptop and Yourself
“A clean and organized workspace is essential for a successful laptop key repair. By turning off your computer, unplugging it from the power source, and grounding yourself, you minimize the risk of damage to your laptop’s delicate components.” – Mark Johnson, Computer Repair Expert
Clean the Area Around the Key and Remove the Key
A crucial step in fixing a stuck or broken key is to ensure that the area surrounding the key is clean and free from any dust or debris. Cleaning the key area not only helps in improving the overall appearance of your laptop keyboard but also ensures smooth and uninterrupted key movement.
To begin, you’ll need a damp Q-tip and a small amount of isopropyl alcohol, if necessary. Gently swab the area between the troubled key and the surrounding keys using the damp Q-tip. This will help remove any stickiness, grime, or residue that may be affecting the key’s functionality.
If there are any visible signs of dust or debris, use a toothpick to gently scrape the grooves beneath the key. Be cautious not to apply excessive force that could damage the key or its surroundings.
Pro Tip: When cleaning the key area, it’s important not to apply excess liquid or moisture to your keyboard. Excess liquid can seep into the inner workings of the keyboard and cause further damage. Ensure the Q-tip is only slightly damp and use a minimal amount of isopropyl alcohol, if necessary.
Once the area is clean and free from any dust or debris, you can proceed to remove the key. Start by prying up the bottom of the key at a 45-degree angle, using a prying item such as a credit card or a spudger. Gently lift the key and carefully pull it away from the keyboard.
Removing the key will give you better access to the inner components and allow for a more thorough cleaning or repair if needed. Remember to handle the key with care to avoid causing any additional damage.
Now that you’ve successfully cleaned the area around the key and removed the key itself, you can proceed to the next steps to fix the stuck or broken laptop key.
Re-insert the Key’s Internal Parts and Test the Key
Now that you have successfully removed the key from your laptop, it’s time to re-insert its internal parts and test its functionality. Start by carefully inspecting the key’s carriage for any bent or out-of-place parts. If you notice any issues, gently press down on the bent part to see if it will snap back into place. This step is crucial to ensure smooth key movement.
Next, take a moment to remove any obstructions or foreign material from the area beneath the key. Use a toothpick or tweezers to carefully clean out any dirt or debris that may have accumulated. It’s important to create a clean and clear path for the key’s proper functioning.
With the key’s carriage and the area beneath it cleaned, you can now proceed to re-insert the key. Place the key back into its slot at a 45-degree angle, making sure that it aligns correctly with the surrounding keys. Once the key is in position, gently lower the rest of the key into the slot until it sits flush with the keyboard.
To secure the key in place, press down firmly until you hear a satisfying snap. This indicates that the key has been properly re-inserted into its rightful position. Finally, it’s time to test the key’s functionality. Press the key several times to check if it registers each press accurately and if it returns to its original position smoothly. If the key functions properly, congratulations on fixing your laptop key!
