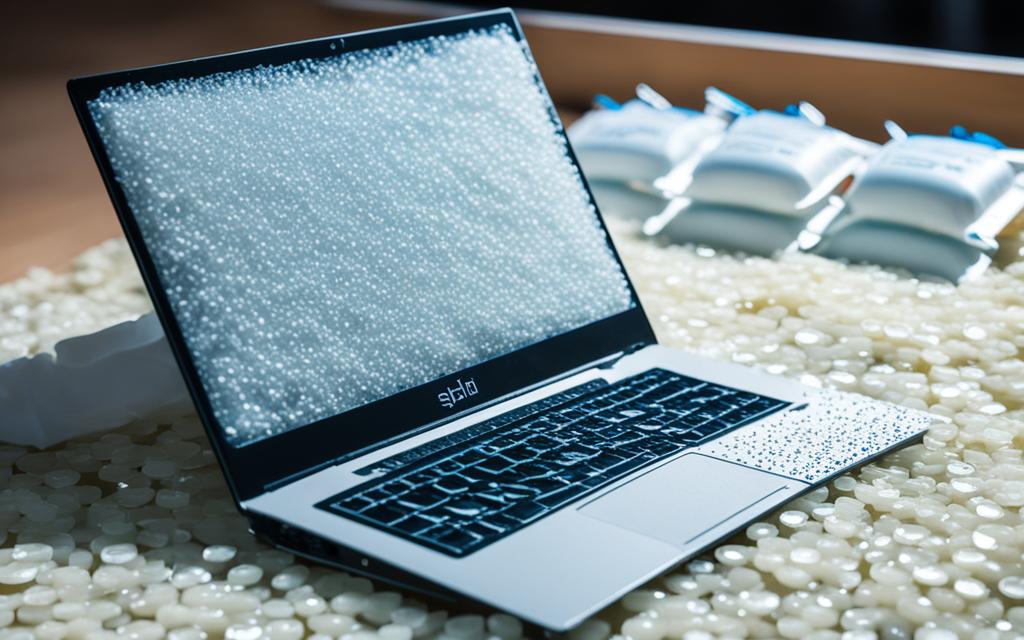
When a laptop comes into contact with liquid, it can cause significant damage to the internal components. To effectively dry and repair a water-logged laptop, it is important to act quickly and follow the correct steps. This article will provide you with strategies to prevent further damage and revive your device.
In this section, we will discuss the immediate steps you should take when your laptop has been exposed to water. Acting promptly can make a difference in saving your laptop from further damage. A closely related example also appears in repairing replacing desktop case fans, where many of the same practical issues show up in a different form.
When a laptop comes into contact with liquid, it is essential to take immediate action to prevent further damage. By following these steps, you can increase the chances of saving your water-logged laptop.
Step 1: Turn off laptop immediately
As soon as you realize that your laptop has been exposed to liquid, the first step is to turn it off immediately. This prevents any active circuits from shorting out and causing further damage to the internal components.
After turning off the laptop, make sure to disconnect it from the power source. This includes unplugging the charger and removing any connected cables. This step is crucial to avoid any potential electrical hazards while handling the water-logged laptop.
Step 3: Remove laptop from liquid
To minimize exposure and decrease the risk of electrical shock, it is essential to remove the laptop from any residual liquid. Carefully lift the laptop and place it on a dry surface. Avoid tilting the laptop, as this may cause the liquid to spread inside the device.
By taking these immediate steps, you can effectively prevent further damage to your water-logged laptop. Remember that acting quickly is crucial when it comes to saving your device from potential permanent damage.
Removing External Hardware
To prevent any further damage to your water-logged laptop, it is crucial to take immediate action and unplug all external hardware from the device. By removing USB devices, memory cards, and controllers, you ensure that these components are not affected by the liquid and can be dried separately. This step is essential in the drying and repair process, as it helps to minimize the risk of damage and increase the chances of successful recovery.
Drying Process
After removing the external hardware, it’s important to follow a proper drying process to minimize damage to your water-logged laptop. By taking the right steps, you can increase the chances of revival and prevent further complications. Here’s what you need to do:
Place laptop on towel: Find a flat surface and lay a clean towel on it. This will provide a soft and absorbent base for the laptop.
Open laptop and set it face-down: Carefully open your laptop and place it face-down on the towel. This position allows for proper drainage of any remaining liquid inside the device.
Wipe up any obvious liquid: Take a soft cloth or paper towel and gently wipe up any obvious liquid on the laptop’s screen, housing, and keyboard. This step helps remove excess moisture and prevents it from seeping further into the internals.
Remember, it’s essential to keep the laptop partially facing down after wiping up the liquid to allow any remaining excess liquid to continue draining. This will aid in the drying process and reduce the risk of internal damage.
Now that you have completed the initial steps of drying your water-logged laptop, it’s time to move on to the next section where we will guide you through removing the internal components for better drying.
Step
Description
1
Place laptop on towel
2
Open laptop and set it face-down
3
Wipe up any obvious liquid
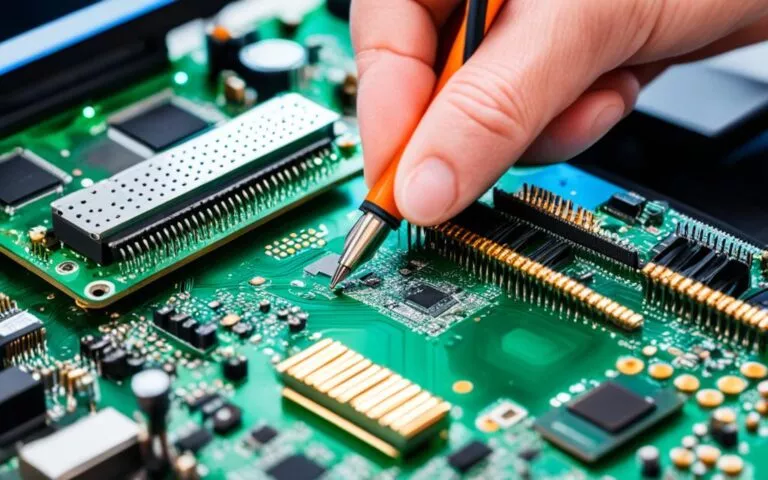
Remove Internal Components
Before attempting to handle the internal components of your water-logged laptop, it is crucial to ground yourself to eliminate any static electricity. This precautionary step helps to safeguard the sensitive internal circuitry from damage.
If you are comfortable and familiar with the process, it is recommended to remove detachable internal components such as the RAM and hard drive for enhanced drying. These removable components should be handled with care and kept in a safe and dry place throughout the drying process.
Once the detachable internal components are removed, it is essential to pat dry any wet internal components using a lint-free cloth. Gently dab the affected areas to absorb excess water and promote faster drying. Take extra care to avoid applying too much pressure, as this can potentially cause further damage to the components.
List of Detachable Internal Components
Internal Component
RAM
Hard Drive
Wireless Card
Battery
By grounding yourself, removing detachable internal components, and pat drying the wet internal components, you are taking important steps to minimize further damage caused by the water exposure. These steps significantly enhance the chances of successfully restoring your water-logged laptop.
Letting the Laptop Dry
After completing the drying process, it is crucial to let the laptop dry for at least one day. Store it in a dry, warm place to facilitate the drying process. It is important to avoid using a hair dryer, as the heat concentration can harm the internal parts of the laptop.
Leaving the laptop undisturbed for an adequate amount of time allows the moisture to evaporate naturally. This is essential for preventing further damage and ensuring the best chance of successful recovery.
Find a suitable location to store your laptop during the drying period. A dry and warm environment is ideal for the moisture to evaporate effectively. Avoid areas with high humidity or direct sunlight, as they can prolong the drying time or potentially cause other issues.
In the case of a water spill, it is common for liquid to seep into the keyboard or other internal components. By avoiding the use of a hair dryer, you minimize the risk of heat damage, which can lead to system malfunctions or component failure.
Remember: Leave the laptop to dry for at least one day,
Store it in a dry, warm place,
Benefits of Letting the Laptop Dry Naturally
Drawbacks of Using a Hair Dryer
Safe and gentle drying method
Minimizes the risk of component damage
Allows natural evaporation of moisture
Reduces the chance of overheating
Risk of heat damage to internal components
Potential for system malfunctions
Increased chance of component failure
Does not promote natural evaporation
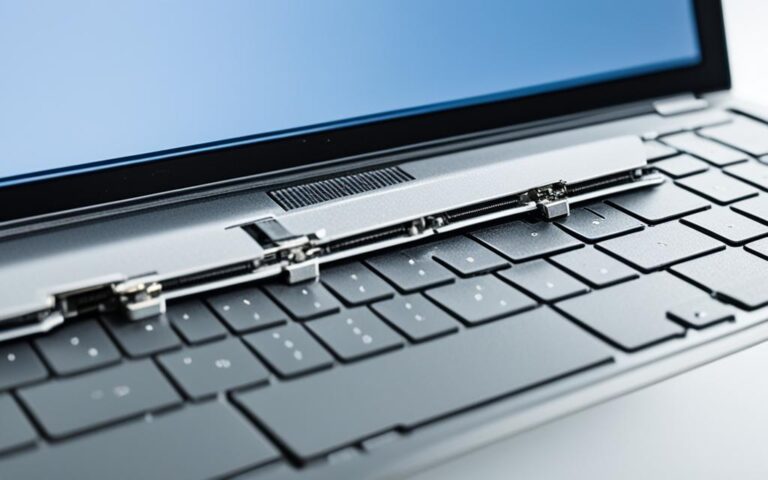
Reassembling and Testing
After the laptop has thoroughly dried, it is time to reassemble the components and test its functionality. Follow these steps to ensure a successful reassembly:
Reassemble the laptop: Carefully place the detached internal components back into their respective slots. Make sure they are securely and correctly positioned, following any disassembly guides specific to your laptop model.
Turn it on: Once the laptop is reassembled, connect the power adapter and press the power button to turn it on. Keep an eye on the laptop screen for any error messages or unusual behavior.
Check for any issues or distortion: After the laptop boots up, pay close attention to the sound quality and display. Listen for any strange noises or distortion in audio output, and inspect the screen for any visual abnormalities, such as lines, flickering, or discoloration.
If your laptop does not turn on or if you encounter any noticeable problems, it is recommended to seek assistance from a professional repair service. They have the expertise and tools necessary to diagnose and address any underlying issues that may have occurred due to the water damage.
Remember, it is crucial to exercise caution and follow proper reassembly procedures to ensure the longevity and proper functioning of your laptop.
Troubleshooting Tips:
If you experience any issues during the reassembly process, refer to your laptop’s user manual or online resources specific to your model for troubleshooting guidance. It is essential to avoid forcing any components into place, as this can cause further damage.
Issue
Possible Cause
Solution
No power
Loose power connection
Ensure the power adapter is securely connected to the laptop and the power source. Try charging the laptop for a while before attempting to turn it on again.
Distorted sound
Corroded audio components
Clean the audio ports and connectors using a soft brush or cotton swab dipped in rubbing alcohol. If the distortion persists, it may require professional repair.
Display issues
Water damage to the screen or graphics card
Inspect the screen for any signs of moisture or physical damage. If present, consult a professional repair service for further assessment and potential replacement.
Malfunctioning keyboard
Water residue affecting keyboard functionality
Remove the keyboard and gently clean it with a damp cloth. Allow it to dry completely before reattaching. If problems persist, consider replacing the keyboard.
Conclusion
Water damage can have devastating effects on laptops, but with quick action and the right strategies, you can save your water-logged device. By following the steps outlined in this article, you can effectively dry and repair your laptop, preventing further damage and costly repairs.
When a laptop comes into contact with liquid, the first and most important step is to act swiftly. Turn off your laptop immediately and disconnect it from the power source to prevent any short circuits. Remove the laptop from any residual liquid and unplug all external hardware, such as USB devices and memory cards.
Next, it’s crucial to follow the proper drying process. Place your laptop on a towel, with the bottom facing down, to allow for proper drainage. Wipe up any obvious liquid on the screen, housing, and keyboard. If comfortable and knowledgeable, remove detachable internal components like RAM and hard drives, and carefully pat dry any wet internal parts with a lint-free cloth.
After completing the drying process, let your laptop dry for at least one day in a dry and warm place. Avoid using a hair dryer, as the concentrated heat can damage internal components. Once thoroughly dried, reassemble the laptop, turn it on, and check for any issues or distortions in sound or display.
To prevent laptop water damage in the future, it’s important to be proactive. Keep liquids away from your laptop and take preventative measures, such as using a laptop spill-resistant keyboard cover and avoiding using your laptop in areas where spills are likely to occur. By implementing these strategies, you can protect your laptop from potential harm.
FAQ
What should I do when my laptop comes into contact with liquid?
The first step is to turn off the device and disconnect it from the power source. This prevents any active circuits from shorting out. You should also remove the laptop from any residual liquid to minimize exposure and decrease the risk of electrical shock.
Should I unplug all external hardware from the laptop?
Yes, it is important to unplug all external hardware from the laptop, including USB devices, memory cards, and controllers. This will ensure that they are not affected by the liquid and can be easily dried separately.
How should I dry my water-logged laptop?
After removing the external hardware, place a towel on a flat surface and set the laptop face-down on the towel. This allows for proper drainage of any remaining liquid. Wipe up any obvious liquid on the screen, housing, and keyboard. It is important to keep the laptop partially facing down to allow any excess liquid to continue draining.
Can I remove internal components for better drying?
If you are comfortable and familiar with the process, you can remove detachable internal components such as RAM and hard drive for better drying. Pat dry any wet internal components with a lint-free cloth to remove excess water.
How long should I let the laptop dry?
It is crucial to let the laptop dry for at least one day. Store it in a dry, warm place to facilitate the drying process. Avoid using a hair dryer, as the heat concentration can harm the internal parts of the laptop.
What should I do after the laptop has dried?
Once the laptop has dried, reassemble the components and turn it on. Check for any issues or distortion in the sound or display. If the laptop does not boot up or if there are noticeable problems, it is recommended to take it to a professional repair service for further assistance.
How can I prevent water damage to my laptop in the future?
To prevent water damage, it is important to keep liquids away from laptops. Be cautious and avoid placing drinks near your laptop. Additionally, consider using waterproof covers or sleeves for added protection.
Welcome to our comprehensive guide on advanced soldering techniques for laptop component upgrades. If you’re looking to enhance your hardware skills and maximize your laptop’s performance, this article is for you. We’ll delve into the intricacies of upgrading soldered components like RAM and CPUs, overcoming limitations, and the key considerations you need to keep in…
Welcome to the ultimate guide for laptop motherboard repair. Whether you’re a tech enthusiast or simply facing motherboard issues with your laptop, this comprehensive guide will provide you with expert advice and solutions to get your device up and running again. We understand the frustration that arises from laptop repair, especially when it involves the…
Laptop hinges play a critical role in the functionality of a laptop, allowing the screen to smoothly pivot open and closed. However, with frequent use, laptop hinges can become damaged or broken, rendering the device unusable. In this comprehensive guide, we will provide expert tips and solutions for laptop hinge repair, ensuring the longevity of…
GPU throttling is a common issue that affects the performance and longevity of a laptop’s graphics processing unit (GPU). As GPUs become more powerful and consume more power, they generate a significant amount of heat. When a GPU reaches a certain temperature, it initiates thermal throttling to protect itself from damage. This results in reduced…
Laptop processors, also known as CPUs (Central Processing Units), play a crucial role in the performance of any computer. While upgrading a CPU on a desktop is a common practice, the same cannot be said for laptops. Most modern laptops have their CPUs soldered directly onto the motherboard, making it difficult, if not impossible, to…
Are you experiencing laptop screen brightness issues? Don’t worry, you’re not alone. Many laptop users encounter problems with their screen brightness, but there are solutions available to fix them. Whether it’s a software or hardware-related problem, this guide will help you troubleshoot and resolve the issue. There can be various reasons behind laptop screen brightness…