Addressing Laptop Charging LED Indicator Issues
If you find yourself facing laptop charging issues, it’s important to address them promptly to ensure the smooth functioning of your device. One common indicator of charging problems is the LED light on your laptop. If you notice that the LED indicator is not responding or behaving erratically, it’s time to take action.
In this article, we will explore some troubleshooting steps that can help you fix the charging LED issues on your laptop. By following these steps, you can ensure that your laptop charges properly and avoid any further complications.
Verify AC Adapter Functionality
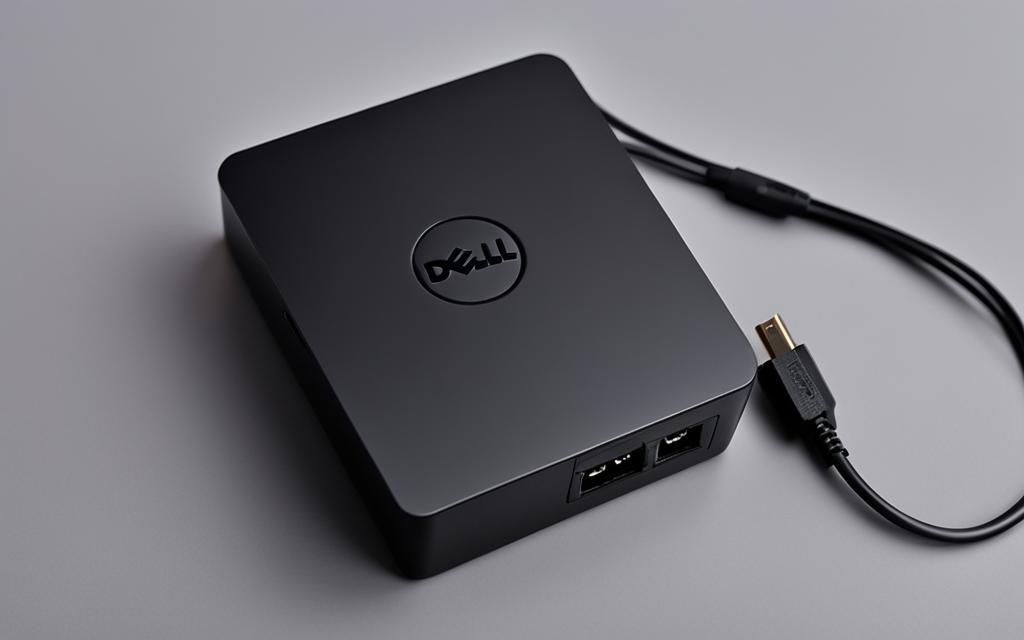
To ensure that your Dell battery is getting charged correctly, the AC adapter must be working correctly. Without a functional AC adapter, the laptop may not receive the necessary power to charge the battery. To verify if the laptop is recognizing the AC adapter, you can follow these steps:
- Restart the computer: Rebooting the laptop can help refresh the system and potentially resolve any temporary recognition issues.
- Access the BIOS settings: By entering the BIOS settings, you can check if the AC adapter type is recognized by the laptop. The BIOS provides a comprehensive overview of the hardware components connected to the system.
If the AC adapter type is not recognized or if the laptop indicates any errors related to the adapter, it may indicate an issue with either the adapter itself or the connection between the adapter and the laptop. Here are a few troubleshooting steps you can take:
- Ensure the AC adapter is securely plugged into both the laptop and the power source.
- Inspect the AC adapter for any physical damage, such as frayed wires or loose connectors.
- If possible, try using a different AC adapter to see if the issue persists. This will help determine if the problem lies with the adapter or the laptop.
By verifying the AC adapter functionality, you can identify and address any issues that may be hindering the correct charging of your Dell battery. It is an essential step in troubleshooting laptop charging problems and ensuring the longevity and performance of your device.
Quote:
“A properly functioning AC adapter is crucial for ensuring the correct charging of your Dell battery.” – Laptop Expert
Charge the Battery in BIOS Mode or with the Laptop Turned Off
Charging the laptop battery outside the operating system can help isolate hardware-related issues. By turning off the computer and charging the battery either in BIOS mode or with the laptop turned off, you can determine if there are any power management settings or device drivers that are affecting the battery’s performance.
When you charge the battery in BIOS mode, you bypass the operating system and any potential software conflicts. To access BIOS mode, restart your laptop and press the designated BIOS access key during startup. This key varies depending on the laptop brand and model, so refer to your laptop’s documentation or the manufacturer’s website for specific instructions.
Once in BIOS mode, navigate to the relevant settings and look for an option related to battery charging or power management. Enable the option to charge the battery while in BIOS mode and let the laptop charge for a couple of hours. If the battery charges normally in this mode, it indicates that there may be software-related issues causing the charging problem.
Similarly, you can charge the battery with the laptop turned off. Simply connect the AC adapter to the laptop and let it charge without powering on the device. This method also allows you to determine if any software conflicts or power management settings are affecting the battery’s performance.
By charging the battery in BIOS mode or with the laptop turned off, you can troubleshoot and identify if the issue lies within the hardware or software of your laptop. This knowledge can help you narrow down the possible causes and proceed with the appropriate troubleshooting steps.
Pros and Cons of Charging the Battery in BIOS Mode or with the Laptop Turned Off
| Charging Method | Pros | Cons |
|---|---|---|
| BIOS Mode |
|
|
| Laptop Turned Off |
|
|
Run the Dell Hardware Diagnostic Test
Running a hardware diagnostic test is an essential step in troubleshooting charging issues with your Dell laptop. This test helps identify the root cause of the problem and provides specific troubleshooting steps to resolve it. By conducting the Dell hardware diagnostic test, you can determine whether the issue lies with the laptop or the battery.
Dell offers two types of diagnostic tests: integrated diagnostics and online diagnostics. The integrated diagnostics can be accessed through the BIOS, while the online diagnostics are available through the Dell SupportAssist application. Both options are user-friendly and designed to guide you through the testing process.
By running the Dell hardware diagnostic test, you can:
- Identify any hardware issues affecting the charging functionality
- Evaluate the health of your laptop’s battery
- Receive step-by-step troubleshooting instructions to resolve the issue
Here is a step-by-step guide to run the Dell hardware diagnostic test:
- Restart your Dell laptop and access the BIOS by pressing the designated key during the startup process.
- Navigate to the diagnostic section and choose the hardware diagnostic test option.
- Follow the on-screen instructions to initiate the test. The diagnostic tool will analyze various hardware components, including the battery and charging system.
- Once the test is complete, review the results and identify any issues or error codes that may be affecting the charging functionality.
- Based on the test results, follow the recommended troubleshooting steps provided to resolve the problem.
By utilizing the Dell hardware diagnostic test, you can quickly and accurately identify the underlying issue with your laptop’s charging capabilities. This enables you to take the necessary steps to address the problem and ensure your laptop charges effectively.
Example Error Code Guide:
| Error Code | Possible Cause | Troubleshooting Steps |
|---|---|---|
| Code ABC123 | Faulty AC adapter | Try using a different AC adapter or contact Dell support for a replacement |
| Code DEF456 | Battery connection issue | Re-seat the battery and ensure it is securely connected |
| Code GHI789 | Battery failure | Replace the battery with a new one |
Table: Example Error Code Guide for Dell Hardware Diagnostic Test
Check the Battery Health Status
Checking the battery health status is crucial in determining whether your battery is functioning correctly or if it needs to be replaced. The battery’s capacity and life can be impacted by the number of charge and discharge cycles it has gone through. To ensure your Dell laptop’s battery is in optimal condition, you can access the built-in battery health diagnostics available in the BIOS or through the Dell SupportAssist application.
Why is Battery Health Status Important?
Understanding your battery health status provides valuable insights into its overall performance and longevity. By assessing battery capacity, you can gauge the amount of charge it can hold compared to its original design capacity. Monitoring battery life allows you to determine the expected lifespan based on your usage patterns and helps you plan for potential replacements.
Regularly checking the battery health status helps you identify if the battery is experiencing any degradation or issues. It allows you to take necessary actions, such as adjusting power management settings, to maximize battery performance and extend its life.
How to Check Battery Health Status
To check the battery health status on your Dell laptop, follow these steps:
- Power on your laptop and press the F2 key to access the BIOS or open the Dell SupportAssist application.
- Navigate to the battery or power settings section within the BIOS or Dell SupportAssist.
- Locate the battery health diagnostics option and select it.
- The diagnostics will run and provide you with detailed information about your battery’s health status, including its capacity and estimated remaining life.
If the battery health status indicates any issues or significant degradation, you may need to consider replacing the battery to ensure optimal performance and longevity.
Checking the battery health status is an essential step in maintaining the longevity and performance of your Dell laptop’s battery. By staying proactive and taking necessary actions based on the information provided, you can optimize your battery’s capacity and prolong its overall lifespan.
Update the BIOS and Dell Quickset
Updating the BIOS and Dell Quickset can help resolve issues with AC adapter recognition and enhance battery charging functionality. Follow the steps below to update both:
Updating the BIOS
- Visit the Dell website and navigate to the “Support” or “Drivers and Downloads” section.
- Enter your laptop’s model number or use the automatic detection tool to identify your device.
- Locate and download the latest BIOS update for your laptop.
- Once the download is complete, run the BIOS installation file.
- Follow the on-screen instructions to complete the BIOS update process.
- Restart your laptop to apply the changes.
Updating Dell Quickset
- Visit the Dell website and navigate to the “Support” or “Drivers and Downloads” section.
- Enter your laptop’s model number or use the automatic detection tool to identify your device.
- Locate and download the latest version of Dell Quickset.
- Once the download is complete, run the Dell Quickset installation file.
- Follow the on-screen instructions to complete the installation process.
- Restart your laptop to apply the changes.
Updating the BIOS and Dell Quickset can help ensure that your laptop recognizes the AC adapter correctly, improving charging performance and resolving any related issues.
| Benefits of Updating the BIOS and Dell Quickset | Steps to Update the BIOS and Dell Quickset |
|---|---|
| 1. Improved AC adapter recognition. | 1. Visit the Dell website. |
| 2. Enhanced battery charging functionality. | 2. Enter laptop’s model number or use automatic detection tool. |
| 3. Resolved issues with AC adapter compatibility. | 3. Download the latest BIOS update. |
| 4. Optimal battery performance. | 4. Run the BIOS installation file. |
| 5. Follow on-screen instructions and restart laptop. | |
| 6. Download the latest version of Dell Quickset. | |
| 7. Run the Dell Quickset installation file. | |
| 8. Follow on-screen instructions and restart laptop. |
Conclusion
In conclusion, troubleshooting laptop charging issues requires a systematic approach to identify and resolve the problem. By following the steps outlined in this article, you can effectively address issues with your laptop’s charging LED indicator and ensure proper charging functionality.
Start by verifying the AC adapter functionality, as a faulty adapter can prevent the battery from charging correctly. Next, try charging the battery in BIOS mode or with the laptop turned off to isolate any software-related issues. If the problem persists, running a hardware diagnostic test can help identify the root cause, whether it’s a hardware malfunction or a battery-related issue. Checking the battery health status is also crucial to determine if the battery needs to be replaced.
Lastly, updating the BIOS and Dell Quickset software can help improve the recognition of the AC adapter and enhance overall charging performance. By diligently following these troubleshooting steps, you can resolve laptop charging issues and maximize the lifespan of your battery.
