How to Clean Your Laptop’s Cooling Fan
Welcome, UK users, to this step-by-step guide on laptop fan cleaning. In order to prevent overheating and maintain optimal performance, it is crucial to regularly clean your laptop’s cooling fan. Dust build-up in the fan can reduce its effectiveness and cause it to work harder to cool the CPU and GPU.
Cleaning the fan is a simple process that can save you from potential performance degradation. By following our easy-to-follow guide, you can ensure that your laptop’s cooling fan is free from dust and operates at its best.
Regular maintenance is key to preventing dust accumulation and ensuring that your laptop performs at its optimum level. So, let’s dive into the step-by-step process and equip yourself with the necessary tools to get your laptop’s cooling fan running smoothly again.
Why Clean Your Laptop’s Cooling Fan?
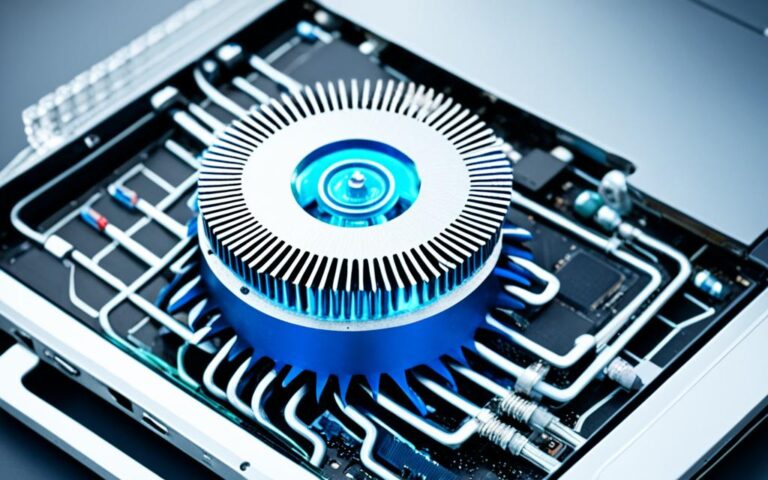
After several months of use, dust can accumulate in a laptop’s cooling fan, reducing its effectiveness. A dusty fan will have to work harder to cool the CPU and GPU, leading to potential overheating issues and performance degradation. Cleaning the fan is necessary to prevent these problems and ensure optimal performance.
Dust build-up: Accumulated dust in the laptop’s cooling fan can hinder its ability to function properly, reducing its effectiveness in cooling the internal components.
Reduced effectiveness: When a laptop’s fan is clogged with dust, it has to work harder to circulate air, resulting in reduced cooling efficiency.
Related:


Overheating: The reduced airflow caused by dust build-up can lead to increased temperatures inside the laptop, potentially causing overheating.
Performance degradation: Overheating can negatively impact the performance of the CPU and GPU, leading to sluggishness, lag, and decreased overall system performance.
To illustrate the impact of dust accumulation on a laptop’s cooling fan, consider the following:
“A dusty cooling fan can cause a laptop’s internal temperature to rise significantly, increasing the risk of hardware failure and system instability.”
– Laptop Expert
Regularly cleaning the cooling fan will help prevent dust build-up and maintain optimal performance. The next section will provide a detailed guide on how to clean your laptop’s cooling fan.
Tools Needed for Cleaning
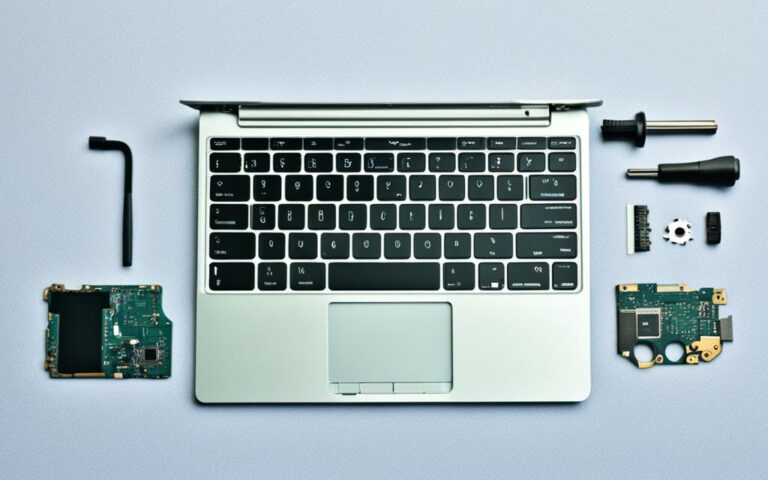
To clean your laptop’s cooling fan, you will need a precision screwdriver set, a microfiber cloth, a soft brush, and a toothpick. These tools are essential for effectively removing dust and debris from your laptop’s fan and vents.
1. Precision Screwdriver Set
A precision screwdriver set is required to remove the bottom panel of your laptop. This will give you access to the cooling fan, allowing you to clean it thoroughly. Make sure to use the appropriate screwdriver size to avoid damaging the screws or the laptop itself.
2. Microfiber Cloth
A microfiber cloth is essential for wiping away surface dust and smudges from your laptop’s fan and surrounding areas. Microfiber cloths are gentle on delicate components and effectively capture dust particles without leaving any scratches or residue behind.
3. Soft Brush
A soft brush, such as a small paintbrush or a makeup brush, is ideal for cleaning the fan blades. Gently brush away any dust or debris from the blades, ensuring they are free from obstructions that could hinder proper airflow. Be careful not to apply too much pressure to avoid damaging the fan or other internal components.
4. Toothpick
A toothpick can be useful for removing fluff or lint build-up from the vents. Gently insert the toothpick into the vents and scrape away any accumulated debris. This will help ensure proper airflow and prevent overheating.
| Tool | Description |
|---|---|
| Precision Screwdriver Set | A set of screwdrivers with various sizes and types, designed for removing screws from electronic devices. |
| Microfiber Cloth | A soft cloth made from microfiber material that effectively picks up dust and debris without scratching delicate surfaces. |
| Soft Brush | A gentle brush, such as a small paintbrush or makeup brush, used for cleaning fan blades and removing dust. |
| Toothpick | A small pointed stick used for removing fluff or lint from vents and other narrow areas. |
Step-by-Step Cleaning Process
To ensure the optimal performance of your laptop’s cooling fan, it is crucial to follow a step-by-step cleaning process. By regularly cleaning your fan, you can prevent dust build-up, enhance cooling efficiency, and maintain the overall health of your laptop.
- Turn off your laptop: Before starting the cleaning process, it is essential to shut down your laptop and unplug it from the power source. This step ensures your safety and minimizes the risk of any electrical mishaps.
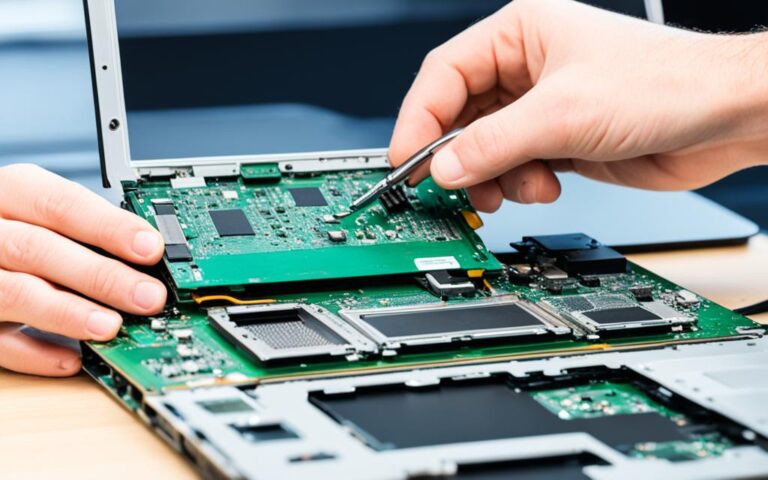
- Remove the bottom panel: Grab your precision screwdriver set and carefully unscrew the screws holding the bottom panel in place. Gently lift the panel to access the internal components of your laptop.
- Inspect for dust: Once the bottom panel is removed, take a moment to inspect the cooling fan for dust accumulation. Dust can impede airflow and hinder the fan’s effectiveness in cooling the CPU and GPU.
- Wipe away surface dust: Use a microfiber cloth to wipe away any surface dust on the fan blades and surrounding areas. Be gentle during this process to avoid damaging the delicate components of your laptop.
- Brush the fan blades: To remove stubborn dust particles that may be stuck to the fan blades, use a soft brush. Lightly brush the blades in a circular motion, ensuring they are completely clean.
- Remove fluff from vents: Over time, fluff and lint can accumulate in the vents, obstructing airflow. Use a toothpick to carefully remove any fluff build-up, making sure not to damage the vent grille.
Following these steps will result in a thorough cleaning of your laptop’s cooling fan, improving its efficiency and preventing overheating issues. It is recommended to perform this cleaning process every few months, depending on your laptop’s usage and environment.
Remember, a clean fan contributes to the smooth operation and longevity of your laptop, allowing you to work or play without worrying about overheating and performance slowdowns.
| Step | Description |
|---|---|
| 1 | Turn off your laptop and unplug it from the power source to ensure safety. |
| 2 | Use a precision screwdriver set to remove the bottom panel of the laptop. |
| 3 | Inspect the cooling fan for dust accumulation that may hinder its effectiveness. |
| 4 | Wipe away surface dust on the fan blades and surrounding areas with a microfiber cloth. |
| 5 | Brush the fan blades gently in a circular motion to remove any stubborn dust particles. |
| 6 | Carefully remove fluff and lint build-up from the vents using a toothpick. |
Alternative Methods of Cleaning
While the recommended method for cleaning a laptop’s cooling fan is using the step-by-step process mentioned earlier, there are alternative methods available. These methods can be useful in certain situations or when the recommended method is not feasible.
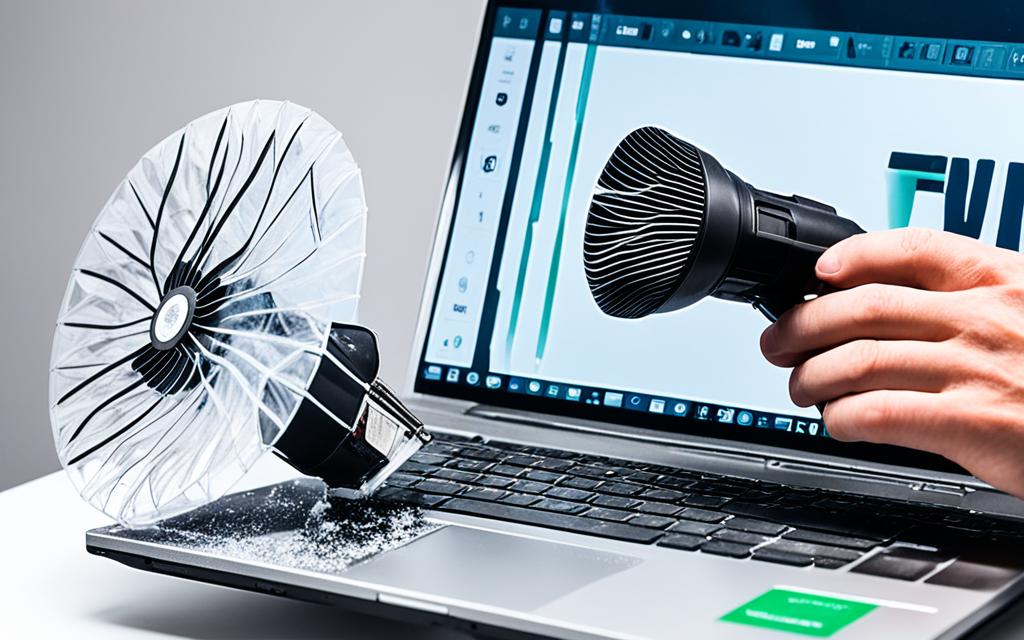
1. Compressed Air
An effective alternative method for cleaning a laptop’s cooling fan is using compressed air. Compressed air can blow away dust particles that have accumulated in the fan and vents, helping to improve airflow. However, caution must be taken not to introduce moisture into the laptop, as this can cause damage. It is important to use a can of compressed air specifically designed for cleaning electronic devices and follow the instructions carefully.
2. Cloth Cleaning
Another alternative method is cleaning the fan using a lint-free cloth. This method may require more effort compared to using compressed air, but it can be effective in removing surface dust and dirt. Gently wipe the fan blades and the surrounding area with the cloth, ensuring not to apply excessive pressure. This method is suitable for regular maintenance and can be combined with other cleaning techniques for optimal results.
3. Laptop Disassembly
Laptop disassembly is an option for a more thorough cleaning of the cooling fan. However, it should only be done by experienced individuals who are familiar with laptop internals. Disassembling a laptop requires proper knowledge and expertise, as any mistakes can lead to further damage. If you have the necessary skills, disassembling the laptop allows for a deeper cleaning of the fan and other components. Always refer to the manufacturer’s guidelines or seek professional assistance if you are unsure.
It is important to note that alternative cleaning methods should be used with caution and only when necessary. The recommended step-by-step process mentioned earlier provides a safe and effective way to clean your laptop’s cooling fan. However, in certain situations or for those with advanced technical skills, exploring alternative methods can help ensure a well-maintained and properly functioning laptop.
| Method | Pros | Cons |
|---|---|---|
| Compressed Air | – Can effectively remove dust particles – Improves airflow – Quick and easy |
– Requires caution to avoid introducing moisture – May not clean deeper dirt |
| Cloth Cleaning | – Suitable for regular maintenance – Removes surface dust and dirt |
– Requires more effort – May not reach all areas |
| Laptop Disassembly | – Allows for thorough cleaning – Access to all components |
– Requires advanced technical skills – Can void warranty if not done properly |
Conclusion
Regular maintenance of your laptop’s cooling fan is crucial for ensuring optimum performance and preventing issues caused by dust accumulation. By following the step-by-step guide and using the recommended tools, you can effectively clean your laptop’s fan and ensure that it operates at its best. Performing this maintenance regularly will help prevent dust build-up and optimize your laptop’s performance.
Prevention is key when it comes to maintaining the health of your laptop’s cooling system. Dust accumulation can hinder the fan’s ability to cool the CPU and GPU, leading to overheating and performance degradation. By implementing a regular cleaning routine, you can avoid these problems and ensure that your laptop runs smoothly.
Remember that regular cleaning of your laptop’s cooling fan is a proactive measure to keep your device in top condition. It is recommended to clean your fan at least once every three to six months, or more frequently if you notice excessive dust build-up. By taking the time to maintain your laptop’s cooling system, you can extend its lifespan and enjoy optimal performance for years to come.