Dealing with Nintendo Switch controller button problems is annoying. They can ruin your gaming fun. This guide will show you how to repair buttons that don’t work right. You will learn about Joy-Con controller issues and how to fix unresponsive buttons.
First, turn off your console. This step is key before trying any fixes. Whether your HOME Button or Capture Button is giving you trouble, this advice will help. You’ll find tips to make your controller work like new, so your gaming is always top-notch. A related console issue also shows up in here s how send nintendo, especially when compatibility, settings, or controller behaviour affect play.
Understanding the Issue with Nintendo Switch Controller Buttons
Nintendo Switch controller issues can drive gamers mad. Sometimes, the buttons don’t work or are slow to react. It’s important to know if it’s a hardware or software problem.
Issues like the POWER, Volume, HOME, or Capture buttons sticking are common. Before fixing them, check for any visible jams. A careful look could reveal the issue’s root.
Cleaning around these troublesome buttons is vital. But avoid harsh cleaners that could harm more than help. Keeping the system updated can fix software glitches too. If you’ve tried everything and it’s still not working, it might be time to get expert help.
Knowing how button mapping works sheds light on unresponsive buttons. If it’s a widespread problem, not just in one game, it might be a bigger issue. Using the console’s button test helps in figuring out if the buttons are working right.
Common Causes of Stuck or Unresponsive Buttons
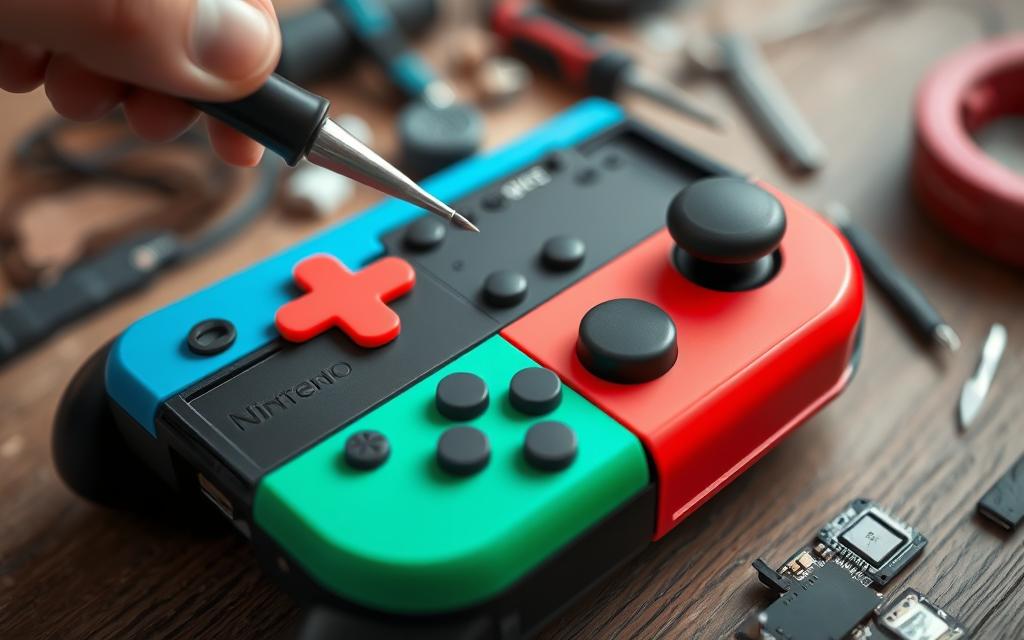
Several factors lead to controller button issues on Nintendo Switch devices. A major cause is the accumulation of dirt and debris. This results in sticky buttons feeling unresponsive or stuck. To fix this, inspect the button areas closely. Use a soft, dry toothbrush for cleaning to remove any particles.
Fluid spills are another frequent problem. They seep inside the controller, leading to mechanical failure. Regular cleaning prevents such issues. However, being careful is essential.
Heavy use can also wear out controllers. Over time, this heavy activity can make buttons stop working. Sometimes, the issue isn’t with the hardware but with software glitches. If facing these problems, try the button test feature on the console. Note, however, that certain buttons like POWER and Volume can’t be tested this way. For detailed help, check out this guide.
How to Fix Nintendo Switch Controller Buttons
To fix controller buttons on a Nintendo Switch, start with simple steps. This helps you find and fix button issues efficiently.
Initial Steps to Troubleshoot
Start with these easy fixes:
Power off the Nintendo Switch completely.
Inspect the controller visually for any noticeable dirt or damage.
Check that the controller is properly paired with the console.
Reset the controller by pressing the small reset button located at the back.
Cleaning Techniques for Stuck Buttons
Cleaning can often fix unresponsive buttons. Use these steps:
Use a soft, dry toothbrush to gently remove debris around the buttons.
A can of compressed air can help dislodge any dust or particles trapped between buttons.
If stickiness remains, carefully disassemble the controller to clean inside. Follow all steps carefully to avoid damage.
Checking for Software Updates
Updates are crucial. Always check for the latest software update for controllers:
Navigate to System Settings on your Nintendo Switch.
Select “System Update” and follow prompts to ensure you have the latest version.
Many button issues come from outdated software, so update regularly.
Testing Individual Controller Buttons
Checking each button on your Nintendo Switch controller is key for the best gaming feel. Testing these can show hidden problems. By using the console’s Button Test feature, you can check if each button reacts well.
Utilising the Button Test Feature
The Button Test lets players see how buttons react in real time. It doesn’t cover the POWER, Volume, HOME, SYNC, or Capture buttons. To try it, go to your settings and click the button test option. As you press a button, its symbol will show on screen, telling you if it works right. If a button doesn’t seem right, it might not be working properly.
Identifying Specific Non-Responsive Buttons
When testing, notice any buttons that don’t respond. Stickiness can mean they need fixing. Finding issues early helps avoid bigger problems later. Make sure to clean around any sticky buttons with a dry toothbrush. This keeps your controller in good shape without harm.
Changes in button mapping might show with a spanner icon by the controller’s name. Keeping your system up to date ensures it works well. Regular updates can also keep performance at its peak.
If your controller still has issues after testing, think about getting it fixed or asking for help. For more on repair options and costs, you can look at this resource.
Restoring Default Controller Settings
Resetting your Nintendo Switch controller to its default settings can fix problems from accidental changes. It often solves issues with button mapping, making sure each button works correctly. This can be done in the Controller and Sensors menu in the system settings.
First, go to your Nintendo Switch’s settings. Then, pick Controller and Sensors and look for the Reset button. This lets you fix button layouts and other changed settings. After resetting, gaming becomes smoother, especially if the old button setup was an issue.
Keep in mind, custom configurations are stored on the console, not the controller. So, these settings won’t move to a different console. But you can keep up to five custom setups. This is useful for changing control schemes or games. To go back to the original setup, just hit Reset under Change Button Mapping.
If your buttons keep not responding, a reset might help. But if problems remain, you may need to check for updates or get help from Nintendo’s support page.
When to Consider Professional Repair Services
Knowing when to consider professional repair services can save time and reduce frustration. It matters to check how well you can fix your Nintendo Switch controller’s buttons yourself. If you don’t succeed, it’s crucial to look into professional help. Nintendo’s repair service is quite efficient, especially for unresponsive Joy-Con controllers.
Understanding Repair Options Through Nintendo
Nintendo offers different repair services to meet customer needs. In places like the EEA, UK, and Switzerland, they fix control stick issues for free. This is true even after the 24-month warranty has ended. So, users still get help with wear and tear issues.
For Nintendo Switch Lite users, remember Joy-Con controllers work wirelessly even if they can’t attach directly. Nintendo aims for strong products. They show this through great warranty policies and a focus on customer happiness.
However, not all repairs are free. Modifications, unapproved accessories, or damage from negligence might not be covered. In these cases, seeking professional repair services is a good step.
If you need quick service, try uBreakiFix by Asurion. They’re known for fast repairs, with over 700 locations and a 4.7 Google star rating from 300,000 reviews. Often, they can fix things the same day, getting gamers back in action fast.
Repair Service
Location Count
Star Rating
Repair Warranty
Turnaround Time
Nintendo Official Repairs
Nationwide availability in EEA, UK, Switzerland
N/A
Free for responsiveness syndrome
Varies
uBreakiFix by Asurion
700+
4.7 stars
1-year limited warranty
Same day
Conclusion
We have looked at various ways to fix stuck or unresponsive buttons on Nintendo Switch controllers. By understanding what causes these issues and using simple cleaning methods, you can keep your controllers in top shape. Keeping your software up to date is also crucial. This approach doesn’t just fix current problems but helps avoid new ones too.
Trying these solutions can make your Joy-Cons respond better, making games more fun. If they still don’t work well, it’s a good idea to get help from Nintendo Switch repair experts. They have the skills for more complex issues that you can’t fix on your own.
Keeping your controllers in good condition means you’ll enjoy gaming more and they’ll last longer. Regular checks and careful use are key. By doing this, you’ll face less trouble with your controllers in the future.
FAQ
What should I do if my Nintendo Switch controller buttons are unresponsive?
First, power cycle your console and inspect the controller. Clean the buttons with a soft, dry toothbrush. Also, update your Nintendo Switch with the latest software.
How can I clean sticky buttons on my Nintendo Switch controller?
To tackle sticky buttons, use a soft, dry toothbrush carefully. Don’t apply liquids as they might harm the controller. Make sure the controller is off before cleaning.
What are the common causes of unresponsive Nintendo Switch controller buttons?
Unresponsive buttons often result from dirt build-up, spills, wear and tear, or software issues. It’s vital to figure out if the problem is due to external or internal faults.
How do I test if my controller buttons are functioning correctly?
Test your controller buttons with the Nintendo Switch’s Button Test feature. It shows your button inputs on the screen, helping spot any issues.
How can I restore my Nintendo Switch controller to its default settings?
To reset your controller, go to the system settings. Look for the button mapping option. Resetting to factory settings can fix mapping or configuration mistakes.
When should I consider using professional repair services for my Joy-Con controllers?
If fixing the buttons yourself doesn’t work, or if the controller seems mechanically broken, it’s best to get professional help. Nintendo offers repair services online.
How can I ensure my Nintendo Switch controller buttons stay functioning smoothly?
Keep your controllers clean and updated to prevent button issues. Doing quick checks and maintenance can stop problems before they get worse.
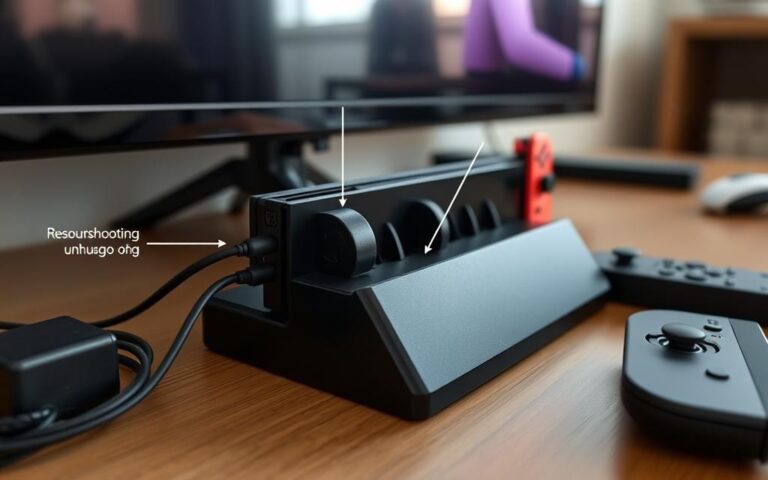
It’s really annoying when your Nintendo Switch dock won’t link up with the TV. Especially when you’re keen to play your favourite games on a bigger screen. There are several reasons behind these TV connection problems. They could be due to faulty cables, wrong input settings, or hardware issues. Knowing how to sort these connection…
Many Nintendo Switch Lite users have noticed their control sticks moving on their own. This problem is known as “Joy-Con drift.” So, do these users get help from Nintendo? Luckily, Nintendo does fix this issue for free in regions like the EEA, UK, and Switzerland. This service is available even after the usual two-year warranty,…
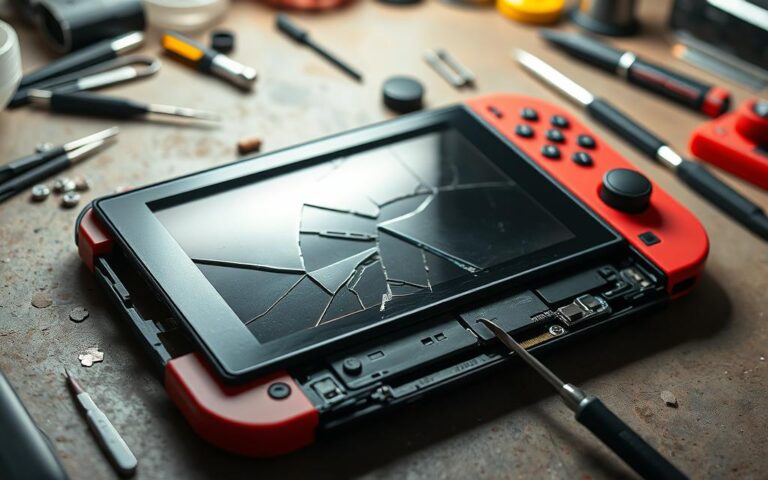
The Nintendo Switch has changed how we play games, but it can still get damaged. Screen issues, like cracks from drops or dead pixels, are common. Yet, there’s hope since fixing the screen is often doable. This article will help you understand everything about Nintendo Switch screen repair. It covers why screens get damaged, how…
If you’re experiencing frame rate drops on your Nintendo Switch, don’t fret! There are simple and effective repair tips that can help you improve your gaming experience. Whether you’re battling lag or struggling with gameplay, these tips will assist you in resolving any frame rate issues. Many games on the Nintendo Switch are limited to…
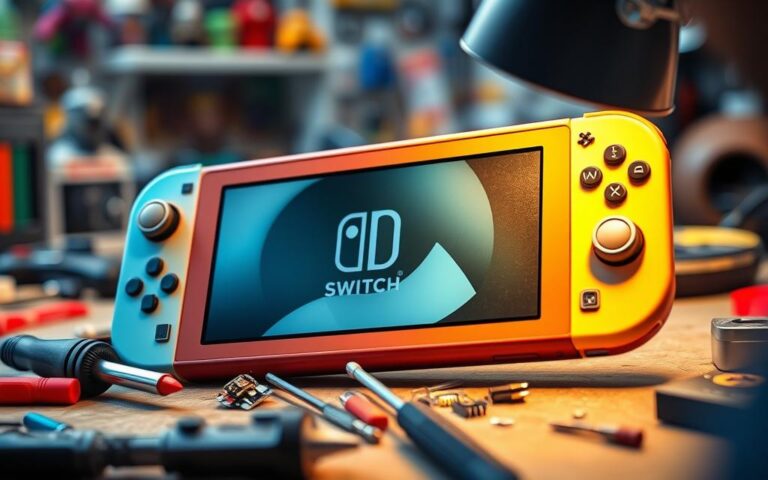
If you’re having trouble with your Nintendo Switch controller, a detailed nintendo switch controller repair guide is key. This article will walk you through fixing common problems like Joy-Con drift and unresponsive sticks. It’s a must-have for anyone looking to repair their controller successfully. Over 75% of Nintendo Switch users face drift issues with their…
Is your Nintendo Switch acting up? Whether it’s a cracked screen, unresponsive buttons, or charging issues, knowing the right steps for a repair can save time and hassle. Nintendo offers an official service to get your console back in top shape. Before shipping your device, check its warranty status using the system serial number. Most…