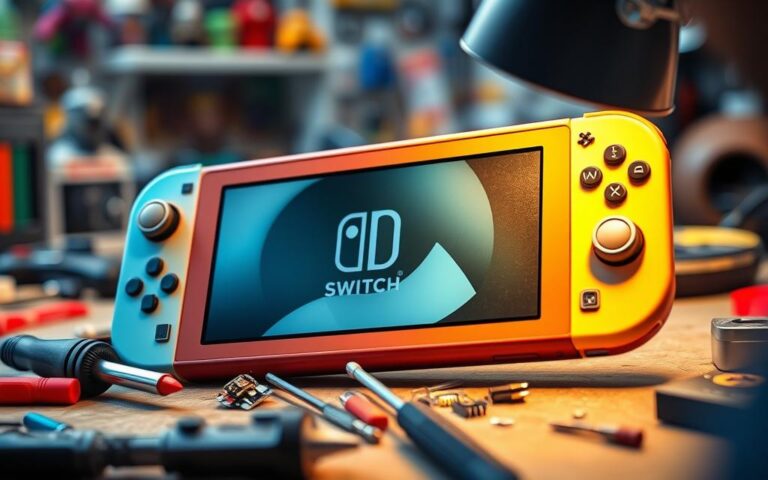
Fixing Your Nintendo Switch Controller: Step-by-Step!
If you’re having trouble with your Nintendo Switch controller, a detailed nintendo switch controller repair guide is key. This article will walk you through fixing common problems like Joy-Con drift and unresponsive sticks. It’s a must-have for anyone looking to repair their controller successfully.
Over 75% of Nintendo Switch users face drift issues with their Joy Cons. Knowing how to fix these problems is essential. Joy Cons usually last about 2 years with regular use, making a good repair guide even more important.
Understanding Your Nintendo Switch Controller
To fix your Nintendo Switch controller, knowing the different types is key. The Joy-Con is the main controller, while the Pro controller is for serious gamers. Knowing the Joy-Con’s differences helps you solve problems better.
There are many nintendo switch controller types to consider. Joy-Con controllers attach to the Switch’s sides, and the Pro controller gives a classic feel. Understanding these helps you find and fix controller issues.
Related:


Identifying your controller model is important. Look at the type, features, and any problems you face. Knowing your controller well ensures it works well for gaming.
Common Controller Components
Key parts include analog sticks, directional buttons, and triggers. Knowing how to care for these parts extends your controller’s life. Also, knowing about different controllers helps when buying or fixing one.
Essential Tools and Materials for Controller Repair
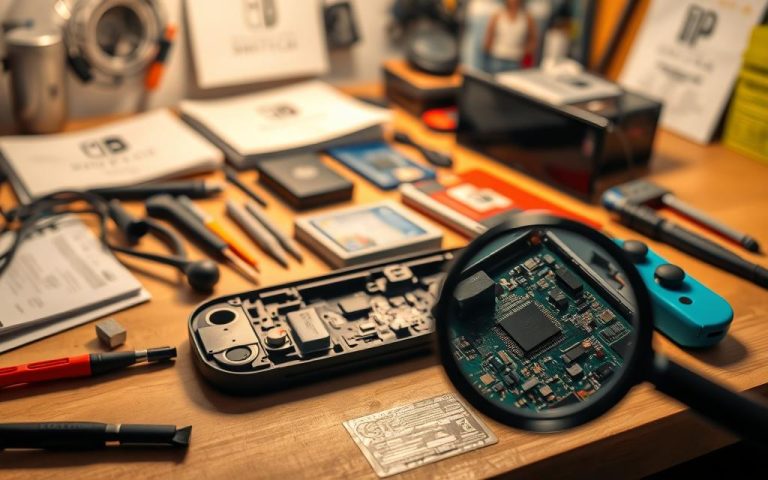
To fix your Nintendo Switch controller, you’ll need some key tools and materials. These include a screwdriver, plastic spudger, and Nintendo Switch controller repair kit. You can find these tools in most electronics repair kits or buy them separately. The controller repair tools help solve problems like Joy-Con drift or connection issues.
A good Nintendo Switch controller repair kit has many tools, like screwdrivers and spudgers. You can find these kits online or at repair stores. Make sure the kit fits your controller model and has all the tools you need.
Some top controller repair tools include the Keten 130-in-1 Screwdriver Tool Repair Kit and the Starko 8-piece Nintendo Switch Tool Kit. These kits have everything you need, from basic tools to special ones like triwing screwdrivers.

Choosing the right Nintendo Switch controller repair kit is key to a successful repair. With the right tools, you can fix common problems and get back to gaming fast and easily.
| Tool | Description |
|---|---|
| Keten 130-in-1 Screwdriver Tool Repair Kit | A kit with 120 magnetic screwdriver bits and 10 extra tools |
| Starko 8-piece Nintendo Switch Tool Kit | Designed for Nintendo Switch and JoyCon, includes Y00, Y2.0, and Phillips drivers |
Safety Precautions Before You Begin
When you start controller repair safety, it’s key to avoid damage and keep yourself safe. Before you begin, understanding how to prevent static damage is vital. Also, make sure your workspace is ready.
A tidy workspace can make repairs up to 30% better, as users say. You’ll need an anti-static wrist strap and a clean, flat area to work. For more on health and safety for your Nintendo, check the official Nintendo website.
- Grounding yourself to prevent static electricity
- Using a soft, dry cloth to clean the controller
- Avoiding exposure to liquids or extreme temperatures
By sticking to these steps, you can repair your Nintendo Switch controller safely and effectively.
How to Repair Nintendo Switch Controller: Step-by-Step Guide
To start the repair, you need a guide for fixing Nintendo Switch controllers. It begins with checking the controller to find the problem. This step is key to fixing it right.
Understanding the controller’s parts is important. Knowing how they work helps you fix it confidently. The guide will explain each part and its role, helping you find and fix problems.
Initial Diagnostics
First, check if the controller works right. Look for signs like Joy-Con drift or button issues. A step-by-step guide helps you fix these problems.
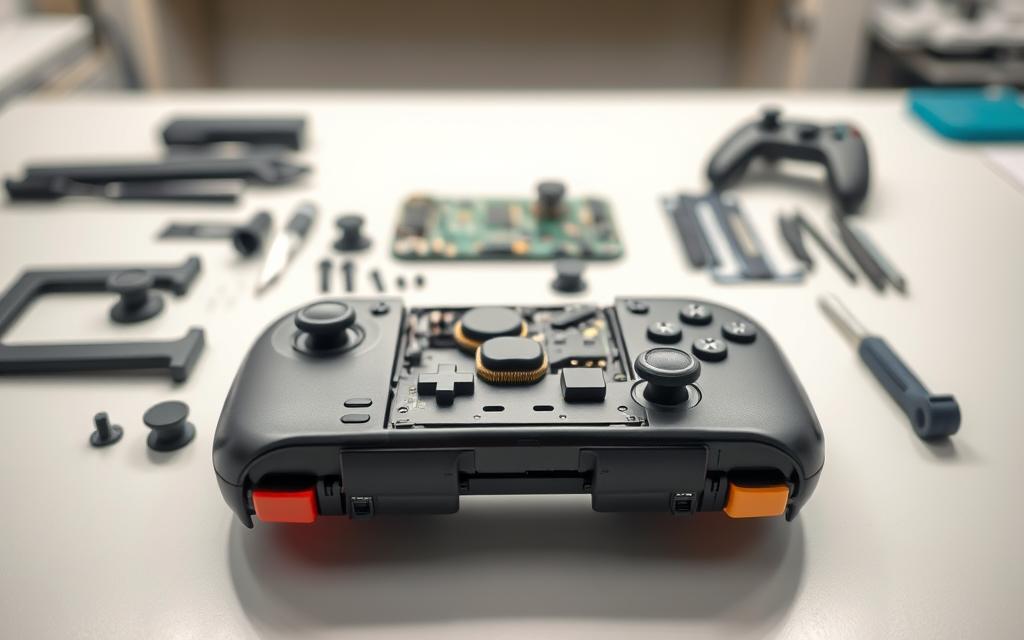
Opening the Controller Safely
After checking, open the controller carefully. This step is vital to avoid damaging the inside. The guide will show you how to do this safely.
Component Inspection
After opening, look at the parts for damage. Check the Joy-Con sticks and buttons. A guide helps you check everything and fix it.
Troubleshooting Common Controller Issues
Having trouble with your Nintendo Switch controller? It’s key to figure out what’s wrong and how to fix it. Nintendo Switch controller troubleshooting is easier if you know the right steps. Issues like Joy-Con drift, control sticks not working, and connection problems are common.
First, check if your controller’s firmware is current. You might also need to calibrate the control sticks or reset the controller. If these steps don’t work, you might need to repair or replace it. 
Here are some common problems and how to solve them:
- Joy-Con drift: Try calibrating the control sticks or cleaning the joystick base with paper towels and rubbing alcohol.
- Unresponsive control sticks: Check the controller’s firmware and ensure it’s up to date, or try resetting the controller.
- Connectivity problems: Move the controller closer to the Nintendo Switch or remove other wireless devices to improve connectivity.
By following these steps, you can solve common controller problems. This ensures your Nintendo Switch gaming is top-notch. Regular care, like cleaning and calibrating, can also prevent issues. Always check the official Nintendo support website for common controller issues and troubleshooting guides.
| Issue | Solution |
|---|---|
| Joy-Con drift | Calibrate control sticks or clean joystick base |
| Unresponsive control sticks | Check firmware or reset controller |
| Connectivity problems | Move controller closer to Nintendo Switch or remove wireless devices |
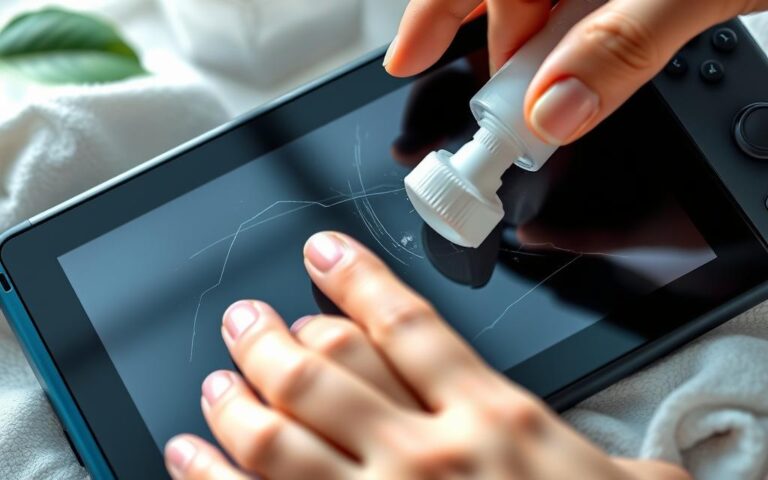
Fixing Joy-Con Drift Problems
Many Nintendo Switch users face Joy-Con drift issues. This problem makes the analog stick unresponsive or drifts on its own. To solve this, understanding the causes and solutions is key. You can fix Joy-Con drift by cleaning and calibrating the analog stick.
Cleaning the analog stick is a first step in fixing Joy-Con drift. Use compressed air and microfiber cloths for this. Be gentle with the controller to avoid damage. If you’re not up for DIY, Nintendo offers a free repair for Joy-Con drift if it’s a hardware issue.
Cleaning the Analog Stick
Cleaning the analog stick is easy to do at home. Here’s how:
- Use compressed air to remove dirt or debris from the stick.
- Wipe the stick with a microfiber cloth to get rid of dirt or grime.
- Don’t use liquids or harsh chemicals, as they can harm the controller.

Calibration Methods
Calibration is another way to fix Joy-Con drift. It resets the controller’s calibration to ensure the stick works right. By following these steps and using the right techniques, you can enjoy smooth gaming with your Nintendo Switch controllers.
Software Solutions and Updates
To fix problems with your Nintendo Switch controller, software updates are key. Regular nintendo switch software updates can solve many issues. Also, controller firmware updates help with Joy-Con or Pro Controller problems.
Common issues like Joy-Con drift, unresponsive buttons, and connection troubles can be fixed. Keeping your console and controllers updated ensures they work well. This reduces the chance of technical problems.
Here’s how to update your Nintendo Switch and controller:
- Go to the Nintendo Switch home screen and select “System Settings”
- Scroll down to “System” and select “System Update”
- Follow the prompts to download and install the latest update
- For controller firmware updates, go to the “Controllers and Sensors” menu and select “Update Firmware”
By updating regularly, you’ll have a better gaming experience. Regular nintendo switch software updates and controller firmware updates keep your console and controllers in top shape. This helps avoid common issues with your Nintendo Switch controller.
| Issue | Solution |
|---|---|
| Joy-Con drift | Update controller firmware, calibrate Joy-Con, or replace if necessary |
| Unresponsive buttons | Update controller firmware, reset button mapping, or replace if necessary |
| Connectivity problems | Update console software, update controller firmware, or reset controller |
Preventive Maintenance Tips
Regular controller maintenance tips can extend your Nintendo Switch controller’s life. Cleaning it often is key. Use compressed air to get rid of dust and dirt from small spaces and buttons.
It’s also important to handle your controller with care. Don’t let it get too hot or cold. Always store it in a protective case when you’re not using it. This protects it from damage and keeps it working well.
Here are some more tips to remember:
- Use a soft cloth to wipe down the controller and remove any dirt or debris
- Avoid eating or drinking near the controller to prevent spills and stains
- Update your controller firmware regularly to ensure you have the latest features and bug fixes
By following these controller maintenance tips, you can keep your Nintendo Switch controller in top shape. Regular nintendo switch controller care also helps it last longer. This saves you money and reduces the need for repairs.
| Tip | Description |
|---|---|
| Regular Cleaning | Use compressed air to remove dust and dirt from the crevices and buttons |
| Handle with Care | Avoid exposing the controller to extreme temperatures and store it in a protective case when not in use |
| Firmware Updates | Update your controller firmware regularly to ensure you have the latest features and bug fixes |
Conclusion: Maintaining Your Repaired Controller
Congratulations on fixing your Nintendo Switch controller! To keep it working well, it’s important to take care of it. Regular nintendo switch controller maintenance and repaired controller care will make it last longer and avoid problems later.
Start by cleaning your controller with a soft, lint-free cloth. Don’t use harsh chemicals or liquids, as they can harm the delicate parts. If dust or debris builds up, gently wipe it off to keep your controller in top shape. Also, put your repaired controller in a protective case or storage when not using it to protect it from damage.
By following these easy nintendo switch controller maintenance and repaired controller care tips, you can have many years of fun gaming on your Nintendo Switch. Keep your controllers in good condition, and your gaming will be smooth and enjoyable.
FAQ
What are the different types of Nintendo Switch controllers?
There are two main types of Nintendo Switch controllers. The Joy-Con is the standard controller. The Pro controller is for serious gamers.
What are the common components of a Nintendo Switch controller?
A Nintendo Switch controller has several parts. These include analog sticks, buttons, triggers, and rumble motors. Knowing these parts helps you fix issues.
How can I identify my Nintendo Switch controller model?
To find your controller model, look at the back for a model number. You can also check the system settings on your Nintendo Switch.
What tools and materials do I need to repair my Nintendo Switch controller?
You’ll need a screwdriver, a plastic spudger, and a repair kit. You can buy these online or in stores.
How can I prevent static damage when repairing my Nintendo Switch controller?
Work in a clean, dry area. Avoid touching sensitive parts with your hands. Use an anti-static mat or wrist strap.
How do I safely open my Nintendo Switch controller?
Follow the repair guide carefully. Be gentle with the inside parts. Make sure you have the right tools.
How can I troubleshoot common issues with my Nintendo Switch controller?
Troubleshooting includes fixing Joy-Con drift and unresponsive sticks. The guide will help you solve these problems step by step.
How can I fix Joy-Con drift on my Nintendo Switch controller?
Try cleaning the stick, recalibrating, or replacing parts. The guide will show you how to fix Joy-Con drift.
How can I update the firmware on my Nintendo Switch controller?
Check for updates, download the latest firmware, and follow the instructions. This will update your controller.
How can I maintain my repaired Nintendo Switch controller?
Clean and care for it regularly. Store it properly when not in use. These tips will help your controller last longer.