After long-term use, the laptop display ribbon cable is prone to damage, such as wire core breakage, bending, loose interface and other problems, which will cause the laptop to not work properly. In addition, the material of the cable will age and harden, and the interface elasticity will decrease, which will also lead to poor connection and cannot be used normally.
So how do we deal with these problems? A related repair case also appears in unresponsive touchpad lenovo laptop, where the same fault patterns can change the best fix path.
If the laptop display cable is damaged, the screen will often flicker or flutter. This may last for a few seconds or minutes, and sometimes it will be accompanied by different noises. At this time, you can try to gently press the back cover of the laptop. Sometimes this method can temporarily solve the problem.
The display screen appears ripples
Another manifestation is the appearance of waves on the screen. This may occur on the entire screen or on one side of the screen. Generally, this problem will become more and more serious as the laptop is used, so it needs to be solved in time. Otherwise, the ripples on the screen may become more and more obvious, and eventually make the screen unusable.
The screen shows color distortion
If the display cable is damaged, the screen will show color distortion, the screen will show some strange colors or the entire screen will lose color. Sometimes the screen will even have a rainbow image, in which different color stripes can be seen, and these stripes are also flashing non-stop.
If the display cable is seriously damaged, the resolution will also decrease. In this case, the image on the screen will be blurred, all text will become larger, and there will be very large blank areas. At this time, we need to repair or replace the display cable in time.
In summary, after discovering that the laptop display cable is damaged, it is necessary not only to make an accurate diagnosis of the problem, but also to repair or replace the problem part in time. If this situation is constantly ignored during the operation, the problem will become more and more serious, and eventually lead to the collapse of the entire laptop system.
Reasons why the laptop display ribbon cable is broken
Hardware failure
Damage or aging of the internal cable of the screen:
The display cable of the screen is responsible for transmitting image and data signals. If the cable is aged or damaged, the screen will have problems such as noise, screen distortion, and screen flashing, which will eventually cause the screen to fail to display normally. At this time, you need to replace the cable inside the screen or the entire screen.
Poor cable connection:
Because the connection of the cable is easy to loosen or have poor contact, the screen may not display normally in a few cases. At this time, you need to re-plug the cable or replace the cable connector.
Improper use
Long-term use:
Long-term use of the monitor is also a reason for the aging of the cable. If the monitor is used for a long time and the computer is not turned off, the monitor will be turned on all the time, and long-term power-on will cause the cable to age, resulting in various screen problems.
Excessive plugging and unplugging:
If the monitor cable is frequently plugged and unplugged, the connector of the monitor will be excessively worn, resulting in poor connection or damage. Therefore, it is recommended to avoid frequent plugging and unplugging of the monitor cable in daily use.
In summary, there are many reasons why the screen display cable is broken, among which hardware failure and improper use are the most general ones. Therefore, we need to pay special attention when using computers and monitors to avoid problems such as cable aging and poor connection.
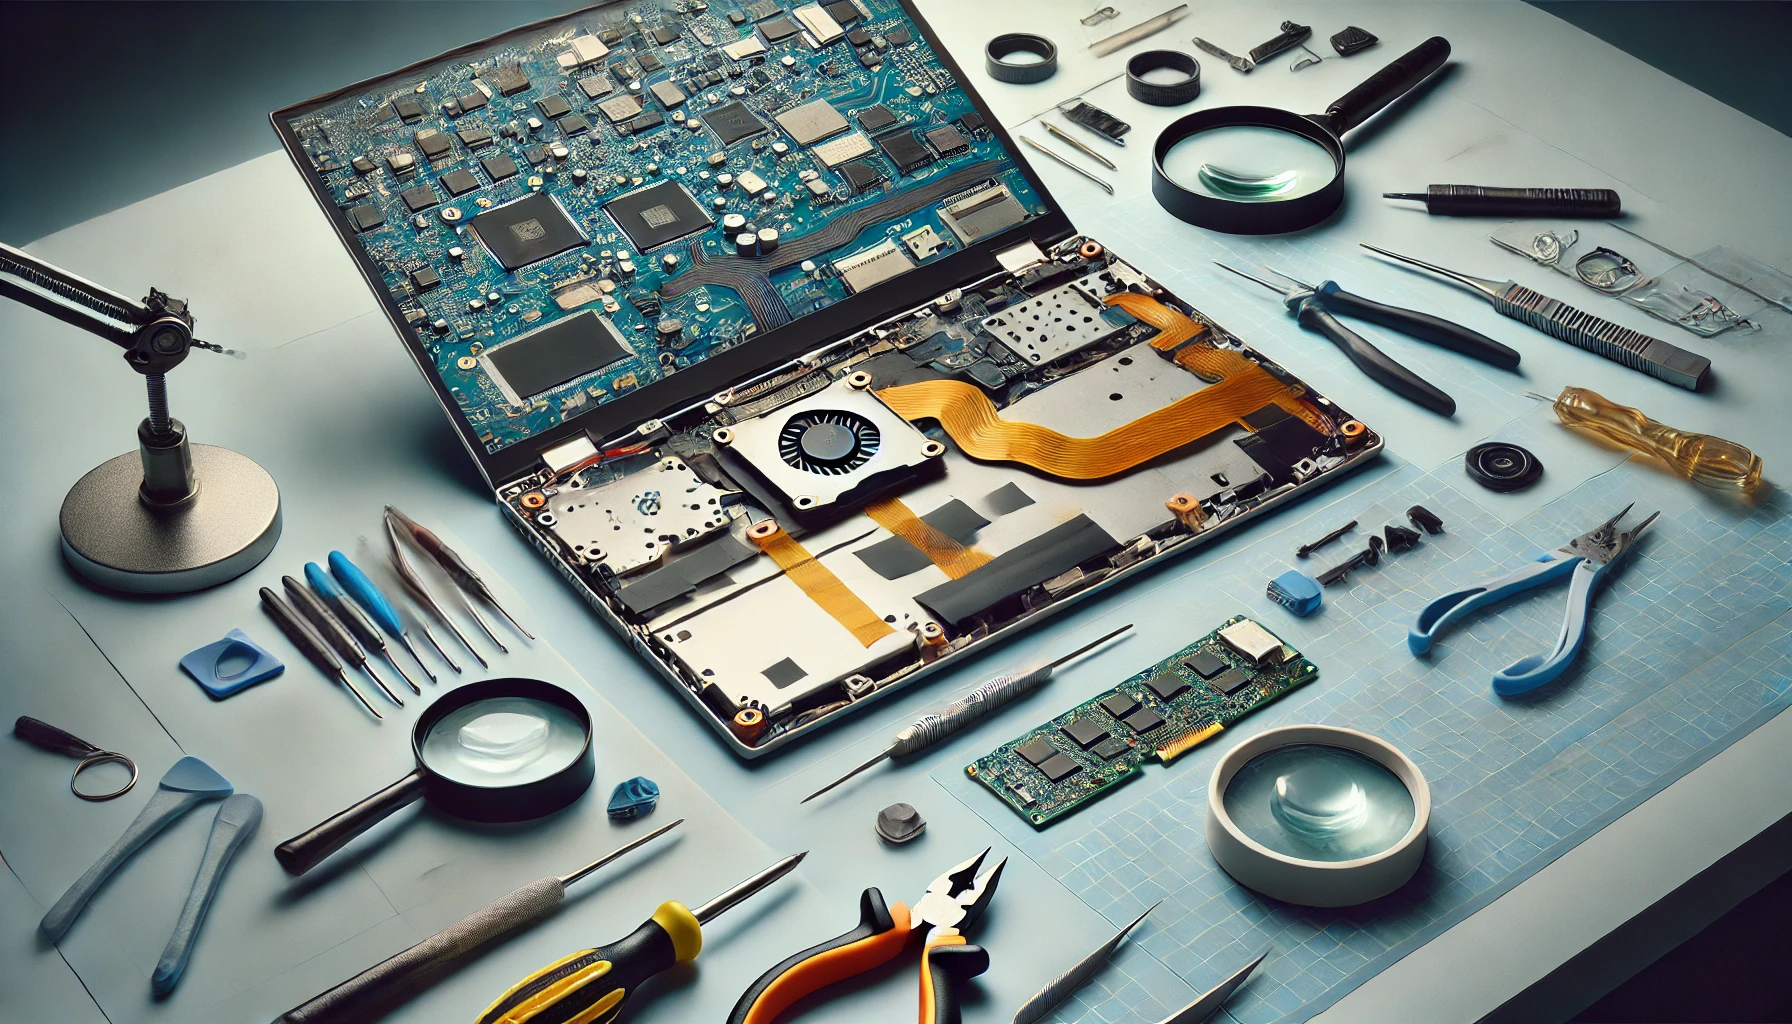
Repair steps for broken laptop display ribbon cable
Confirm cable fault:
First, you need to accurately determine whether it is a cable problem. You can make a preliminary judgment by observing whether the screen flickers, stripes or is completely black, and whether peripherals such as the keyboard and touchpad are working abnormally. Sometimes restarting the laptop or replugging the cable interface can temporarily restore the function.
Prepare tools and spare parts:
If the cable is confirmed to be damaged, you need to prepare the corresponding repair tools, such as screwdrivers, tweezers, anti-static gloves, etc., and try to find cable spare parts that match the laptop model. Laptop cables of different brands and models may not be compatible, so be extra careful when choosing spare parts.
Laptop ribbon cables are divided into many types according to different uses, including screen cables, keyboard cables, sound cables, USB Hub cables, and power cables. Different types of cables have differences in length, material, interface shape, etc., and need to be selected according to actual conditions.
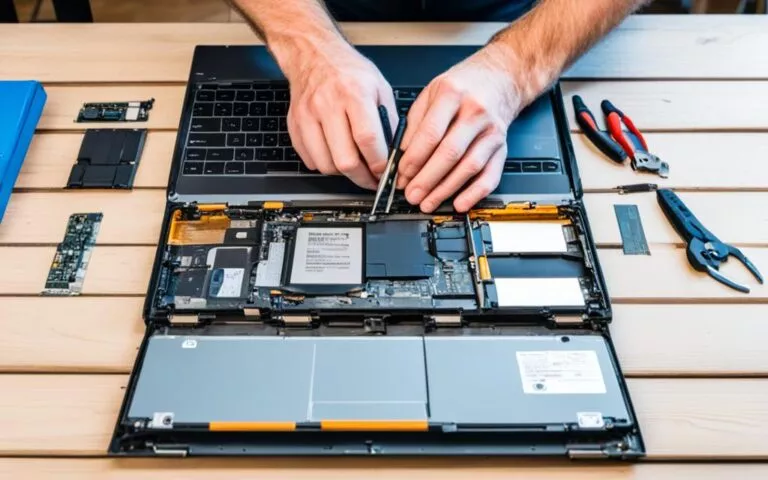
Disassembly the laptop:
Before disassembling, be sure to disconnect the power supply and remove the battery to prevent short circuits or electric shock. According to the laptop’s disassembly guide (usually available online), carefully remove the bottom cover and find and disconnect the damaged cable. During the disassembly process, be sure to record the location and connection method of each component for subsequent reassembly.
Replace the cable:
Connect the new cable to the motherboard and other related components as it was. Pay attention to the direction and position of the cable interface to ensure that the connection is secure and not bent or twisted. Use tweezers or special tools to gently press the buckle on the cable interface to ensure that the cable is fully inserted and locked.
Repair tips
Cable connection fixation: For cables with loose interfaces, you can fix their connections and use insulating tape or glue to fix them to the correct position to make them firmly connected.
Cut and reconnect the cable: For cables with broken cores, you can cut them off and reconnect them using pins and sockets. Pay attention to the smooth surface and no rust or other factors that affect contact.
Replace the cable: If the cable is too old or damaged too seriously, you can choose to replace it with a new one. Just choose a suitable model of cable to replace it.
Reassembly and testing:
After completing the cable replacement, reassemble the laptop in the reverse order of disassembly. Install the battery and connect the power supply, and turn on the computer to test whether all functions are normal. If the screen display is clear and the keyboard and touchpad are responsive, it means that the cable replacement is successful.
Precautions for laptop display ribbon cable repair
Go to a professional repair point:
If the cable is severely damaged or self-repair fails, it is recommended to go to a professional repair point for repair to avoid more serious damage.
Pay attention to safety:
When repairing the cable, you need to pay attention to safety and ensure that the computer is turned off to avoid current damage to the computer.
Pay attention to details:
When replacing or repairing the cable, you need to carefully check the connection socket, wiring sequence and other details to avoid wiring errors and damage.
Regular inspection and maintenance:
Regularly check the cable connection of the notebook to ensure that it is not loose or damaged. Using a dust cover or regular cleaning can help prevent failures caused by dust accumulation.
Avoid excessive bending:
Avoid frequent bending or twisting of the cable when using the notebook, which may cause internal circuit breakage.
Conclusion
This article introduces the repair method of the damaged laptop display ribbon cable, which has a certain reference significance for readers who encounter cable damage problems. When repairing the cable, you need to pay attention to safety details to ensure better repair results. At the same time, in actual operation, you can also perform more detailed operations according to the situation to avoid unnecessary losses.
AI technology has revolutionized many industries, especially technology and computing. Thanks to this ever-advancing tech, we’re able to diagnose the root causes of computer issues while also figuring out solutions that can be deployed to get the system back up and running in no time. Keep reading to how AI detectors work and how they…
Is your Mac laptop slow? You’re not alone. Many Mac users face mac performance issues. But, there are ways to fix them. A slow Mac can be due to an old operating system or a full hard disk. This can really slow things down. Cleaning system files and removing unused apps can help free up…
Water damage can cause significant harm to laptops, whether it’s due to accidental spills, exposure to rain, or drops in water. Knowing the signs of water damage is crucial in order to take appropriate action and potentially save your laptop. Signs of water damage include leaking or dripping water from the laptop, keyboard and touchpad…
In today’s digital age, laptops have become an essential tool for work, communication, and entertainment. However, over time, the internal battery of a laptop may start to deteriorate, leading to decreased performance and shorter battery life. If you’re experiencing these issues, it might be time to consider replacing your laptop’s internal battery. Replacing a laptop’s…
If you’re experiencing a random black screen issue on your Windows 10/11 laptop, you’re not alone. Many users have reported their laptop screens going black for a second, then coming back on, only to repeat the cycle multiple times. This can be frustrating and disruptive to your work or entertainment. In this article, we will…
Welcome to the ultimate guide for laptop motherboard repair. Whether you’re a tech enthusiast or simply facing motherboard issues with your laptop, this comprehensive guide will provide you with expert advice and solutions to get your device up and running again. We understand the frustration that arises from laptop repair, especially when it involves the…