Upgrading the Hard Drive in MacBook Pro
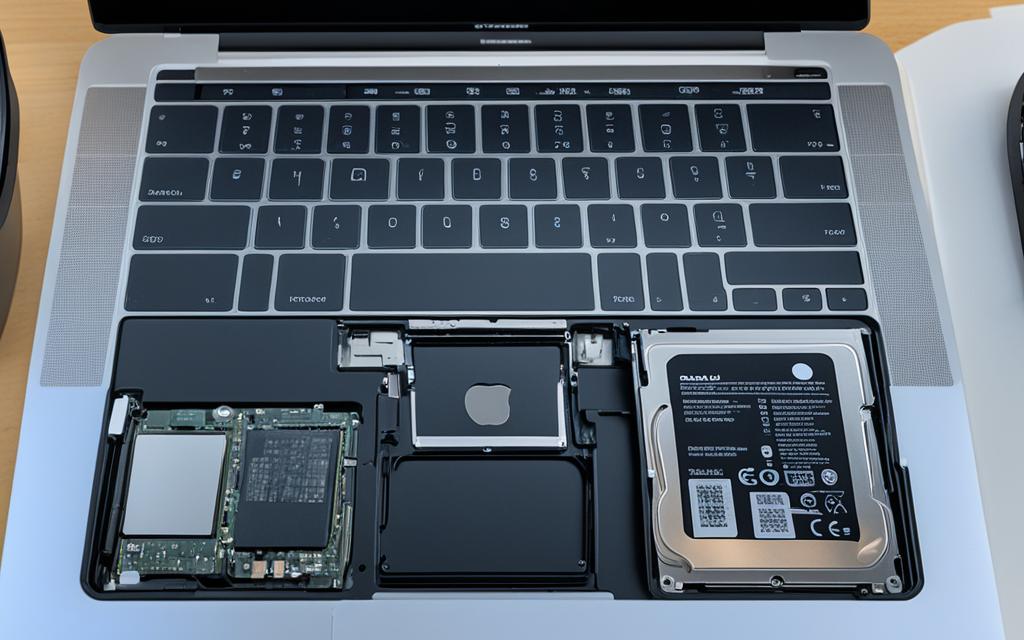
Are you looking to boost the performance and storage space of your MacBook Pro? Upgrading the hard drive is a great solution. Whether you’re experiencing sluggishness or running out of storage, a hard drive upgrade can make a significant difference.
In this article, we’ll explore different methods of upgrading the hard drive in your MacBook Pro, including cloning the existing drive, using an external SSD, or performing a fresh installation of macOS. By the end of this article, you’ll have all the information you need to make an informed decision and take your MacBook Pro to the next level.
Before we dive into the details, let’s take a closer look at why upgrading the hard drive in your MacBook Pro is crucial. First and foremost, it can significantly boost your device’s performance. With a faster and more efficient hard drive, you’ll experience shorter boot times, quicker file transfers, and smoother multitasking.
Additionally, upgrading your hard drive allows you to expand your storage space. Running out of storage can be frustrating, especially if you work with large files or store a lot of media. By upgrading your hard drive, you’ll have more room to store your files, applications, and media without compromising your MacBook Pro’s performance.
So, whether you’re a professional content creator, a student, or a casual user, upgrading the hard drive in your MacBook Pro is a worthwhile investment. Let’s explore the various methods available and find the one that suits your needs best.
Upgrading with Cloning Method
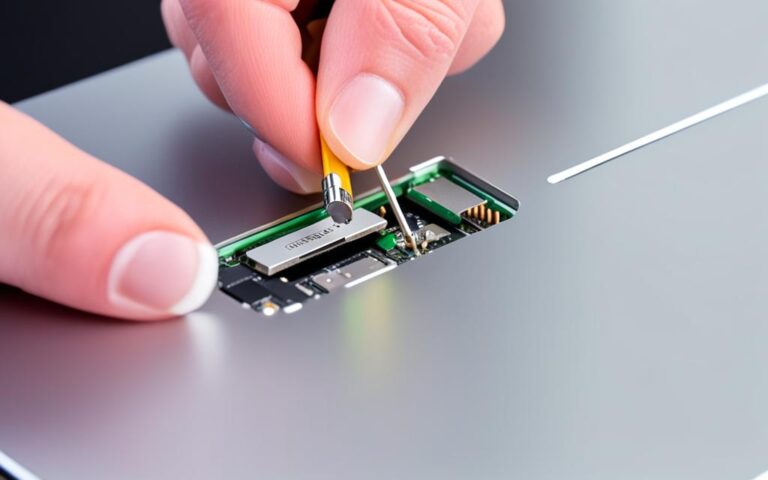
The cloning method is an effective way to upgrade your MacBook Pro’s hard drive by creating an exact copy of your current drive onto a new SSD. This process can be easily accomplished using popular tools such as SuperDuper! or Carbon Copy Cloner. To perform the cloning, you will need a cloning cable, the new SSD, and the necessary tools to open your MacBook Pro.
Cloning your hard drive allows you to transfer all your data, applications, and settings seamlessly to the new SSD, saving you the hassle of starting from scratch. The result is a faster and more efficient MacBook Pro with improved storage capacity.
It’s important to note that some users may encounter cloning issues when using newer versions of macOS. Apple’s updates have introduced certain troubleshooting steps that need to be taken into consideration to ensure a successful cloning process.
Cloning your hard drive is a convenient method for upgrading your MacBook Pro, as it allows you to make an exact copy of your data onto a new SSD.
SuperDuper!
SuperDuper! is a popular cloning tool for macOS that offers a user-friendly interface and reliable performance. With SuperDuper!, you can easily clone your hard drive and ensure that all your data and settings are transferred accurately. The tool also provides scheduling options, allowing you to automate regular backups and cloning tasks.
Carbon Copy Cloner
Carbon Copy Cloner is another excellent cloning software that enables you to create a bootable backup of your existing hard drive. This tool provides advanced cloning features and allows you to clone specific files or folders, making it a versatile option for upgrading your MacBook Pro’s hard drive.
Upgrading with External SSD
If your MacBook Pro has a non-upgradeable SSD soldered onto the motherboard, you can still expand the storage by using an external SSD. This solution offers portability and compatibility with other devices. By connecting an external SSD, like the Envoy Express, to the Thunderbolt port, you can use it as additional storage or even as a new boot disk. It’s a convenient option for MacBook Pro models from 2016 to 2022 with non-upgradeable internal SSDs.
To upgrade your MacBook Pro with an external SSD, simply follow these steps:
- Choose a suitable external SSD: Look for a high-performance external SSD that offers sufficient storage capacity for your needs. The Envoy Express is a popular choice, known for its reliability and speed.
- Connect the external SSD: Plug in the external SSD to the Thunderbolt port of your MacBook Pro. This ensures a fast and stable connection, allowing you to access and transfer data quickly.
- Format the external SSD: If the external SSD is brand new, you may need to format it to ensure compatibility with macOS. Follow the instructions provided by the manufacturer or refer to the macOS documentation for guidance.
- Use the external SSD as additional storage: Once connected and formatted, the external SSD can be used to store files, documents, media, and other data. You can easily drag and drop files onto the external SSD or use the macOS built-in file management system.
- Set the external SSD as a new boot disk (optional): If you want to use the external SSD as a new boot disk, you can do so by configuring the startup disk settings in the macOS System Preferences. This allows you to run the operating system directly from the external SSD, providing a seamless and customizable experience.
By upgrading with an external SSD, you can enjoy the benefits of increased storage space without having to replace or modify the internal components of your MacBook Pro. It’s a flexible and efficient storage solution for users who require extra capacity for their files, projects, and applications.
| Benefits of Upgrading with External SSD |
|---|
| 1. Increased storage capacity |
| 2. Portability and compatibility with other devices |
| 3. Fast and stable Thunderbolt connection |
| 4. Easy file management and transfer |
| 5. Option to set the external SSD as a new boot disk |
Please note: Upgrading with an external SSD may impact the performance of resource-intensive tasks that rely heavily on internal storage speed. Consider your specific needs and usage patterns before making a decision.
Fresh Installation of macOS
A fresh installation of macOS can breathe new life into your MacBook Pro and improve its performance. Whether you’re experiencing sluggishness or want to optimize your system, starting with a clean slate can do wonders. Here, we’ll explore the process of performing a fresh installation of macOS, including the different methods available and the tools you’ll need.
Recovery Mode
One way to perform a fresh installation of macOS is by using the built-in Recovery Mode. To access Recovery Mode, restart your MacBook Pro and hold down the Command + R keys until the Apple logo appears. Once in Recovery Mode, you can choose to reinstall macOS from the internet or using a previously downloaded installer.
Tip: Make sure you have a stable internet connection if you plan to reinstall macOS from the internet. This method requires downloading the necessary files, so a reliable and fast connection is recommended.
macOS USB Installer
If you prefer a more hands-on approach, you can create a macOS USB installer. This method allows you to have a standalone installation medium that you can use whenever you need to perform a fresh installation. To create a macOS USB installer, you’ll need an empty USB drive with a capacity of at least 16GB and a macOS installer downloaded from the App Store or another reliable source.
Restoring from Time Machine
If you have a Time Machine backup of your MacBook Pro, you can use it to restore your system to a previous state or set up a new installation. Connect your Time Machine drive to your MacBook Pro and choose the “Restore from Time Machine Backup” option during the macOS installation process. This method is convenient if you want to retain your files, settings, and applications from a previous installation.
Migration Assistant
Migrating your files and settings from a Time Machine or external startup disk to a fresh installation of macOS is made easy with the Migration Assistant tool. The Migration Assistant can transfer your data seamlessly, ensuring that you don’t lose any important files or preferences. During the installation process, you’ll be prompted to use the Migration Assistant to transfer your files or create a new user account.
In conclusion, performing a fresh installation of macOS is an effective way to optimize your MacBook Pro’s performance and start afresh. Whether you choose to use Recovery Mode, create a macOS USB installer, or restore from a Time Machine backup, it’s important to plan your installation and ensure you have the necessary tools and backup options. By following the recommended steps and using the Migration Assistant, you can enjoy a clean and efficient macOS installation on your MacBook Pro.
Compatibility and Upgrade Options for Different MacBook Pro Models
The compatibility and upgrade options for upgrading the hard drive in a MacBook Pro vary depending on the specific model. It’s important to understand the SSD compatibility and upgrade options available for your MacBook Pro to ensure a successful upgrade process.
MacBook Pro Models from 2016 to 2022
MacBook Pro models released between 2016 and 2022 come with non-upgradeable SSDs soldered onto the mainboard. While this limits the internal storage upgrade options, these models are equipped with Thunderbolt ports that offer fast external storage solutions. You can connect an external SSD to these Thunderbolt ports to expand your storage capacity and enhance your MacBook Pro’s performance.
MacBook Pro Models from 2006 to Mid-2012 (Non-Retina Screen)
For MacBook Pro models released between 2006 and mid-2012 (non-retina screens), the hard drives are upgradeable and typically use 2.5-inch SATA SSDs. This gives you the flexibility to choose from a wider range of compatible SSDs to upgrade your MacBook Pro’s storage. You can easily find compatible 2.5-inch SATA SSDs and upgrade kits to enhance the performance and storage capacity of your MacBook Pro.
Retina Models of the Mid-2012 MacBook Pro and Later
Retina models of the mid-2012 MacBook Pro and later, including more recent models, have proprietary SSDs that require specific third-party options for upgrades. Upgrading the SSD in these models may require additional research and careful consideration of compatible upgrade options. It’s essential to find a reliable source for compatible SSDs and upgrade kits tailored to your specific MacBook Pro model to ensure a smooth and successful upgrade process.
When exploring upgrade options for your MacBook Pro model, it’s crucial to do thorough research and choose SSDs and upgrade kits from reputable brands that offer compatibility with your specific model. This will ensure that you can optimize your MacBook Pro’s performance, enhance its storage capacity, and enjoy a seamless user experience.
Conclusion
Upgrading the hard drive in your MacBook Pro can greatly enhance its performance and expand its storage capacity. Whether you opt for a cloning method, external SSD, or fresh installation of macOS, careful consideration of your specific needs and MacBook Pro model compatibility is crucial. Armed with the right tools and knowledge, you can successfully upgrade your MacBook Pro’s hard drive and enjoy a faster, more efficient computing experience.
