MacBook Pro USB-C Port Replacement
If you’re experiencing issues with your MacBook Pro’s USB-C port, it may be time for a replacement. This guide will walk you through the steps to replace the USB-C port on your MacBook Pro. We’ve gathered expert advice from various sources to provide you with a comprehensive and reliable solution.
When your MacBook Pro’s USB-C port fails, it can be frustrating. You may encounter problems with charging, connecting external devices, or even data transfer. But don’t worry, with the right tools and knowledge, you can replace the USB-C port yourself and restore seamless connectivity to your MacBook Pro.
In the following sections, we’ll cover all the necessary steps, from preparing the tools to reassembling your MacBook Pro. Whether you’re a tech-savvy individual or just looking to save some money on repairs, this guide is for you. Let’s get started!
Remember, if you prefer to have a professional handle the repair process or if you’re hesitant about the DIY approach, it’s always a good idea to consult a certified technician. However, if you’re up for the challenge, keep reading to learn how to replace the USB-C port on your MacBook Pro.
Tools and Preparations
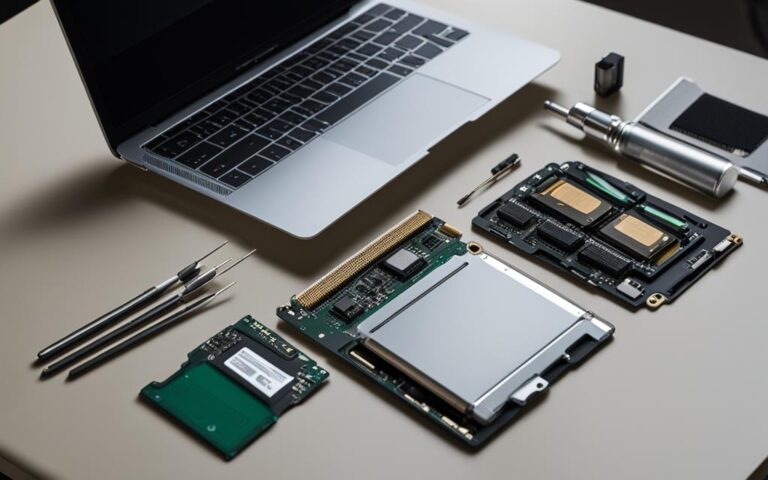
Before you embark on the journey of replacing the USB-C port on your MacBook Pro, it is crucial to gather the necessary tools and make the proper preparations. By having the right tools and creating a suitable workspace, you can ensure a smooth and successful repair process.
To begin, make sure you have the following tools readily available:
Related:


- A P5 Pentalobe driver to remove the screws
- A spudger to disconnect cables and pry open components
- Tweezers for precise handling of small parts
- T3 and T5 Torx drivers for specific screws
- A magnetic project mat to keep track of screws and prevent loss
These tools will greatly assist you throughout the replacement process, allowing for efficient and safe handling of the MacBook Pro’s components.
Additionally, before you delve into the repair, it is essential to take some preparatory steps. Firstly, completely power off your MacBook Pro and unplug it from any power sources. This precautionary measure ensures your safety and protects the internal components of your device.
Next, close the display of your MacBook Pro and flip the laptop upside-down. This positioning grants access to the lower case, which needs to be detached in the subsequent steps.
By following these recommended tools and preparation guidelines, you’ll be well-equipped to tackle the USB-C port replacement process on your MacBook Pro.
Removing the Lower Case
When replacing the USB-C port on your MacBook Pro, the first step is removing the lower case. This process requires a P5 Pentalobe driver and careful handling of the screws securing the case.
Start by using the P5 Pentalobe driver to remove the eight screws that secure the lower case. There are four 9.1 mm screws and four 5 mm screws. Take your time and ensure that you keep track of each screw, as they need to go back exactly where they came from during reassembly.
Once the screws are removed, you’ll need a suction handle and an opening pick to release the hidden clips that secure the lower case. Gently slide the opening pick around the edges of the MacBook Pro to fully separate the lower case. This will allow you to access the internal components and proceed with the USB-C port replacement.
Removing the lower case is a crucial step in the process of replacing the USB-C port on your MacBook Pro. It’s essential to be cautious and follow the correct procedure to avoid causing any damage to your device. Once the lower case is removed, you can proceed to disconnecting the internal components, as outlined in the next section.
Disconnecting Internal Components
Once you have removed the lower case, you’ll need to disconnect several internal components. It’s important to follow the proper procedure to avoid any damage during this process. Here’s a step-by-step guide:
1. Remove Tape and Disconnect Battery Board Data Cable
Start by peeling back any tape covering the battery board data cable connector on the logic board. This tape helps secure the cable and prevent any accidental disconnection. Once the tape is removed, use a spudger to gently pry up the locking flap and disconnect the battery board data cable. Take care not to apply too much force, as the connectors are delicate.
2. Remove Trackpad Cable Bracket and Disconnect Press Connector
Next, locate the trackpad cable bracket and remove it. This bracket holds the trackpad cable in place and ensures a secure connection. Once the bracket is removed, carefully disconnect the trackpad cable’s press connector. This connector is small and requires gentle handling to avoid any damage. Double-check that it is fully released before moving on to the next step.
3. Exercise Caution
When disconnecting internal components, it’s crucial to be cautious and precise. Be mindful of the delicate nature of the connectors and cables. Avoid any unnecessary bending or tugging, as this can lead to permanent damage. Take your time and exercise patience to ensure a successful and smooth disconnection process.
“Disconnecting the internal components requires a gentle touch. It’s important to handle the connectors and cables with care to prevent any damage.” – Expert Technician
| Component | Procedure |
|---|---|
| Battery Board Data Cable | – Peel back tape covering the connector – Gently pry up the locking flap – Disconnect the cable |
| Trackpad Cable | – Remove the bracket holding the cable – Disconnect the press connector |
Following these steps will ensure a successful disconnection of internal components. With proper care and attention, you’ll be one step closer to replacing the USB-C port on your MacBook Pro.
Removing the Logic Board
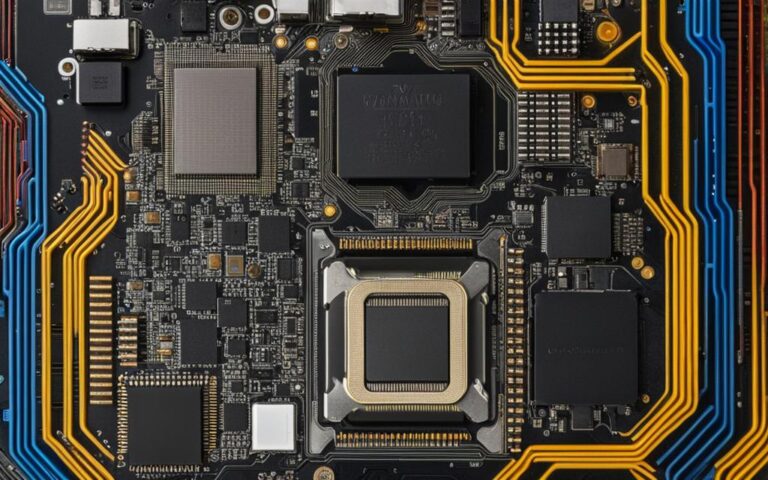
Once you have successfully removed the lower case, the next step in the MacBook Pro USB-C port replacement process is to remove the logic board. This intricate task requires careful attention to detail and precise handling to avoid any damage to the delicate components.
Before you begin, it’s essential to gather the necessary tools, including a T3 Torx driver, to remove the screws securing various components of the logic board. Make sure you have a workspace with adequate lighting and a clean, organized surface to prevent any mishaps or misplacements of screws.
To start, locate any tape covering the microphone cable connector on the logic board. Gently peel off the tape to expose the connector. Next, disconnect the microphone cable from the logic board, ensuring a firm but gentle pull to avoid any strain on the cable or connector.
Continuing with the removal process, use the T3 Torx driver to remove the screws securing the antenna board bracket, display cable covers, and screen cable covers. Take your time and keep track of each screw, as they may have varying lengths, ensuring they can be reinserted correctly during reassembly.
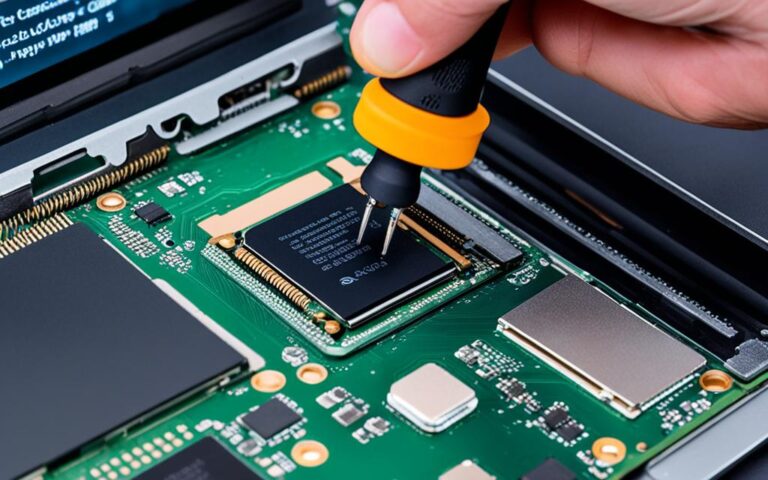
As you progress, carefully disconnect the various press connectors, such as those for the right speaker, USB-C ports, and Touch ID sensor. These connectors may require a gentle press or pull depending on their design, so refer to the MacBook Pro’s technical documentation for specific instructions.
Finally, with all connectors safely disconnected, remove the screws securing the logic board. As you extract the screws, set them aside in a designated magnetic tray or another safe container to prevent loss or misplacement.
Once all screws are removed, it’s time to gently lift the logic board out of the MacBook Pro. Be cautious of any attached cables or hidden connections that may require additional disengaging. Slowly and steadily lift the logic board, ensuring it doesn’t snag or catch on any surrounding components or cables.
With the logic board successfully removed, you’re one step closer to completing the USB-C port replacement on your MacBook Pro. The following section will guide you through the process of replacing the USB-C port, restoring full connectivity to your device.
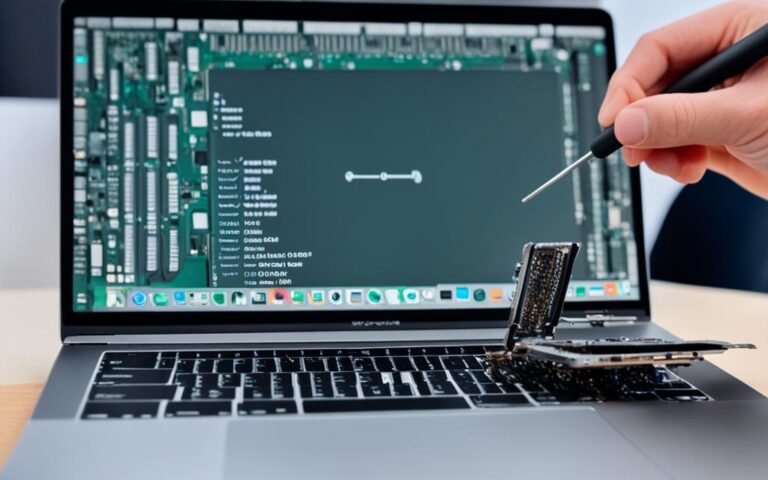
Replacing the USB-C Port
Now that you’ve reached this point, it’s time to proceed with the replacement of your MacBook Pro’s USB-C port. To accomplish this, follow the steps outlined below:
- Use a T5 Torx driver to remove the screws securing the USB-C port. For the left USB-C port, there are two 3.7 mm screws, and for the right USB-C ports, there are four 3.7 mm screws.
- Once the screws have been removed, carefully detach the damaged port from its position.
- Securely install the new USB-C port, ensuring it is correctly aligned.
- Tighten the screws to firmly secure the new port in place.
By following these steps, you can successfully replace your MacBook Pro’s USB-C port, restoring optimal connectivity and solving any related issues you may be experiencing.
Note:
While the process itself may seem straightforward, it’s essential to handle each step with care and precision. If you’re uncertain or uncomfortable with any aspect of the replacement process, it’s recommended to consult a professional technician to avoid potentially causing further damage to your MacBook Pro.
Reassembling the MacBook Pro
Now that you’ve successfully replaced the USB-C port on your MacBook Pro, it’s time to reassemble the device. It’s essential to follow the instructions diligently to ensure a smooth and functional reassembly process.
Start by carefully aligning and connecting all the internal components in the reverse order of their removal. Take your time to ensure that each connector is properly aligned and firmly pressed into place.
Reattach any tape that was removed during the disassembly process. This will help secure the cables and prevent any unwanted movement or damage during usage.
Next, replace the screws according to their original positions. Pay close attention to the specific locations of each screw as they may vary in size and threading.
Take extra care when handling delicate cables and connectors to avoid any accidental damage. These components are sensitive and require gentle handling to maintain their functionality.
Finally, it’s time to put the lower case back on the MacBook Pro. Align the sliding clips on the lower case with the corresponding slots on the device’s body. Press down firmly to ensure a secure fit.
You have successfully reassembled your MacBook Pro after replacing the USB-C port. Now you can power on your device and enjoy seamless connectivity once again.
Conclusion
Replacing the USB-C port on your MacBook Pro can be the solution to resolving charging and connectivity issues. By following the step-by-step guide provided, you can confidently and effectively replace the port yourself. However, if you feel unsure or uncomfortable with the repair process, it’s always advisable to consult a professional technician.
Remember to approach the replacement process with patience and care, ensuring that you have the necessary tools readily available. Taking your time and working in a clean and organized workspace will contribute to a successful repair. With the right approach, you can restore seamless connectivity to your MacBook Pro and enjoy its full functionality once again.
Don’t let a faulty USB-C port hinder your productivity or prevent you from utilizing the full potential of your MacBook Pro. Whether you’re experiencing charging problems or difficulties connecting peripherals, a simple replacement can make a significant difference. Take control of the repair process and get back to using your MacBook Pro with confidence.