Repairing or Replacing an iMac’s Optical Drive
If you’re experiencing issues with your iMac’s optical drive, whether it’s not working properly or leaving scuff marks on discs, you may need to repair or replace it. In this article, we’ll guide you through the steps to repair or replace the optical drive in your iMac. We’ll cover the necessary tools, the disassembly process, and provide tips to ensure a successful repair or replacement.
When it comes to iMac optical drive repair, it’s essential to have the right knowledge and tools. Whether you need to replace a faulty drive or fix a malfunctioning one, we’ve got you covered. In the sections below, we’ll walk you through the step-by-step process of repairing or replacing your iMac’s optical drive. Let’s dive in!
Tools Needed for Repairing or Replacing an iMac’s Optical Drive
To repair or replace the optical drive in your iMac, you’ll need the following tools:
- Heavy-Duty Suction Cups: These will help you lift and remove the glass panel without causing damage.
- T10 Torx screwdriver: You’ll need this to remove the screws securing the display to the outer case and the optical drive to the outer case.
- Spudger: This tool will assist in disconnecting and reconnecting cables and connectors.
- Mild solvent: If the suction cups refuse to stick, you can clean both the glass panel and suction cup with a mild solvent.
Having these tools on hand will make the process of repairing or replacing your iMac’s optical drive much easier and ensure a successful outcome.
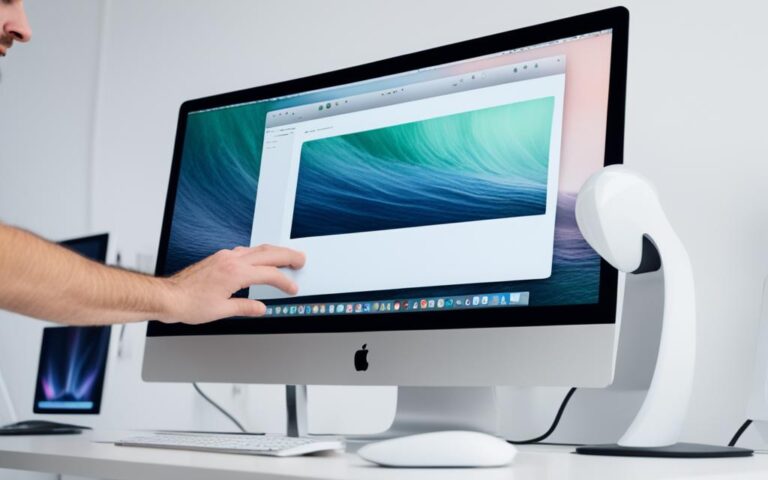
Removing the Glass Panel and Display
Before you can access the optical drive, you’ll need to remove the glass panel and display. Follow these steps:
- Unplug your iMac and lay it on a soft surface.
- Attach the suction cups to the top corners of the glass panel and lift it gently to clear the steel mounting pins.
- Set the glass panel aside and carefully remove the T10 Torx screws securing the display to the outer case.
- Disconnect the cables and connectors attached to the display, including the vertical sync ribbon cable, the LED backlight power cable, the display data cable, and the LCD thermal sensor cable.
- Lift the display out of the outer case, minding any cables that may get caught.
Removing the glass panel and display is a crucial step in gaining access to the iMac’s optical drive. By following these instructions carefully, you’ll be able to safely and effectively remove these components, paving the way for further repairs or replacements.
Related:


Removing the Optical Drive
Once you’ve removed the display, it’s time to take out the optical drive from your iMac. Follow these steps:
-
Pull the optical drive thermal sensor connector straight out from its socket on the logic board.
-
Remove the T10 Torx screws securing the optical drive to the outer case.
-
Lift the inner edge of the optical drive and maneuver its connector past the frame attached to the logic board.
-
Carefully pull the optical drive off its mounting pins on the edge of the outer case, making sure not to damage any tabs.
-
Peel back the EMI tape and aluminum tape to access the optical drive bracket.
-
Remove the screws securing the optical drive to the bracket and detach the optical drive cable.
-
Remove the optical drive from the iMac.
| Step | Description |
|---|---|
| 1 | Pull the optical drive thermal sensor connector straight out from its socket |
| 2 | Remove the T10 Torx screws securing the optical drive to the outer case |
| 3 | Lift the inner edge of the optical drive and maneuver its connector past the frame |
| 4 | Carefully pull the optical drive off its mounting pins on the outer case |
| 5 | Peel back the EMI tape and aluminum tape to access the optical drive bracket |
| 6 | Remove the screws securing the optical drive to the bracket and detach the optical drive cable |
| 7 | Remove the optical drive from the iMac |
Installing a Replacement Optical Drive
To restore your iMac’s functionality, you’ll need to install a replacement optical drive. Follow these steps:
-
Attach the optical drive cable to the new drive and secure it with screws.
-
Position the optical drive in the iMac, aligning it with the mounting pins on the outer case.
-
Connect the optical drive thermal sensor connector to the logic board.
-
Place the optical drive bracket over the optical drive and secure it with screws.
-
Replace the EMI tape and aluminum tape on the optical drive bracket.
-
Slide the display back into the outer case, reconnecting the cables and connectors.
-
Secure the display with the T10 Torx screws.
-
Reattach the glass panel by aligning the suction cups to the corners and gently pushing it into place.
If you encounter any difficulties during the installation process, refer to the detailed instructions in the previous sections or seek professional assistance.
Now that you’ve successfully installed the replacement optical drive, your iMac should be ready to read and write discs once again. Enjoy the full range of functionality that your iMac offers, without any limitations caused by a faulty optical drive.
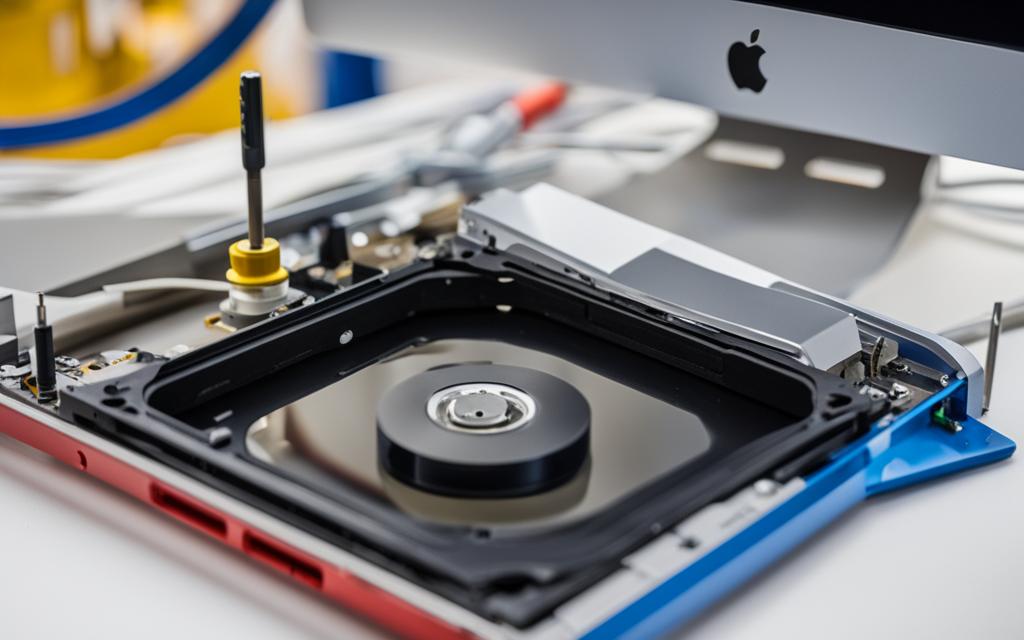
For a visual guide, refer to the image below:
Upgrading the Optical Drive
If you’re looking to upgrade your iMac’s optical drive to a combo or super drive, there are compatible options available. However, it’s important to note that compatibility may vary depending on the specific model of your iMac. It’s recommended to consult a list of compatible part numbers or seek expert advice to ensure a successful upgrade.
| Drive Type | Compatibility |
|---|---|
| Combo Drive | Compatible with most iMac models. Allows for reading and writing CDs and reading DVDs. |
| Super Drive | Compatible with some iMac models. Offers the ability to read and write both CDs and DVDs. |
| UltraDrive | Compatible with select iMac models. Provides enhanced functionality, such as support for Blu-ray discs. |
Before purchasing a replacement optical drive, it’s crucial to check the specifications and compatibility with your iMac model. Additionally, consider the type of media you plan to use and the desired capabilities of the upgraded drive.
Expert Tip: When upgrading your iMac’s optical drive, it’s advisable to ensure that the replacement drive fits perfectly within the iMac’s enclosure. This will guarantee a seamless installation and optimal performance.
By upgrading your iMac’s optical drive, you can enhance its capabilities and enjoy improved functionality for reading and writing CDs, DVDs, or even Blu-ray discs. Keep in mind that the installation process may vary depending on the specific model of your iMac, so it’s always recommended to refer to the manufacturer’s instructions or seek professional assistance if needed.
Whether you’re a professional multimedia creator or simply a Mac enthusiast, upgrading your iMac’s optical drive opens up a world of possibilities for media consumption and creation. Ensure compatibility, follow the installation process carefully, and soon you’ll be enjoying the benefits of an upgraded optical drive on your iMac.
Considerations for Donating or Repurposing iMac G3
If you’re planning to donate or repurpose your iMac G3, it’s essential to ensure its full functionality before making any decisions. Take into consideration the needs of the recipient, including the compatibility of the optical drive and operating system. If the optical drive is not working, you have alternative options to explore, such as using an external drive or recommending the recipient to use a Firewire drive. It’s also worth considering the availability of installation software for the desired operating system, as finding CD versions of older OS X releases can pose a challenge.
Conclusion
Repairing or replacing an iMac’s optical drive is possible with the right tools and instructions. Whether you choose to repair the existing drive or upgrade to a new one, it’s important to follow the disassembly and installation steps carefully. By using the necessary tools like heavy-duty suction cups, a T10 Torx screwdriver, and a spudger, you can remove the glass panel and display to access the optical drive for repair or replacement.
When considering a replacement drive, it’s essential to check the compatibility of the new drive with your iMac model. If you’re planning to donate or repurpose your iMac G3, ensure the optical drive is fully functional to meet the recipient’s needs. If the drive is not working, alternatives like external drives or firewire drives can be recommended. Additionally, keep in mind the availability of installation software for the desired operating system, as older releases may require specific CDs.
With the right approach and attention to detail, you can successfully restore functionality to your iMac’s optical drive and continue enjoying your Mac. Whether it’s for watching DVDs, burning discs, or installing software, a fully functional optical drive enhances the overall user experience of your iMac.