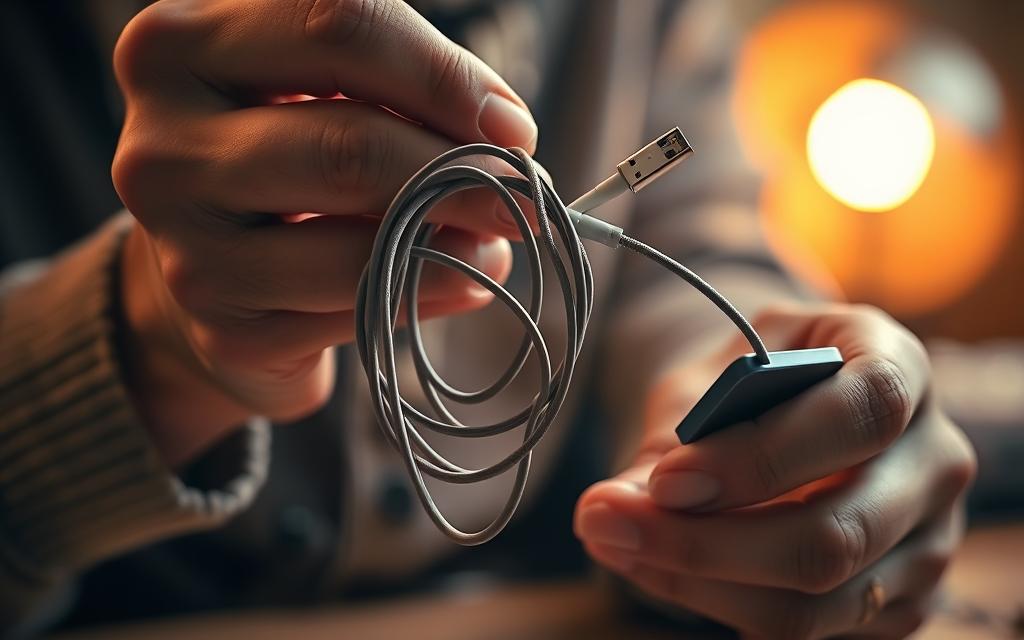
Damaged charging cables can be frustrating, but replacing them isn’t always necessary. With a few simple steps, you can extend the life of your iPhone charger and avoid unnecessary expenses.
Common issues like frayed wires or debris buildup often cause connectivity problems. Before attempting any repairs, check for visible damage and follow Apple’s safety guidelines to prevent further harm to your device.
Temporary solutions, such as electrical tape, can offer a quick fix. For more advanced repairs, consider professional methods like soldering. Learn more about charging cable repairs for detailed guidance.
By addressing minor issues early, you can save money and keep your accessories functional longer. Always prioritize safety to avoid potential hazards.
Before diving into repairs, perform essential checks to diagnose charging issues accurately. Minor problems like debris or a faulty outlet often mimic cable damage. Rule these out first to save time and effort.
Examine the cable under bright light. Look for frayed edges, kinks, or exposed wires—common signs of wear. Apple advises checking bent prongs, as they can cause connection failures.
“Using damaged accessories may harm your device. Always inspect cables before troubleshooting.”
Test with a Different Power Adapter or Outlet
Swap the power adapter or try a different outlet to isolate the issue. Certified 18W-30W adapters ensure optimal performance. If the problem persists, inspect USB ports for lint or corrosion.
Diagnostic Step
Tool Needed
Expected Outcome
Cable inspection
Flashlight
Identify fraying/exposed wires
Outlet test
Another device
Confirm wall power functionality
Adapter swap
Apple-certified charger
Rule out adapter issues
For advanced issues like a faulty charging circuit, professional help may be needed. Start simple—most fixes require no tools.
How to Fix an iPhone Cable?
A dirty charging port often causes connection problems, but cleaning it properly can restore functionality. Dust, lint, or corrosion on the connector may interrupt power flow. Follow these steps to ensure safe and effective maintenance.
Clean the Lightning Connector with Alcohol
Power down your device and unplug the cable. Dip a cotton swab in 99% isopropyl alcohol—it evaporates quickly and won’t damage the contacts. Gently scrub the gold pins on the Lightning connector. Avoid excess liquid to prevent moisture damage.
Remove Debris from the Charging Port
Use a non-conductive plastic pick or toothpick angled downward. Carefully dislodge lint or dirt from the charging port. Metal tools can bend internal pins, worsening the issue. Finish with a dry swab to ensure no residue remains.
Cleaning Method
Tools Needed
Precautions
Connector cleaning
Cotton swab, alcohol
Avoid wet swabs in the port
Debris removal
Plastic toothpick
Never use metal objects
Regular cleaning is an effective way to maintain charging efficiency. For stubborn debris, consult a professional to avoid accidental damage.
Temporary Fixes for Damaged Cables
Minor cable damage doesn’t always mean buying a new one—quick solutions can help. These methods buy you time until a permanent replacement is ready.
Wrap the Cable with Electrical Tape
For frayed wires near the connector, electrical tape provides a tight seal. Overlap layers by 50% for secure adhesion. Make sure the area is clean and dry before wrapping.
This fix costs under $5 and takes minutes. Avoid stretching the tape—gentle tension prevents peeling. It’s a short-term solution but effective for light damage.
Use Heat Shrink Tubing for Exposed Wires
Heat shrink tubing offers a neater finish for exposed wires. Cut a piece 1″ longer than the damaged section. Slide it over the cord before heating.
Use an adjustable heat gun at 300°F (149°C). Rotate the cable evenly for consistent shrinkage. A 3:1 ratio tube ensures a snug fit. Let it cool for 5 minutes before testing.
Fix
Cost
Durability
Best For
Electrical tape
$1–$5
Weeks
Small frays
Heat shrink tubing
$5–$30
Months
Exposed wires
Note: Both are temporary. Replace the cable for long-term safety.
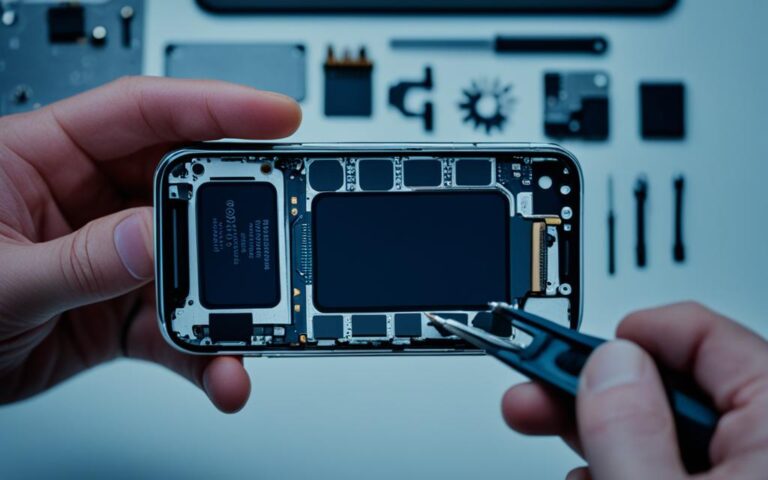
Advanced Repairs for Broken Connections
When temporary fixes aren’t enough, advanced repairs may restore your charger’s functionality. Techniques like soldering or using a glue gun require precision but can salvage severely damaged cables.
Soldering Wires Inside the Cable Head
Expose 1/4″ of internal wires using precision cutters. Match colors correctly: red/black for power, white/green for data. Apple’s sequence is red-white-green-black.
Set a soldering iron to 600°F (316°C). Apply lead-free solder for under 3 seconds per joint. Overheating melts insulation, causing shorts. Test continuity with an ohmmeter before proceeding.
Insulate each wire with liquid electrical tape.
Seal the housing with epoxy resin for strain relief.
Use heat shrink tubing for added protection.
Reassembling the Cable with a Glue Gun
After soldering, realign the cable head. Apply a glue gun sparingly to avoid blocking ports. Reinforce the connection by sealing gaps with epoxy.
Step
Tool
Key Tip
Wire prep
Precision cutters
Strip 1/4″ only
Soldering
600°F iron
3-second limit
Reassembly
Glue gun
Avoid excess adhesive
For persistent problems, consult a professional. Incorrect repairs may harm your iPhone or void warranties.
Preventative Maintenance Tips
Extending the lifespan of your charger starts with smart maintenance habits. Simple adjustments to daily use and storage can prevent fraying and other common issues. Follow these guidelines to keep accessories in top condition.
Avoid Overheating During Charging
Excessive heat damages cables and batteries. Remove phone cases during charging to improve airflow. Apple’s Optimized Battery Charging in Settings > Battery helps regulate temperature.
Use MFi-certified 18W–30W adapters for safer fast charging.
Unplug devices once fully charged to reduce thermal stress.
Keep the charging area ventilated—avoid blankets or confined spaces.
Store Cables Properly to Prevent Fraying
Poor storage causes most cable damage. Use the over-under coiling method to minimize stress on wires. Angled connectors reduce bending at vulnerable points.
“Store accessories in dry, temperate environments—moisture and extreme temperatures degrade materials.”
Storage Tip
Benefit
90-degree connectors
Reduces strain on cable ends
Velcro ties
Prevents tangles without tight knots
Dust-proof containers
Protects connectors from debris
Replace cables every 12–18 months for optimal performance. Invest in quality to save time and money long-term.
Conclusion
Keeping your charging cable functional doesn’t require constant replacements—smart care makes the difference. Start with cleaning, then try temporary wraps, and consider soldering for severe damage. This hierarchy helps save money while extending accessory life.
If your device shows persistent “No Charging” alerts, seek professional service. Apple’s 1-year limited warranty may cover defects, so check eligibility before paying for repairs.
Inspect ports and cables every three months. Never use damaged accessories—they risk harming your phone or causing safety hazards. Small steps today prevent bigger problems tomorrow.
FAQ
What should I check before repairing my charging cable?
First, inspect the cable for visible signs of damage like fraying or bent connectors. Try a different power adapter or wall outlet to rule out power issues.
How do I clean the lightning connector?
Use a small amount of isopropyl alcohol on a cotton swab to gently clean the metal contacts. Avoid liquid near the charging port.
What’s the best way to remove debris from the charging port?
Carefully use a toothpick or soft brush to clear lint and dirt. Power off your device first to prevent damage.
Can I temporarily fix a frayed cable?
Yes, wrapping the damaged section with electrical tape can provide a short-term solution. For exposed wires, heat shrink tubing works better.
Is soldering a broken cable difficult?
Soldering requires skill and tools. If wires inside the connector are damaged, reassembling with a glue gun may be easier for beginners.
How can I extend the life of my USB cable?
Avoid overheating by unplugging when fully charged. Store cables loosely coiled to prevent fraying and stress on the connector.
When should I replace my iPhone charger?
If your device won’t charge after cleaning and testing with another outlet or cable, it’s time for a new one. Persistent connection issues also signal replacement.
Few things are more frustrating than an unresponsive app in the middle of an important task. Whether you’re gaming, chatting, or working, a sudden freeze can disrupt your flow and test your patience. This issue affects various iPhone models, from the latest iPhone 15 to the compact iPhone SE. Thankfully, most cases are temporary glitches…
Are you facing screen issues with your iPhone 12 Pro? You’re not alone. Many users have reported common screen issues that affect the performance of their device. Don’t worry; there are simple solutions available to fix these problems and restore your iPhone 12 Pro’s screen functionality. In this article, we will explore the most common…
Many smartphone users, about 70%, have at least one scratch on their screens. iPhone screen repair and scratch removal are key skills for them. This article will guide you on fixing scratches on your iPhone screen. We’ll cover DIY methods and professional repair options. Statistics show that 65% of users don’t use screen protectors, making…
Intro: Are you tired of dealing with iPhone apps crashing on your device? Don’t worry, we’ve got you covered. In this article, we will provide you with practical solutions to fix those frustrating app crashes. Whether it’s a single app or multiple apps crashing, we’ll guide you through troubleshooting steps to get your iPhone back…
Are you experiencing signal issues with your iPhone XR? If so, you are not alone. Many iPhone XR users have reported encountering signal problems after updating their devices to iOS 13. These issues can range from a loss of cellular connection in areas with weak or no signal to the need for frequent reboots to…
Many iPhone 12 users have reported issues with the screen brightness on their devices. Some describe the screen dimming or becoming darker at maximum brightness, while others have experienced sudden changes in brightness after waking their device from sleep. This inconsistency in screen brightness can be frustrating for users and may impact their overall experience…