Mastering Soldering Techniques for Laptop Repairs
Welcome to our comprehensive guide on laptop soldering techniques for efficient and effective laptop repairs. Whether you’re a beginner looking to learn the basics or an experienced technician seeking advanced micro soldering techniques, this article will provide you with valuable insights and tips. By mastering the art of soldering, you’ll be able to prolong the lifespan of electronic devices, reduce waste, and unlock a rewarding career path in the field of electronics repair.
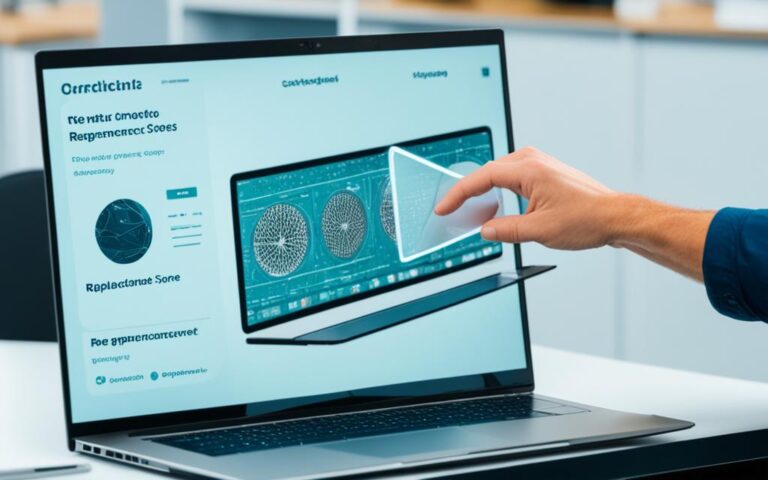
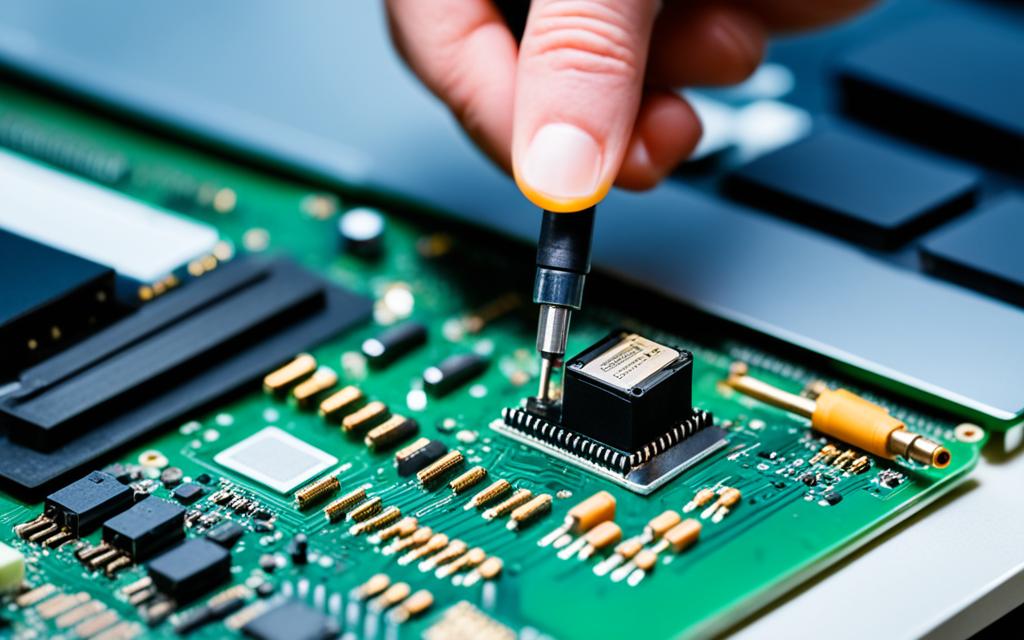
Micro soldering is a skill that involves connecting small components using fine solder. It plays a vital role in repairing and assembling electronic devices, including laptops. To excel in laptop repairs, it is crucial to have a steady hand and a thorough understanding of electronic device functionality. Learning basic soldering techniques is the first step for beginners, laying a solid foundation for mastering more complex soldering tasks.
So, how can you acquire the necessary knowledge and skills for laptop soldering? Online courses, tutorials, and hands-on training are excellent resources to enhance your expertise. By honing your micro soldering skills, you’ll be equipped to tackle intricate repairs and confidently navigate the world of electronics.
In the following sections, we’ll explore the essential tools and equipment required for micro soldering, delve into the different types of solder and flux, discuss fundamental soldering techniques, and uncover advanced techniques for precise component assembly and repair. Stay tuned to uncover the secrets of successful laptop soldering and take your electronic repair capabilities to new heights.
Essential Tools and Equipment for Micro Soldering
When it comes to micro soldering, having the right tools and equipment is essential for achieving precise and successful results. Whether you’re repairing a laptop or working on other electronic devices, here are the key tools you’ll need:
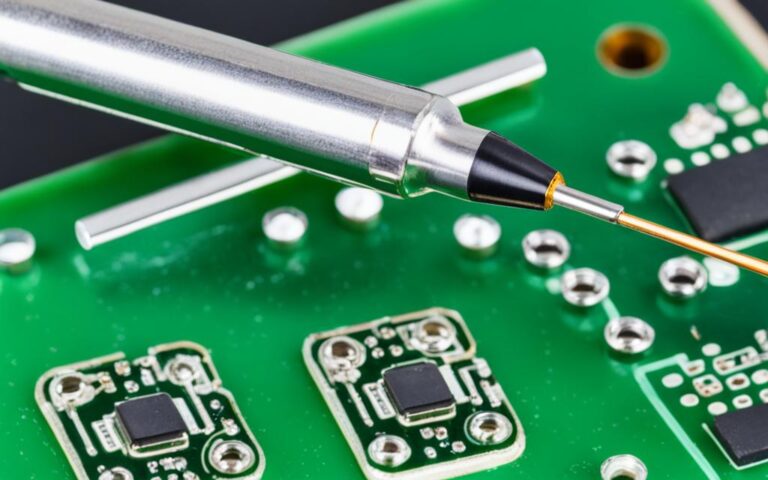
Soldering Iron with Fine Tips
A high-quality soldering iron with fine tips is crucial for micro soldering. It allows for precise control of heat and ensures accurate solder application. Look for a soldering iron with adjustable temperature settings to accommodate different soldering tasks.
Related:


Flux for Improved Solder Flow
Flux plays a vital role in micro soldering as it cleans surfaces, promotes better solder flow, and minimizes oxidation. Using flux helps create strong and reliable solder joints. Make sure to choose flux that is compatible with your solder type and follow the manufacturer’s instructions for proper application.
Microscope for Enhanced Visualization
Working with small components requires clear and magnified visualization. A microscope is an invaluable tool for micro soldering, enabling you to see intricate details and ensuring precise solder placement. Invest in a good quality microscope with adjustable magnification levels for optimal visibility.
Solder Wick for Excess Solder Removal
Solder wick, also known as desoldering braid, is used to remove excess solder and correct any mistakes during the soldering process. It absorbs molten solder effectively, allowing you to achieve clean and precise solder joints. Choose solder wick that is appropriate for the size of your solder joints.
Isopropyl Alcohol for Post-Work Cleaning
After completing the soldering process, it’s essential to clean the work area. Isopropyl alcohol is commonly used to remove flux residues and other contaminants. Apply it with a lint-free cloth or cotton swab to ensure a clean and residue-free surface.
A Clean Working Environment
In addition to the tools mentioned above, maintaining a clean and organized working environment is vital for efficient micro soldering. Keep your workspace clutter-free, use an anti-static mat or grounding strap to prevent electrostatic discharge, and store your tools properly to ensure their longevity.
By equipping yourself with these essential tools and creating an organized working setup, you can enhance your micro soldering skills and achieve precise and reliable results.
Understanding Different Types of Solder and Flux
Solder is the metal alloy used in soldering. There are different types of solder, each with its own characteristics and applications. Two common types of solder are lead-free solder and tin-lead alloy solder.
Lead-Free Solder
Lead-free solder has become increasingly popular due to environmental concerns and the need to comply with RoHS (Restriction of Hazardous Substances) standards. It is made from tin and other metals like silver and copper. Lead-free solder has a higher melting temperature compared to tin-lead alloy solder, making it suitable for applications that require greater heat resistance.
Tin-Lead Alloy Solder
Tin-lead alloy solder has been widely used in soldering applications for many years. It is composed of tin and lead, with varying ratios depending on the specific application. Tin-lead solder has a lower melting temperature compared to lead-free solder, making it easier to work with for many soldering tasks.
Flux is an essential component in the soldering process. It is a chemical cleaning agent that helps in achieving clean and reliable solder joints. Flux serves several purposes:
- Promotes solder adhesion to the surfaces being soldered
- Minimizes oxidation by removing impurities and contaminants from the soldering surfaces
- Directs solder flow, ensuring proper wetting and uniform coverage
- Aids in achieving strong and reliable solder joints
Flux can be found in different forms, such as liquid, paste, or as a core inside solder wire. Choosing the right flux for a specific soldering task is crucial for successful soldering.
“Understanding the types of solder and flux is essential for successful soldering. By selecting the appropriate solder type and flux, technicians can ensure reliable solder joints and efficient electronic repairs.” – John Smith, Soldering Expert
Now that we understand the different types of solder and flux, let’s take a look at a table comparing their characteristics:
| Solder Types | Melting Temperature | Composition | Applications |
|---|---|---|---|
| Lead-Free Solder | Higher | Tin, silver, copper, etc. | Electronics, plumbing, automotive |
| Tin-Lead Alloy Solder | Lower | Tin, lead | Electronics, hobbyist projects |
By referring to this table, technicians can choose the most suitable solder type and flux for their specific soldering needs.
Now that we have a good understanding of solder types and flux, let’s move on to the essential techniques for effective micro soldering.
Essential Techniques for Effective Micro Soldering
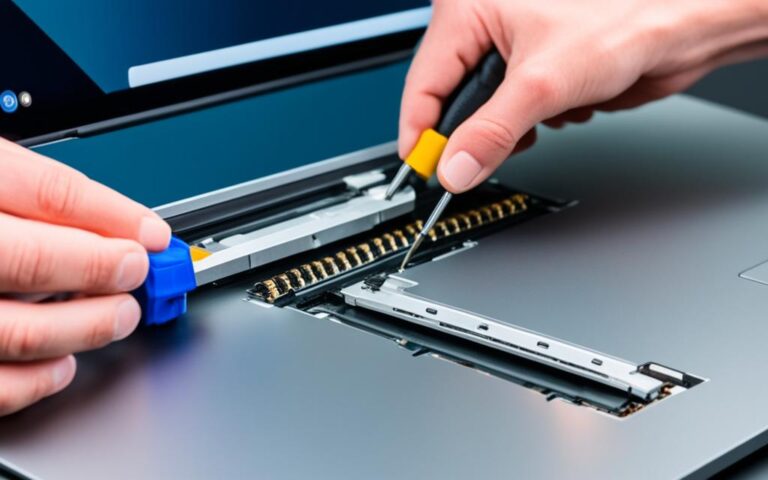
In order to achieve effective micro soldering, it is crucial to master the basics of soldering, including the correct application of heat and solder for precise joining of components. Whether you are working with Surface-Mounted Device (SMD) or Printed Circuit Board (PCB) soldering, steady hands and accuracy are key.
Micro Soldering Techniques
Micro soldering involves working with delicate components, requiring a high level of skill and precision. Here are some essential micro soldering techniques to ensure successful soldering:
- Use a soldering iron with a fine tip to accurately place and melt solder.
- Take care to avoid overheating components by applying heat only for the necessary duration.
- Employ the correct amount of solder to create strong and reliable connections.
- Ensure proper alignment and orientation of components before soldering.
Desoldering Techniques
Desoldering is a critical aspect of micro soldering, allowing for component removal or the correction of mistakes. Here are some common desoldering techniques:
- Use a desoldering pump to remove excess solder from joints.
- Apply solder wick to absorb molten solder and clean the area.
- Consider using a hot air rework station for larger components or complex desoldering tasks.
Preparation and Safety Precautions
Before embarking on any micro soldering project, it is important to prepare adequately and follow safety precautions to ensure successful outcomes. Here are some essential steps to consider:
- Gather all necessary tools and materials, including a soldering iron, flux, solder, and safety equipment like heat-resistant gloves and safety glasses.
- Set up a clean and well-lit work area to prevent damage to components and ensure accurate soldering.
- Take necessary precautions such as grounding yourself properly to avoid electrostatic discharge that can damage sensitive components.
Incorporating these essential techniques, mastering soldering basics and desoldering techniques, and prioritizing safety precautions will greatly enhance your micro soldering skills and contribute to successful electronic repairs.
Advanced Techniques in Micro Soldering
When it comes to micro soldering, mastering advanced techniques can take your skills to the next level. These techniques allow for precise and intricate repairs, ensuring the durability and functionality of electronic devices. In this section, we will explore three advanced soldering techniques: reflow soldering, hot air techniques, and the use of a microscope.
Reflow Soldering
Reflow soldering is a technique in which solder paste is applied to the Printed Circuit Board (PCB) and components, and then heated to create solid solder joints.
This technique is commonly used in the manufacturing of electronic devices and is also useful for repairing complex circuitry. The solder paste contains flux, which cleans the surfaces and aids in the soldering process. By evenly heating the PCB and components, reflow soldering ensures reliable connections and minimizes the risk of cold joints or solder bridges.
Reflow soldering can be performed using various methods, including convection ovens, infrared (IR) lamps, or specialized reflow equipment. The choice of method depends on the specific requirements of the project.
Hot Air Techniques
Hot air techniques involve the controlled application of heat to replace or realign Surface-Mounted Device (SMD) components.
With the increasing miniaturization of electronic devices, SMD components have become commonplace. These small components can be challenging to solder or desolder using traditional methods. Hot air techniques provide a controlled and precise method for replacing or realigning SMD components.
Using a hot air rework station, the technician can apply heat to the targeted area while carefully removing or placing the SMD components. This technique requires a steady hand and an understanding of the specific temperature requirements for different components.
Microscope Usage
The use of a microscope is essential for accurate component placements and solder connections in advanced micro soldering tasks.
When working with intricate circuitry, a microscope becomes an invaluable tool. It allows technicians to see minute details and ensure precise alignment of components. The magnification provided by a microscope enhances soldering accuracy and reduces the risk of errors or damage to the surrounding circuitry.
Microscope usage also facilitates inspection and troubleshooting, as it enables technicians to identify potential defects or soldering issues that might be difficult to detect with the naked eye.
By incorporating advanced soldering techniques such as reflow soldering, hot air techniques, and microscope usage, technicians can achieve greater precision, consistency, and success in micro soldering tasks.
Conclusion
Mastering soldering techniques for laptop repairs is crucial for efficient and effective electronic repairs. Micro soldering enables the repair of complex electronics and extends their lifespan. By understanding solder types and flux, using specific tools, and applying various soldering techniques, technicians can enhance their repair capabilities.
Advanced micro soldering techniques provide sophisticated approaches for precise component assembly and repair. With proper technique and good soldering skills, technicians can master laptop soldering techniques and achieve successful repairs.
By following best practices, such as using the correct tools and understanding soldering basics, technicians can ensure safe and accurate solder connections. Advanced techniques, like reflow soldering and hot air techniques, offer even more precise results. The use of a microscope is essential for accurate placements in advanced micro soldering tasks.
To become proficient in laptop soldering techniques, technicians should invest in training and practice regularly. This will not only enhance their repair capabilities but also contribute to reducing electronic waste and extending the life of electronic devices.