iPad Mini Battery Replacement Guide
Welcome to the iPad Mini Battery Replacement Guide, a comprehensive resource designed to aid UK users in revitalising their device’s performance. This guide provides step-by-step instructions on how to replace the battery in your iPad Mini, ensuring that you can enjoy extended battery life and optimal functionality.
Is your iPad Mini struggling to hold a charge or experiencing reduced battery life? Don’t worry, this guide has got you covered. By following the instructions carefully, you can easily replace your iPad Mini’s battery and restore its performance to its former glory.
Whether you’re an experienced tech enthusiast or a novice in device repair, this guide is user-friendly and accessible to all skill levels. With the use of simple tools and a little patience, you can enhance the longevity of your iPad Mini and avoid the inconvenience of constantly searching for a power outlet.
So, let’s dive into the step-by-step process of replacing the battery on your iPad Mini and breathe new life into your cherished device. Get ready to experience the freedom of uninterrupted usage and a reliable battery that powers your iPad Mini throughout the day.
Preparing for Battery Replacement
Before embarking on the battery replacement process, it is crucial to ensure proper preparation to guarantee a successful repair. Below are some essential steps to take before starting:
Clean Microwave or Use Boiling Water
In order to avoid any debris from sticking to the iOpener, it is recommended to clean your microwave before use. This step ensures a clean and efficient heating process. However, if you don’t have access to a microwave, boiling water can also be used as an alternative.
Related:


Tape Cracked Display Glass
If your iPad Mini has a cracked display glass, it is important to prevent any further damage during the repair. Simply use clear packing tape to carefully tape the cracked area. This step will help contain any breakage or shards while removing and replacing the battery. Safety is of utmost importance when handling electronic devices, so take the necessary precautions to protect both yourself and the iPad Mini.
By taking these preparatory steps, you’ll be ready to tackle the battery replacement process and restore your iPad Mini to its optimal performance.
Opening the iPad Mini
In this section, we will guide you through the process of opening your iPad Mini to access the battery for replacement. This step is crucial for a successful battery replacement and requires the use of essential tools such as the heated iOpener, suction cup, and opening pick.
Step 1: Heating the iOpener
Begin by heating the iOpener using a microwave or boiling water. The heated iOpener helps soften the adhesive holding the iPad Mini’s front panel glass to the rear case, making it easier to open the device. Place the heated iOpener on the left side of the iPad Mini, allowing it to sit and warm the adhesive.
Step 2: Using a Suction Cup
Once the adhesive is slightly softened, take the suction cup and position it near the Home button on the front panel glass. Gently apply pressure while pulling up on the suction cup to create a slight separation between the front panel and rear case. This step ensures a gap for inserting the opening pick.
Step 3: Inserting the Opening Pick
Take the opening pick and carefully insert it into the slight gap created by the suction cup. Slowly slide the opening pick along the edge of the iPad Mini to release the adhesive. Be cautious not to insert it too deep and damage any internal components. Repeat this process on all sides of the iPad Mini until the adhesive is fully released.
Pro Tip: During the process, if the adhesive becomes resistant, reapply the heated iOpener to soften the adhesive again. This will make it easier to release and open the iPad Mini without causing any unnecessary damage.
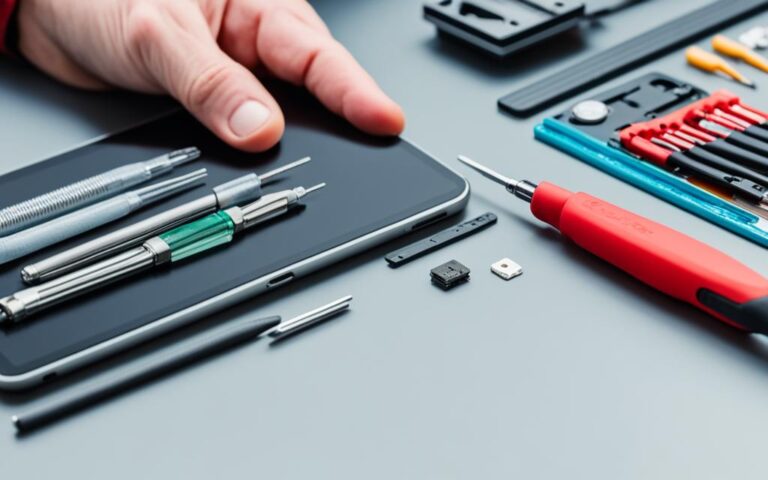
List of Tools Used:
- Heated iOpener
- Suction cup
- Opening pick
- Clean packing tape (optional)
| Tool | Description |
|---|---|
| Heated iOpener | A tool used to soften the adhesive on the iPad Mini, making it easier to open. |
| Suction Cup | A device that creates pressure to separate the front panel glass from the rear case. |
| Opening Pick | A thin tool inserted into the gaps to release the adhesive and open the iPad Mini. |
| Clean Packing Tape (optional) | Used to tape the cracked display glass before starting the repair process, preventing further damage. |
Disconnecting Components and Removing the Battery
When it comes to replacing the battery in your iPad Mini, the process involves disconnecting various components and removing the old battery. This step-by-step guide will walk you through the necessary steps to ensure a successful battery replacement.
Step 1: Remove LCD Screws and Battery/Display Cable Bracket
The first components that need to be disconnected are the LCD screws and the battery/display cable bracket. These parts secure the battery and display cables in place. Using a suitable screwdriver, carefully remove the screws and set them aside. Then, gently detach the battery/display cable bracket to free up the necessary connections.
Step 2: Disconnect the Battery Connector, Display Data Connector, and Digitizer Cable Connector
Once the LCD screws and bracket have been removed, it’s time to disconnect the battery connector, display data connector, and digitizer cable connector. These connectors are essential for the proper functioning of the display and touch functionality.
Using a spudger tool or a similar non-metal tool, carefully lift the connectors from their sockets. Take note of their respective positions to ensure correct reinstallation later. Be gentle and avoid applying excessive force to prevent any damage to the connectors or cables.
Step 3: Removing the Battery
With all the necessary connectors disconnected, you are now ready to remove the battery from your iPad Mini. Carefully lift and pry the battery from its adhesive. Take your time and work methodically to avoid any accidental damage to the battery or other internal components.
Once the battery is detached, safely set it aside and dispose of it following proper electronic waste disposal guidelines.
By following these steps and properly disconnecting the components, you are one step closer to successfully replacing the battery in your iPad Mini.
Conclusion
After successfully replacing the battery in your iPad Mini, it is now time to reassemble the device. This crucial step involves carefully installing the battery, logic board, speakers, Wi-Fi antennas, and display assembly to ensure the smooth functioning of your device.
To begin the reassembling process, follow the reverse order of the disassembly process. Start by connecting the display assembly, making sure it is firmly secured in place. Next, attach the Wi-Fi antennas, ensuring they are properly connected to maintain a strong wireless signal.
Once the Wi-Fi antennas are in place, install the logic board, ensuring all connectors and cables are securely attached. Finally, carefully position and fix the speakers to complete the reassembly of your iPad Mini.
By following these steps, you can confidently reassemble your device and enjoy the improved performance and extended battery life that comes with a new battery. Say goodbye to power-related issues and enjoy the revitalized experience of using your iPad Mini.