Troubleshooting Your Console: Tips and Tricks
Welcome, UK gamers! If you’re looking to enhance your gaming experience and ensure a seamless gameplay, you’ve come to the right place. In this article, we’ll provide you with expert advice and effective strategies for troubleshooting your gaming console. Whether you’re an avid gamer or just starting out, this comprehensive guide will equip you with the knowledge and tools to overcome common console issues and get back to gaming in no time.
A related console issue also shows up in essential game console servicing techniques, especially when compatibility, settings, or controller behaviour affect play.
A closely related console issue also comes up in diy gaming diy gaming, where settings, compatibility, or controller behaviour can change the outcome.
The Importance of Console Repair
Repairing your own console is not just a money-saving option; it’s also a way to gain satisfaction and become a tech wizard. With consoles becoming more expensive and intricate, DIY repair is the future. It allows you to save money, learn new skills, and fix your console with your own two hands. Imagine the bragging rights you’ll have when you tell your friends that you brought your console back to life.
By understanding console repair, you can take control of your gaming experience and avoid the hassle and expense of sending your console to a professional repair service. Console repair is not as daunting as it may seem, and with a little knowledge and effort, you can breathe new life into your gaming machine.
Related:


Fixing your console yourself offers a sense of accomplishment and satisfaction that money can’t buy. It’s a chance to challenge yourself, solve problems, and unleash your inner tech wizard. Whether you’re a seasoned gamer looking to take your skills to the next level or a beginner wanting to learn a new hobby, console repair can be a rewarding and empowering experience.
Moreover, by repairing your console, you can save a significant amount of money. Professional console repairs can be costly, and the expenses may quickly add up. DIY repair allows you to avoid these expenses and invest your money in games or accessories instead. Plus, you’ll have the satisfaction of knowing that you have the skills and knowledge to fix your console whenever an issue arises.
The future of console repair lies in the hands of DIY enthusiasts. As consoles become more complex and technologically advanced, the need for skilled repairers will continue to grow. By becoming adept at console repair, you not only save money but also position yourself as a tech-savvy individual who can troubleshoot and solve problems independently.
Embracing the world of console repair opens up a whole new realm of possibilities. You’ll develop practical skills, gain a deeper understanding of technology, and have the ability to extend the lifespan of your console. So why not become a console repair expert today and unleash your inner tech wizard?
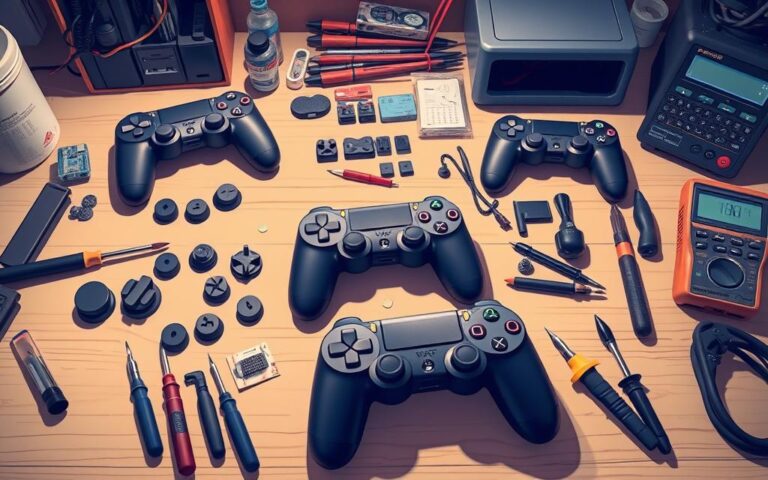
Tools You’ll Need for Console Repair
To effectively repair your console, you’ll need the right tools. Investing in high-quality console repair tools will ensure that you can diagnose and fix issues with ease. Here are the essential tools you’ll need:
Screwdrivers
Screwdrivers are the backbone of any console repair toolkit. Make sure you have a set of screwdrivers that includes flat-head, Phillips, and Torx screwdrivers. This will allow you to tackle a wide range of screws found in different console models.
Multimeter
A multimeter is an invaluable tool for diagnosing electrical issues in your console. It measures voltage, current, and resistance, helping you identify faulty components and troubleshoot electrical problems. Invest in a reliable multimeter to ensure accurate readings and efficient repair.
Soldering Iron
For advanced repairs that involve soldering, a soldering iron is a must-have tool. It allows you to remove and replace faulty components, such as damaged PCBs or broken connectors. Choose a soldering iron with adjustable temperature settings and fine tips for precise soldering work.
Safety Measures
Console repair can involve handling potentially hazardous components and electrical circuits. To protect yourself and prevent accidents, always follow safety measures. Some essential safety precautions include:
- Unplugging the console and disconnecting it from any power source before starting the repair.
- Using safety goggles to protect your eyes from debris or soldering sparks.
- Wearing insulated gloves to minimize the risk of electric shocks.
- Working on a stable and well-lit surface to avoid accidental damage or injury.
By having the right tools and following safety measures, you’ll be well-equipped to tackle various console repair tasks. Remember to handle the tools with care and always prioritize safety during the repair process.
| Tool | Features |
|---|---|
| Screwdrivers | Flat-head, Phillips, and Torx screwdrivers |
| Multimeter | Measures voltage, current, and resistance to diagnose electrical issues |
| Soldering Iron | Enables advanced repairs involving soldering of components |
| Safety Measures | Protective gear and precautions to ensure personal safety |
Understanding Console Anatomy
Before diving into repairs, it’s important to understand the anatomy of your console. Each gaming console, whether it’s Xbox, PlayStation, or Nintendo Switch, has its own unique components that make up its internal structure. Familiarizing yourself with these components will not only save you time during repairs but also help prevent accidental damage.
Xbox Console Anatomy
Xbox consoles, such as the Xbox Series X/S and Xbox One, consist of several essential components. These include:
- Hard drive – Stores game data and system files.
- Cooling fan – Keeps the console’s temperature in check to prevent overheating.
- Motherboard – The main circuit board that connects and manages all the console’s hardware components.
PlayStation Console Anatomy
PlayStation consoles, like the PlayStation 5 and PlayStation 4, have their own set of components. Key parts of a PlayStation console include:
- Power supply – Provides electrical power to the console.
- Blu-ray drive – Allows users to play physical game discs and Blu-ray movies.
- Heatsink – Helps dissipate heat generated by the console’s internal components.
Nintendo Switch Console Anatomy
Nintendo Switch consoles, known for their unique hybrid design, feature distinctive components. These include:
- Joy-Con controllers – Detachable controllers that can be used as individual controllers or attached to the console for handheld play.
- Dock – Allows the console to be connected to a TV and provides charging capabilities.
By familiarizing yourself with the anatomy of your console, you’ll be better equipped to understand how it functions and identify potential issues. This knowledge will enable you to approach repairs with confidence and precision, ensuring the long-term performance of your gaming machine.
Anatomy of Xbox, PlayStation, and Nintendo Switch Consoles
| Xbox | PlayStation | Nintendo Switch |
|---|---|---|
| Hard drive | Power supply | Joy-Con controllers |
| Cooling fan | Blu-ray drive | Dock |
| Motherboard | Heatsink |
Understanding the console anatomy is the foundation for successful repairs. In the next section, we will delve into mastering console repair techniques through a step-by-step guide.
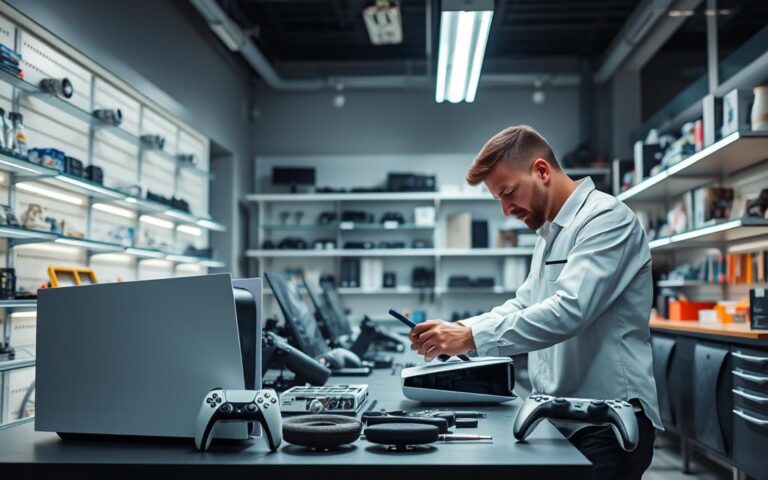
Mastering Console Repair Techniques: Step-by-Step Guide
Repairing your console can seem intimidating, but with the right techniques and guidance, it becomes an achievable task. This step-by-step guide will walk you through the process of fixing common issues with your console and ensuring a smooth gaming experience.
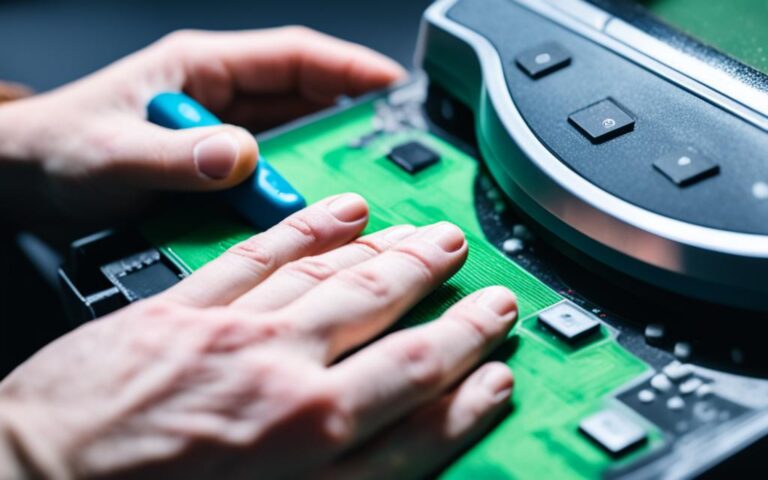
Opening the Console
To begin the repair process, you’ll first need to safely open the console. Start by gathering the necessary tools mentioned in Section 3. Carefully remove any screws or clips holding the console together using the appropriate screwdriver. Take note of the placement of each component and keep track of the disassembly process, as this will be helpful during reassembly.
Identifying the Issue
Once the console is open, it’s time to identify the issue causing the malfunction. Look for any visible signs of damage or loose connections. Use a multimeter to test the electrical components for any irregularities. This step is crucial in determining the root cause of the problem and deciding on the appropriate repair or replacement.
Repairing or Replacing Components
With the issue identified, it’s time to move on to repairing or replacing the faulty components. Use the tips and techniques mentioned in Section 5 to address specific issues such as overheating, sticky buttons, or software glitches. Follow the manufacturer’s instructions or consult online resources for guidance on replacing damaged components. Always ensure that you are using compatible and quality replacement parts.
Testing Repairs
After completing the necessary repairs or replacements, it is crucial to test your fixes before reassembling the console. Power on the console and check if the original issue has been resolved. Test all the features and functionalities to ensure everything is working as intended. Conducting thorough testing will help you avoid any unnecessary rework or disappointment when using the console again.
By following this step-by-step guide, you’ll be able to confidently repair your console and get back to an uninterrupted gaming experience. However, if you encounter any challenges or uncertainties during the process, it is recommended to seek professional assistance to prevent further damage.
Common Issues and How to Fix Them
Console gaming can be a thrilling experience, but it’s not without its share of common issues. Whether you’re dealing with overheating, sticky buttons, or software glitches, troubleshooting these problems is essential to keep your gaming sessions uninterrupted. In this section, we’ll explore some of the most prevalent console issues and provide practical solutions to fix them.
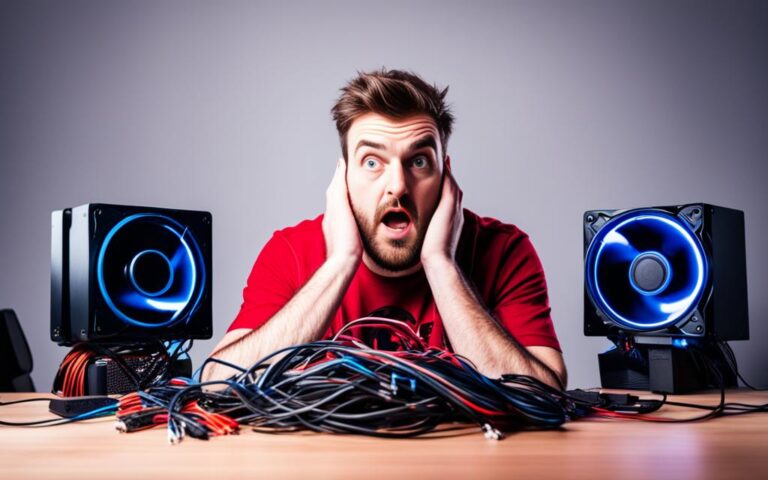
Overheating Solutions
One common issue that many console owners face is overheating. This can be caused by dust accumulation in the cooling system, obstructing airflow and causing the console to overheat. To resolve this problem:
- Power off your console and unplug it from the power source.
- Use a soft brush or compressed air to gently clean the fan and vents, removing any dust or debris.
- Ensure that the console is placed in a well-ventilated area, away from obstructions.
- Consider using external cooling solutions, such as cooling pads or fans, to help regulate the temperature.
Sticky Buttons
Another frustrating issue that console users encounter is sticky buttons. This can significantly affect gameplay and responsiveness. To fix sticky buttons:
- Power off your console to prevent accidental inputs.
- Dampen a cotton swab with isopropyl alcohol.
- Gently clean around the problematic button, applying slight pressure to remove any dirt or residue.
- Allow the button to dry before powering on the console.
Software Glitches
Software glitches can occur due to outdated software, corrupt game files, or other factors. If you’re encountering unusual behavior or errors, try the following troubleshooting steps:
- Restart your console to clear temporary data and refresh system processes.
- Check for system updates and install any available updates to ensure you’re running the latest software version.
- If the issue persists, try reinstalling the game or performing a factory reset on your console, following the manufacturer’s instructions.
- Backup your game saves and data before performing any major reset or reinstallations.
By following these troubleshooting tips, you can address common console issues and enjoy a seamless gaming experience. Remember to always refer to the manufacturer’s guidelines and seek professional assistance if needed to ensure proper repairs. Now let’s dive deeper into console repair techniques and explore more advanced solutions for resolving complex issues.
| Common Console Issues | Fixes |
|---|---|
| Overheating | Clean the cooling system, ensure proper ventilation, and consider external cooling solutions. |
| Sticky Buttons | Clean buttons with isopropyl alcohol and a cotton swab, removing dirt or residue. |
| Software Glitches | Restart, update software, reinstall games, or perform a factory reset if necessary. |
Conclusion
Troubleshooting your console doesn’t have to be daunting. With the right tools, knowledge, and techniques, you can effectively repair common issues and enhance your gaming experience. By following this comprehensive guide, you’ll become a console repair expert and have the satisfaction of fixing your own gaming machine.
Roll up your sleeves, dive into the world of console repair, and enjoy a seamless gaming experience. Whether you’re dealing with overheating problems, sticky buttons, or software glitches, the expert advice and effective strategies provided in this guide will help you overcome these challenges with ease.
Don’t let console troubleshooting stand in the way of your gaming enjoyment. Take control of your gaming experience by mastering the art of console repair. With the skills and confidence gained from this guide, you’ll be able to tackle any issue that comes your way, ensuring that every gaming session is smooth and uninterrupted. So get ready to level up your troubleshooting skills and elevate your gaming experience to new heights!
FAQ
Can I repair my gaming console myself?
Absolutely! Repairing your gaming console yourself is not only a money-saving option but also a way to gain satisfaction and become a tech wizard. With the right tools, knowledge, and techniques, you can effectively troubleshoot and fix common console issues.
What tools do I need for console repair?
To effectively repair your console, you’ll need a quality set of screwdrivers (including flat-head, Phillips, and Torx), a multimeter for diagnosing electrical issues, and a soldering iron for advanced repairs. It’s also important to use safety measures like unplugging the console, wearing protective gear, and using insulated gloves.
How can I identify the issue with my console?
In our step-by-step guide, we walk you through the process of opening the console safely, identifying the issue, and repairing or replacing the necessary components. By following the guide, you’ll have the knowledge to troubleshoot and fix common console problems.
What are some common console issues and how can I fix them?
Overheating is a common issue in consoles, often caused by dust accumulation in the cooling system. Cleaning the fan and vents can solve this problem. Sticky buttons can be fixed with isopropyl alcohol and a cotton swab. Software glitches can often be resolved by resetting or updating the console. Our troubleshooting section provides more tips for fixing common console issues.
How do I ensure that my repairs have fixed the console?
It’s important to test your repairs before reassembling the console to ensure that the issue is resolved. You can follow our step-by-step guide to learn how to safely open the console, diagnose the problem, and take the necessary steps to repair or replace the components.