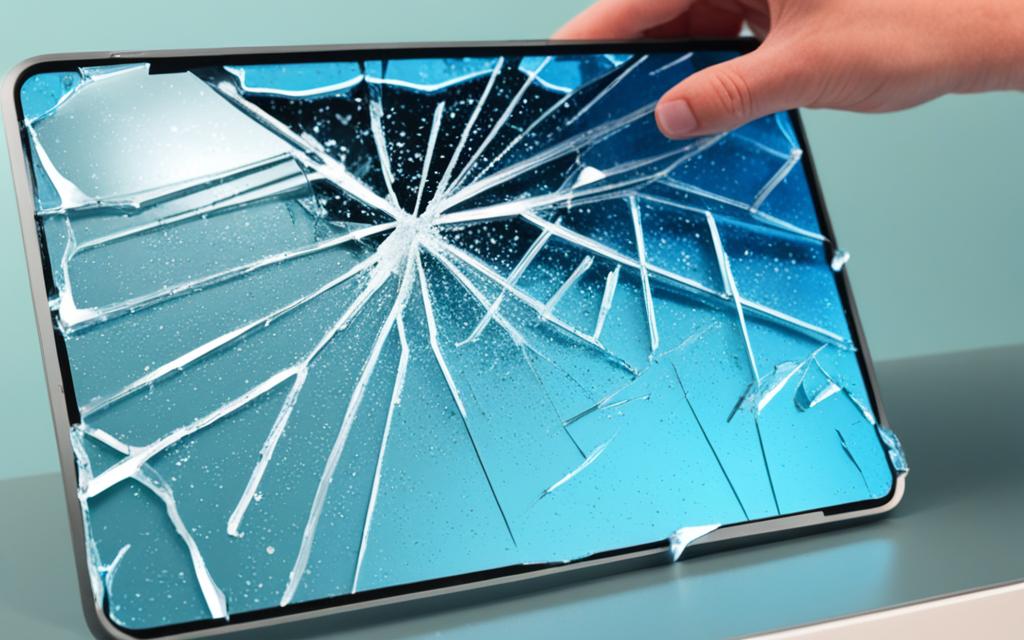
Tablets have become an essential part of our lives, used for work, entertainment, and communication. However, one familiar problem tablet users face is a cracked or broken screen. Fortunately, replacing a tablet screen can be done relatively quickly, provided you have the right tools and follow the correct procedure. This tablet screen replacement guide aims to provide you with step-by-step instructions on how to replace a broken screen on your tablet.
Accidental drops are one of the leading causes of cracked tablet screens. Whether you accidentally knock your tablet off a table or it slips out of your hand, the impact can result in a cracked or shattered screen.
Pressure
Applying excessive pressure on your tablet screen can also lead to damage. If you press too hard while using your stylus or mistakenly lean your tablet against a hard surface, it can cause cracks or even completely break the screen.
Manufacturing Defects
In some cases, tablet screens may develop cracks due to manufacturing defects. These defects could include weak screen materials or improper assembly. Although rare, it’s important to be aware that manufacturing defects can contribute to screen damage.
To better protect your tablet screen, consider using a protective case, screen protector, or both. These additional layers of protection can reduce the risk of damage from accidental drops and pressure.
“Tablets are versatile but fragile devices that are prone to screen damage.”
Types of Tablet Screen Cracks
When it comes to tablet screen damage, cracks are a common occurrence that can impair the functionality and aesthetics of your device. Understanding the different types of tablet screen cracks is crucial in determining the appropriate repair approach. Let’s delve into the various types of damages and how to identify them.
1. Minor Scratches
Minor scratches on a tablet screen may not seem significant at first, but over time, they can accumulate and affect the overall user experience. These small abrasions can often be seen under direct light or when the screen is turned off. While minor scratches do not necessitate immediate repair, applying a screen protector can help prevent further damage and improve visibility.
2. Side-to-Side or Linear Cracks
Side-to-side or linear cracks typically occur due to a single impact or drop, resulting in a visible line across the screen. These cracks can obstruct your view and interfere with touch functionality. If left unaddressed, they have the potential to worsen over time. It is advisable to replace the screen or seek professional repair services for side-to-side cracks to maintain the integrity of your tablet.
3. Spider Web Cracks
Spider web cracks, also known as shattered screens, are a more severe type of tablet screen damage. They occur when significant force or pressure is applied to the screen, causing intricate cracks that radiate from a central point. Spider web cracks can impair the touch response and display clarity, making your tablet virtually unusable. Immediate screen replacement or professional repair services are recommended for this type of damage.
Properly identifying the type of tablet screen crack is crucial to initiate the appropriate repair measures. Remember, attempting to repair a broken tablet screen without the necessary expertise and tools may further damage your device. If you’re unsure or uncomfortable with DIY repairs, it’s best to consult a professional technician or authorized service center for assistance.
Type
Description
Repair Approach
Minor Scratches
Small abrasions on the screen surface.
Apply a screen protector to prevent further damage.
Side-to-Side or Linear Cracks
Visible line cracks across the screen.
Replace the screen or seek professional repair services.
Spider Web Cracks
Intricate cracks resembling a spider web.
Immediate screen replacement or professional repair services.
Preparing for the Replacement
Before diving into the tablet screen replacement process, it’s important to gather the necessary tools and prepare your workspace. This section will cover the tools you’ll need, safety precautions, and tips for a smooth repair.
Gathering the Necessary Tools
To successfully replace your tablet screen, you’ll need the following tools:
Replacement tablet screen: Purchase a compatible replacement screen for your specific tablet model. Ensure that it matches the display size and resolution of your original screen.
Screwdriver set: A set of precision screwdrivers will be essential for removing screws and disassembling the tablet.
Plastic opening tools: These tools will help pry open the tablet’s casing without causing damage.
Adhesive strips: Adhesive strips are necessary for securely attaching the new screen to your tablet.
Tweezers: Use tweezers to handle small components and delicate cables during the repair process.
Cleaning cloth: A microfiber cleaning cloth will help remove any dust or fingerprints from the tablet screen.
Safety Precautions
Before starting the replacement, take the following safety precautions:
Power off and unplug the tablet: Ensure that your tablet is completely powered off and disconnected from any power source before beginning the repair.
Work in a well-lit area: Choose a workspace with adequate lighting to avoid eye strain and make the repair process easier.
Protective eyewear: Wear safety glasses or goggles to protect your eyes from any potential debris during the repair.
Static electricity prevention: Prevent static electricity buildup by grounding yourself before handling any electronic components. You can do this by touching a grounded metal object or wearing an antistatic wrist strap.
Tips for a Smooth Repair
Here are some additional tips to ensure a smooth tablet screen replacement:
Document your disassembly: Take pictures or make notes during the disassembly process to help you remember the placement of screws, cables, and other components.
Organize your screws: Use a magnetic mat or small containers to keep track of screws and avoid misplacement.
Follow step-by-step instructions: Refer to the tablet manufacturer’s repair guides or online tutorials for specific instructions on removing and replacing the screen.
Be patient: Take your time and exercise caution throughout the repair process. Rushing can lead to mistakes or further damage the tablet.
By gathering the necessary tools, following safety precautions, and implementing these tips, you’ll be well-prepared to replace the screen on your tablet.
Step-by-Step Guide for Tablet Screen Replacement
Follow this comprehensive guide to effectively replace the screen on your tablet. We have broken down the process into key steps, ensuring a smooth and successful repair. Make sure you gather all the necessary tools and materials before you begin.
Step 1: Gather the Necessary Tools and Materials
Before starting the replacement process, ensure you have the following:
Replacement screen: Purchase a compatible replacement screen for your tablet model. You can find these online or at local electronics stores.
Small screwdriver set: A precision screwdriver set will help you remove screws and other components without causing damage.
Plastic spudger: This handy tool allows you to safely pry open the tablet casing without scratching or denting it.
Heat gun or hairdryer: The heat will soften the adhesive holding the screen, making it easier to remove.
Cleaning cloth: Use a lint-free cloth to clean the tablet screen and remove any dust or fingerprints.
Step 2: Power Off Your Tablet
Before starting the replacement, turn off your tablet and disconnect it from any power source. This will help prevent any accidents or electrical damage during the repair process.
Step 3: Remove the Old Screen
Use the plastic spudger to carefully pry open the tablet casing and expose the internal components. Locate the screws holding the screen in place and remove them using the small screwdriver. Gently lift the old screen out of the casing, being cautious not to damage any other components.
Pro Tip: Take note of the positioning of any connectors and cables attached to the old screen. This will make it easier to connect the new screen later.
Step 4: Prepare the New Screen
Take the replacement screen and clean it using a lint-free cloth. Ensure it is free from any dust or smudges. Align the new screen with the connectors and cables, and secure it in place using the screws you removed earlier.
Step 5: Install the New Screen
Carefully lower the tablet casing back into place, ensuring all tabs align. Apply gentle pressure around the edges to secure the casing. Use the heat gun or hairdryer to warm the adhesive, and press the screen firmly to ensure a good bond.
Step 6: Test Your Tablet
Now that you have installed the new screen, power on your tablet and test it to ensure everything is functioning correctly. Check for any display abnormalities or touchscreen issues. If everything looks good, you have successfully replaced your tablet screen!
The process of tablet screen replacement requires careful attention to detail and precision. However, if you follow this step-by-step guide and take your time, you can save money and extend the life of your tablet. Good luck with your repair!
Benefits of Tablet Screen Replacement
Potential Challenges
Cost-effective compared to purchasing a new tablet.
Allows you to keep personal data and settings intact.
Provides an opportunity to upgrade to a higher-quality or more durable screen.
Saves time compared to sending the tablet for professional repair.
Requires patience and attention to detail.
There is a risk of damaging other components during the repair process.
Replacing the screen may void the manufacturer’s warranty.
Not all tablet models have readily available replacement parts.
Conclusion
In conclusion, the process of tablet screen replacement doesn’t have to be a daunting task. With the right tools and a little patience, you can restore your tablet to its former glory. This comprehensive guide has provided step-by-step instructions to help you successfully replace your tablet screen.
Remember, prevention is key to avoid future screen damage. Consider investing in a protective case or screen protector to safeguard your tablet from accidental drops or scratches. Additionally, it’s recommended to handle your tablet with care and avoid applying excessive pressure on the screen.
If you find yourself unsure or uncomfortable with the repair process, it’s always a good idea to seek expert guidance. Consult professional technicians or reach out to the manufacturer’s customer support for assistance. They can provide valuable advice and ensure that your tablet screen replacement is done correctly.
Lastly, consider purchasing a protection plan for your tablet. This can provide coverage in case of accidental damage, providing peace of mind and financial security. By following these tablet repair tips, you can keep your device in optimal condition and enjoy its functionalities for years to come.
FAQ
Can I replace a cracked tablet screen myself?
Yes, you can replace a cracked tablet screen yourself, as long as you have the right tools and follow the correct procedure. This guide will provide you with step-by-step instructions to help you through the process.
What are the common reasons for tablet screen damage?
Common reasons for tablet screen damage include accidental drops, pressure, and manufacturing defects. Understanding these causes can help you prevent future mishaps and protect your tablet screen.
What are the different types of tablet screen cracks?
Tablet screen cracks come in various forms, including minor scratches, side-to-side cracks, and spider web cracks. Each type of damage requires a different approach for repair. We’ll explain how to identify these types of cracks in this guide.
What tools do I need to replace a tablet screen?
To replace a tablet screen, you’ll need tools such as a heat gun or a hairdryer, a suction cup, a pry tool, tweezers, adhesive strips, and a screen replacement kit. This guide will provide more details on the tools you’ll need and how to use them.
How do I prepare for tablet screen replacement?
Before starting the tablet screen replacement process, it’s important to gather the necessary tools and prepare your workspace. This section of the guide will cover the tools you’ll need, safety precautions, and tips for a smooth repair.
What is the step-by-step process for tablet screen replacement?
This guide will provide a detailed step-by-step process for tablet screen replacement. It will cover gathering the necessary tools and materials, powering off your tablet, removing the old screen, preparing the new screen, installing the new screen, and testing your tablet to ensure a successful repair.
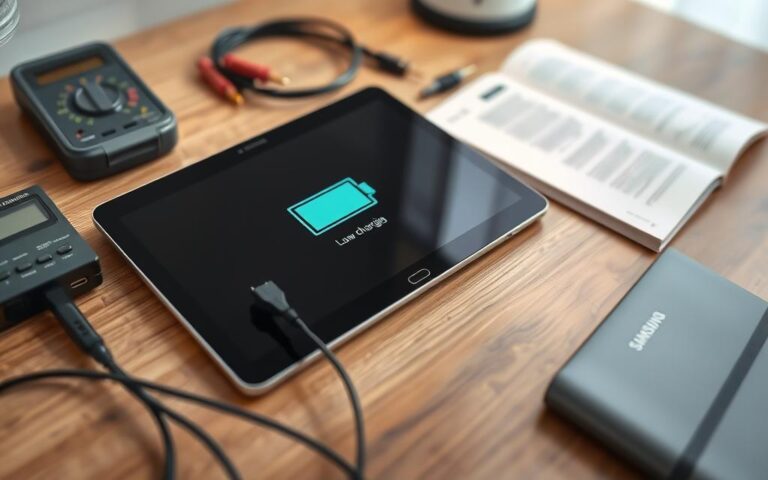
Having trouble with your Samsung tablet not charging can be a real headache. It’s annoying when you can’t use it for streamed shows, browsing, or work. Knowing how to get it charging again is key to keeping it running well. There are many possible causes, like a dirty port, software glitches, or a dead battery….
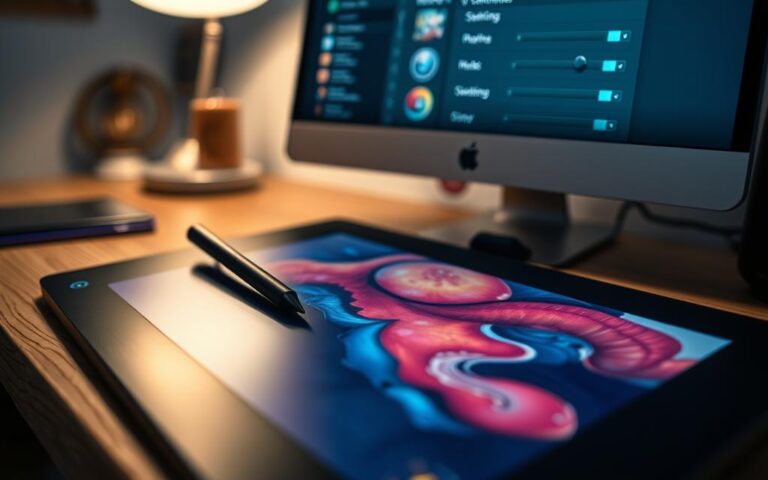
Having trouble with pen pressure on your Wacom tablet can be annoying. This is true for both pro artists and hobbyists. Pen pressure problems can disrupt your art and design work. Here, we’ll look at common issues with Wacom tablets. We’ll also share tips to fix pen pressure problems quickly. We’ll explore various tips for…
A stuck pixel on your tablet screen can be frustrating, impacting your viewing experience. Fortunately, there are effective methods to fix this issue and restore your tablet’s display quality. In this article, we will explore the steps you can take to fix a stuck pixel on your tablet screen, ensuring optimal performance. If you are…
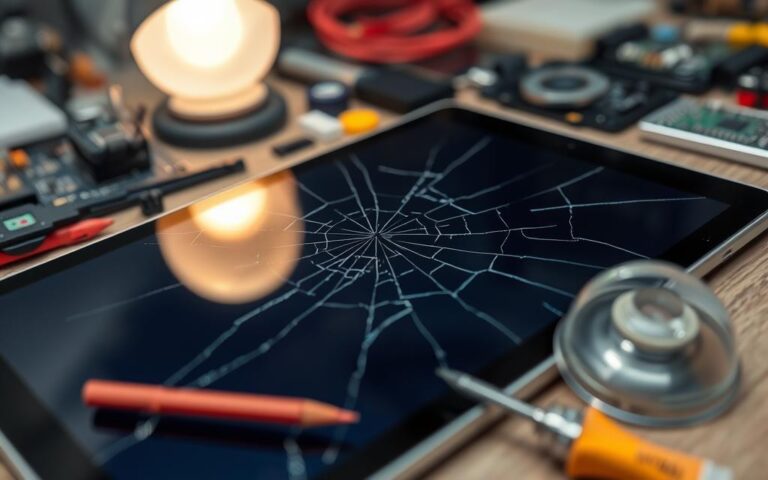
A broken tablet screen can really disrupt your daily activities. Around 27% of tablet users have had a broken screen before. Often, these damages happen because the tablet was accidentally dropped. It’s important to know if you can fix a broken screen, especially for young folks who might drop their tablets more. There’s good news…
Are you tired of waiting for your tablet to boot up? Slow boot times can be frustrating and hinder your productivity. If you’re looking for ways to fix slow boot times and speed up your tablet’s performance, you’ve come to the right place. In this article, we will provide expert tips on how to address…
When your tablet gets damaged, it can really upset your day. Luckily, there are many tablet repair services ready to help. With over 700 uBreakiFix by Asurion locations, finding a repair centre is easy. They offer screen repair, battery replacement, and more to fix your tablet right. Fixing your tablet is simpler than you might…