How to Replace a Tablet’s Ambient Light Sensor
Are you experiencing issues with the adaptive brightness functionality on your tablet? Don’t worry, we’ve got you covered. In this step-by-step guide, we will walk you through the process of replacing your tablet’s ambient light sensor to restore its adaptive brightness functionality.
By following this comprehensive guide, you can easily troubleshoot and resolve any problems related to your device’s ambient light sensor, enabling you to enjoy optimal brightness levels for a comfortable viewing experience.
Whether you’re a tech enthusiast or a beginner in tablet repair, this guide provides clear instructions and precautions to ensure a successful replacement. Let’s get started and bring back the adaptive brightness functionality on your tablet.
Stay tuned for detailed instructions and valuable tips on how to prepare for the replacement process and safely remove the display assembly without causing any damage. We will also guide you through disconnecting the necessary cables and replacing the ambient light sensor itself. Finally, we’ll cover the reassembly process, ensuring that your tablet functions optimally once again.
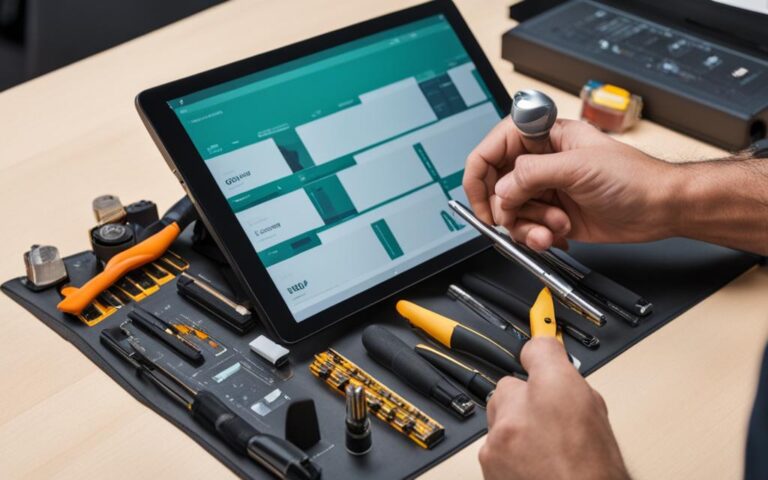
Preparing for the Replacement
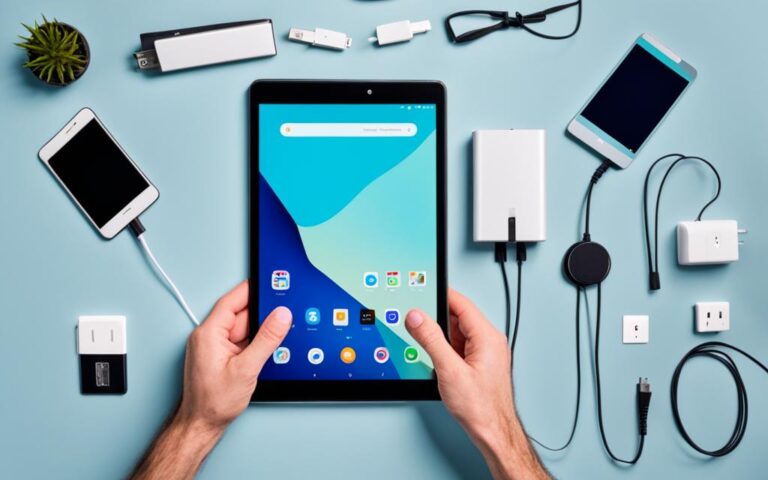
Before starting the replacement process, it is important to take certain precautions. Protect the tablet’s display by taping it with clear packing tape. This will prevent further breakage and keep glass shards contained. Wear safety glasses to protect your eyes during the repair. By following these steps, you can ensure the safety of both yourself and the device.
To tape the tablet’s display:
Related:


- Ensure the tablet is turned off and disconnected from any power sources.
- Clean the display surface using a lint-free cloth to remove any dust or debris.
- Cut a piece of clear packing tape that is slightly larger than the tablet’s display.
- Carefully align the tape with the edges of the display and press down firmly to adhere it.
- Smooth out any air bubbles or wrinkles in the tape using your fingers.
By taping the display, you provide an additional layer of protection against accidental damage during the replacement process. This simple step can help prevent costly repairs or the need for a replacement device.
Remember to always wear safety glasses when working with any electronic device to protect your eyes from potential hazards.
Removing the Display Assembly
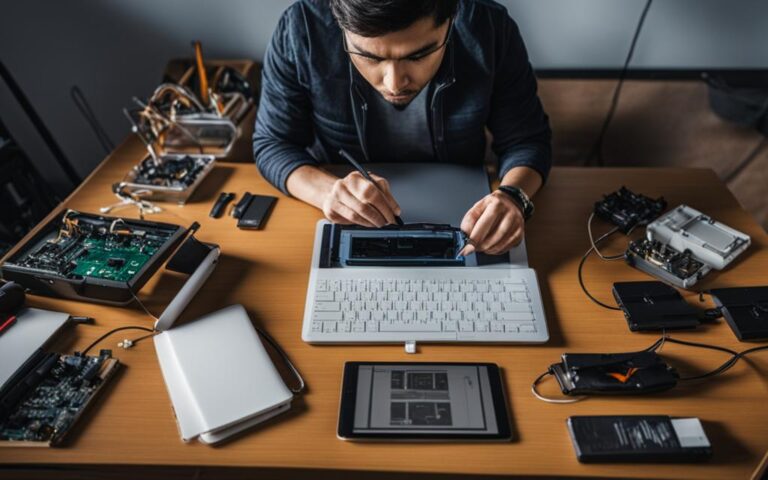
In order to replace the tablet’s ambient light sensor, you will first need to remove the display assembly. Follow the steps below to safely and effectively complete this task.
- First, gather the necessary tools for the job. You will need a metal spudger to pry the display assembly, ensuring that you avoid damaging the fragile clips holding it in place.
- With the metal spudger in hand, carefully begin prying the display assembly away from the tablet’s aluminum body. Take your time and exercise caution to prevent any damage to the display assembly or its clips. Remember, there are 14 metal clips securing the assembly, so be sure to pry around them instead of slicing through them.
- If, unfortunately, some of the clips break during the process, there is no need to panic. These clips can be replaced separately, ensuring that your tablet remains functional.
It is crucial to handle the display assembly with care while removing it from the tablet. The metal spudger allows for precise prying without causing unnecessary damage. Take your time and prudently navigate around the metal clips to avoid any unfortunate incidents.
Disconnecting the Cables
To proceed with the replacement, you need to disconnect the three cables attaching the display assembly to the tablet’s logic board. These cables include the Digitizer cable, Ambient Light Sensor cable, and Display Data Cable.
Use a plastic opening tool to flip up the retaining flaps holding the digitizer ribbon cables in their sockets. Then, gently pry upward to remove the ambient light sensor connector from its socket. Finally, flip up the metal retainer and pull the display data cable connector away from its socket.
| Cable | Procedure |
|---|---|
| Digitizer cable | Use a plastic opening tool to flip up the retaining flaps holding the digitizer ribbon cables in their sockets. |
| Ambient Light Sensor cable | Gently pry upward to remove the ambient light sensor connector from its socket. |
| Display Data Cable | Flip up the metal retainer and pull the display data cable connector away from its socket. |
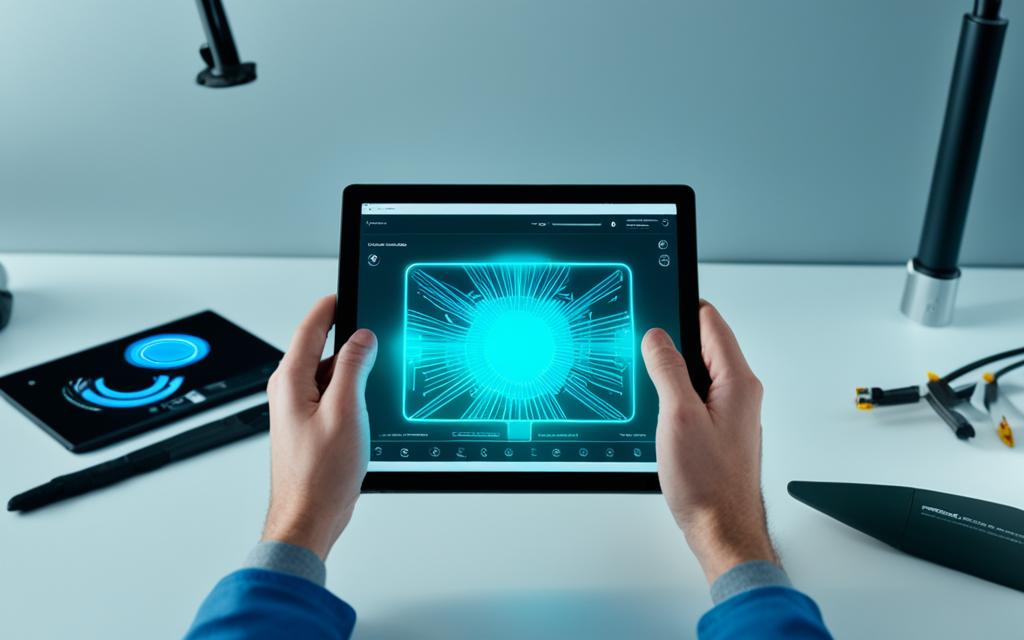
Replacing the Ambient Light Sensor
Once the display assembly is disconnected, you can focus on replacing the ambient light sensor. Carefully pry the sensor off the adhesive securing it to the display frame, taking care not to crease or break it. If necessary, attach the plastic view window to the new ambient light sensor before installation. Following these steps will ensure that the tablet’s adaptive brightness functionality is restored.
https://www.youtube.com/watch?v=BL2ltOg6RC0
When replacing the ambient light sensor, it is important to handle it with care. By gently prying the sensor off the adhesive, you can detach it from the display frame without causing any damage. Take your time to ensure that the sensor comes off smoothly, avoiding any creases or breaks that could impact its functionality. Additionally, if the new sensor does not already have a plastic view window attached, make sure to securely affix it before installing the sensor.
By following these steps and properly replacing the ambient light sensor, you can restore the tablet’s adaptive brightness functionality. This will enhance the user experience by automatically adjusting the screen brightness according to the surrounding ambient light conditions. Let’s now move on to reassembling the tablet and concluding the repair process.
Conclusion
To conclude the tablet’s ambient light sensor replacement, it is crucial to carefully reassemble the device, ensuring that all components are properly connected and secured. By following the instructions in reverse order, you can complete the repair process successfully.
Reassembling the tablet involves reattaching the display assembly to the aluminum body, reconnecting the Digitizer, Ambient Light Sensor, and Display Data cables, and securing them in their respective sockets. Take care to flip up the retaining flaps, gently pry the connectors, and flip up the metal retainer as required. This meticulous approach ensures a reliable connection.
Once you have reassembled the device, it is important to test the functionality of the ambient light sensor. Check if the adaptive brightness feature is functioning correctly. If so, congratulations, you have successfully replaced the ambient light sensor and restored the tablet’s adaptive brightness functionality.
In conclusion, following the step-by-step guide and reassembling the tablet using the proper techniques will allow you to replace the ambient light sensor effectively. By doing so, you can provide your tablet with the necessary repair it needs and enjoy the restored adaptive brightness functionality.