Repairing or Replacing Faulty Desktop Fans
If your computer is experiencing overheating issues, loud noises, or frequent crashes, it could be due to a faulty desktop fan. The desktop fan is responsible for cooling down the processor and preventing it from overheating and causing damage to other components. To solve this issue, you can either repair or replace the faulty fan. In this article, we will provide a step-by-step guide on how to replace a desktop fan to ensure optimal performance and prevent overheating.
Identifying the Faulty Fan
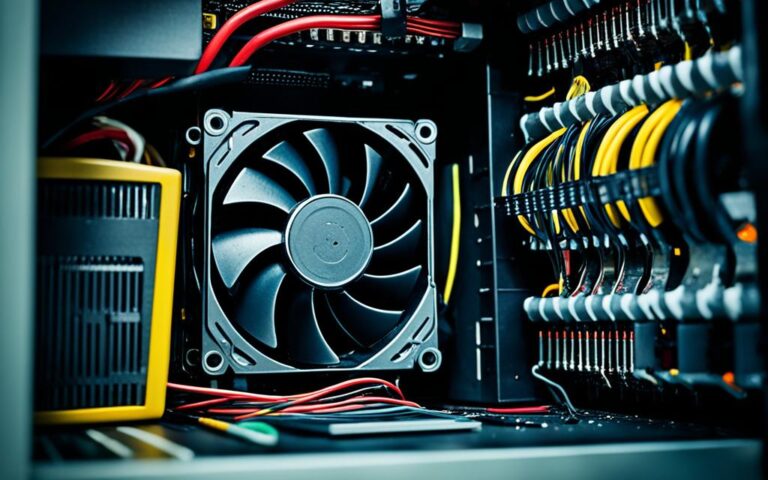
The first step in replacing a desktop fan is to identify the specific fan that needs to be replaced. Typically, the CPU fan is located on top of the processor, which is a square-shaped chip on the motherboard. You can often find a label or sticker on the fan with the model number and manufacturer’s name. Alternatively, you can use software tools like CPU-Z or Speccy to check the fan’s specifications. It’s crucial to know the model and size of the fan to ensure you purchase a compatible replacement.
If you are manually inspecting the fan, ensure that the computer is turned off and unplugged from the power source to prevent any accidents or electric shocks. Open the computer case and locate the CPU fan. It may be attached directly to the processor or connected via a heat sink. Take note of the model number and manufacturer’s name on the fan itself or any labels present. These details will help you find a compatible replacement.
In addition to physical inspection, you can utilize software tools to gather information about the fan. CPU-Z is a popular application that provides detailed information about your computer’s hardware, including the CPU fan. Once installed, launch the program and navigate to the “Mainboard” tab. Here, you will find information about the CPU fan, including its model number. Similarly, Speccy is another software tool that provides system information, including details about the CPU fan. Install and run the program, and under the “CPU” section, you will find information such as the fan’s speed and temperature.
Knowing the model number and other specifications of the faulty fan is essential for identifying a compatible replacement. It ensures that the new fan fits perfectly and functions correctly within your computer system. Take the time to gather the necessary information before proceeding with the replacement process.


To summarize, identifying the faulty fan involves inspecting physical labels or stickers on the fan, using software tools like CPU-Z or Speccy, or a combination of both. By acquiring the model number and other specifications, you can proceed to find a compatible replacement, ensuring optimal cooling and performance for your desktop computer.
| Methods for Identifying a Faulty Fan | Advantages | Disadvantages |
|---|---|---|
| Inspecting physical labels or stickers on the fan | Easy and straightforward | May require opening the computer case |
| Using software tools like CPU-Z | Provides detailed information about the fan | Requires software installation and usage |
| Using software tools like Speccy | Gives comprehensive system information | May not be as specific as physical inspection |
Removing the Faulty Fan
Before proceeding with the replacement of the faulty fan, several essential steps need to be followed to ensure safety and effective removal. By turning off the computer and disconnecting external devices, you can prevent any potential damage or accidents.
- Begin by turning off the computer and unplugging it from the power source. This step is crucial to avoid any electrical hazards while working on the internal components.
- Disconnect all external devices attached to the computer, such as monitors, keyboards, mice, and speakers.
- To discharge any static electricity, it’s recommended to either wear an anti-static wrist strap or touch a metal surface before proceeding.
- Using a screwdriver or tool kit suitable for your computer’s type and model, carefully open the computer case. This step may vary depending on the case’s design, so refer to the manufacturer’s instructions if needed.
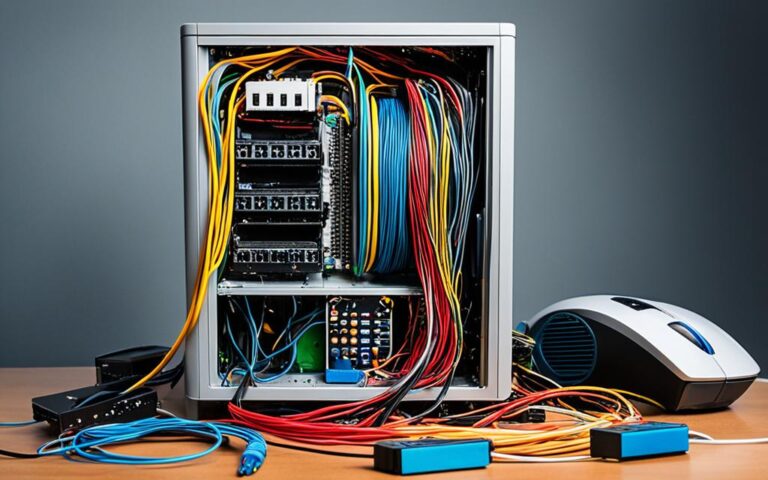
- Locate the faulty fan, usually attached to the processor by a metal bracket or plastic clip. Take note of any screws or parts that may need to be removed during the process.
- Disconnect the cable connecting the fan to the motherboard. Gently detach the fan from the processor, ensuring no unnecessary force is applied that could cause damage.
By following these steps, you will safely and effectively remove the faulty fan from your computer, preparing it for the next stage of fan replacement. Remember to keep track of any removed parts to ensure smooth reassembly later on.
Cleaning the Processor and Installing the New Fan
Once the faulty fan is removed, it’s important to clean the processor and prepare for the installation of the new fan. A clean processor is essential for optimal cooling and performance. Follow these steps to ensure a thorough cleaning:
- Removing Dust: Use a soft cloth, brush, or compressed air can to gently remove any dust or dirt from the processor’s surface. Dust can accumulate over time and hinder the fan’s effectiveness in dissipating heat. Pay attention to the gaps and corners where dust tends to accumulate the most.
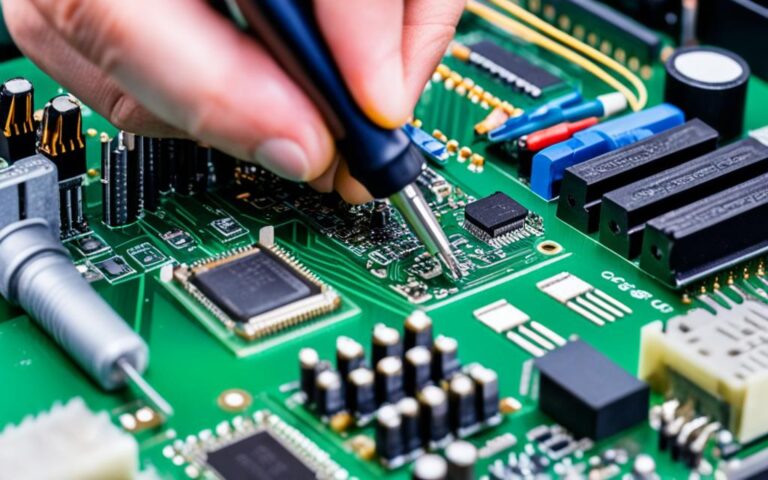
- Cleaning the Processor: After removing the dust, it’s crucial to clean the processor with precision. Dampen a cotton swab with rubbing alcohol and carefully clean the surface of the processor. This will remove any remaining dust particles or thermal paste residue.
- Applying Thermal Paste: Thermal paste is a crucial element for efficient heat transfer between the processor and the fan. Apply a thin layer of thermal paste onto the processor’s surface. Be cautious not to apply too much, as it can hinder heat conductivity.
- Attaching the New Fan: Before attaching the new fan, ensure its compatibility with your processor and motherboard. Consult the manufacturer’s instructions or specifications for verification. Once confirmed, securely attach the new fan using the provided screws or bracket. Ensure it is aligned properly and firmly tightened.
- Connecting the Cable: Finally, connect the fan’s cable to the dedicated header on the motherboard. This will allow the fan to receive power and be controlled by the computer’s system.
By following these steps, you will have successfully cleaned the processor and installed the new fan. This ensures optimal heat dissipation and helps maintain a cool and efficient computer system.
| Steps | Description |
|---|---|
| Removing Dust | Use a soft cloth, brush, or compressed air can to remove dust from the processor’s surface. |
| Cleaning the Processor | Use a cotton swab and rubbing alcohol to clean the processor, removing dust and thermal paste residue. |
| Applying Thermal Paste | Apply a thin layer of thermal paste on the processor’s surface to enhance heat transfer. |
| Attaching the New Fan | Securely attach the new fan to the processor using screws or the provided bracket. |
| Connecting the Cable | Connect the fan’s cable to the motherboard’s header for power and control. |
Note: Ensure you follow the manufacturer’s guidelines and instructions for cleaning the processor and applying thermal paste. Improper cleaning or application of thermal paste can lead to performance issues or overheating.
Testing the New Fan and Checking for Errors
After successfully installing the new fan, it’s time to ensure that everything is in working order. Let’s go through the necessary steps to complete the replacement process:
- Closing the Case: Close the computer case by securely fastening any screws or latches. This step ensures proper airflow and prevents any external debris from entering the system.
- Reconnecting External Devices: Take the time to reconnect any external devices that were previously disconnected, such as monitors, keyboards, mice, and speakers. Double-check that all connections are secure.
- Powering On: Plug the computer back into the power source and switch it on. Pay close attention to any indications that the new fan may not be functioning correctly.
During the initial startup, carefully observe the new fan for normal operation. Listen for any unusual noises, such as grinding, rattling, or excessive vibration. If you notice any of these issues, power off the computer immediately and reassess the installation process to identify any potential errors.
To further monitor the fan’s performance, you can utilize software tools like HWMonitor or SpeedFan. These programs provide real-time data on the fan’s temperature, speed, and other relevant information. Monitoring the fan’s performance ensures optimal cooling and prevents any future overheating issues.
Remember, a properly functioning fan is essential for the longevity and performance of your desktop computer. By following these steps and thoroughly testing the new fan, you can confidently declare the faulty desktop fan case closed.
| Software Tools | Features |
|---|---|
| HWMonitor | Real-time monitoring of fan temperature and speed |
| SpeedFan | Advanced controls for fan speed and temperature adjustments |
Conclusion
Proper fan troubleshooting and computer maintenance are essential for ensuring optimal performance and preventing overheating issues. By following the steps outlined in this article, you can easily identify, remove, clean, and install a new desktop fan. Regularly monitoring the fan’s performance and conducting routine maintenance will help keep your computer running smoothly and efficiently.
However, if you’re unsure about replacing the fan yourself or encounter any difficulties during the process, it’s advisable to seek assistance from a professional computer repair service. They have the expertise and knowledge to handle fan replacements and other technical issues, ensuring your computer operates at its best.
Remember, neglecting fan troubleshooting and maintenance can lead to serious consequences, including system crashes, data loss, and even permanent damage to your computer’s internal components. Take the necessary steps to keep your computer cool and functioning optimally, and enjoy a reliable and efficient computing experience.