Upgrading Desktop CPUs: A How-To Guide
If you’re looking to enhance the performance of your desktop computer, upgrading the CPU (central processing unit) is a great option. While it may seem daunting, with the right information and tools, it can be a relatively straightforward process. In this guide, we’ll walk you through the steps of choosing and installing a new CPU for your gaming or productivity PC. We’ll cover compatibility with your motherboard, backing up your data, updating your BIOS, gathering the necessary tools, opening up your PC, removing the heatsink or fan, cleaning off the old thermal paste, removing the old processor, securing the new processor, applying thermal paste, and reinstalling the heatsink or fan.
If you’re ready to take your desktop performance to the next level, continue reading our comprehensive guide to upgrading desktop CPUs.
Ensure Compatibility with Your Motherboard
Before you embark on the CPU upgrade process, it’s essential to verify that your chosen processor is compatible with your motherboard. Failure to do so may lead to compatibility issues and potentially prevent the upgrade altogether.
To determine CPU compatibility, you can take advantage of online resources like CPU-Upgrade. Websites like these allow you to search for your specific motherboard and identify which Intel or AMD chips will work seamlessly with it. Thoroughly researching this compatibility is strongly recommended to ensure a smooth CPU upgrade experience.
Alternatively, you can leverage the “msinfo32” command in Windows to obtain information about your motherboard, including its compatibility with different CPU models.
Being diligent about CPU and motherboard compatibility is vital for a successful upgrade. By taking the time to verify compatibility beforehand, you can avoid costly issues and enjoy the improved performance that a new CPU brings.
Related:


Back Up Your Data (Optional)
While upgrading your CPU, it’s always a smart idea to back up your important data as a precautionary measure. Even though the CPU upgrade process should not directly impact your hard drive, unforeseen accidents can happen, leading to potential data loss. By backing up your files, you can ensure the safety of your valuable data and have peace of mind throughout the upgrade.
You can back up your data by utilizing various methods depending on your preference and available resources:
1. USB Stick or External Hard Drive
One common method is using a USB stick or an external hard drive to create a physical backup of your files. Simply connect the USB stick or external hard drive to your computer, copy and paste the important files into the device, and safely store it in a secure location. This way, even if any unexpected issues occur during the CPU upgrade, your data will remain intact and easily accessible.
2. Cloud Backup Service
If you prefer a more convenient and automated solution, you can opt for a cloud backup service. These services provide secure online storage where you can upload your files and access them from any device with an internet connection. Popular cloud backup services include Google Drive, Dropbox, and OneDrive. Make sure to choose a service that offers sufficient storage space for your data and follow their instructions to back up your files.
Remember, backing up your data is an optional step but highly recommended. It only takes a few extra minutes to create a backup and ensures that you won’t lose any critical files during the CPU upgrade process.
Update Your BIOS (Optional)
When upgrading your CPU, it’s essential to consider the compatibility of your motherboard and the new processor. One crucial step that can help you avoid potential issues is updating your computer’s Basic Input/Output System (BIOS). Acting as the operating system for your motherboard, the BIOS influences settings related to voltage levels and hardware compatibility. By updating the BIOS, you can ensure that your computer recognizes and works seamlessly with the new CPU.
It’s important to note that updating the BIOS is an optional step, but it is strongly recommended, especially if your current BIOS version doesn’t support the new CPU. BIOS updates often include improvements, bug fixes, and enhanced compatibility with the latest hardware.
To update your BIOS, you can find specific instructions for your motherboard model from the manufacturer’s website or forums dedicated to hardware enthusiasts. Following these instructions closely is crucial to avoid any potential complications or “bricking” your computer, rendering it inoperable.
Pro tip: Before updating the BIOS, ensure that your computer is running smoothly without any hardware or software issues. It’s also wise to back up your data to avoid any potential losses throughout the updating process.
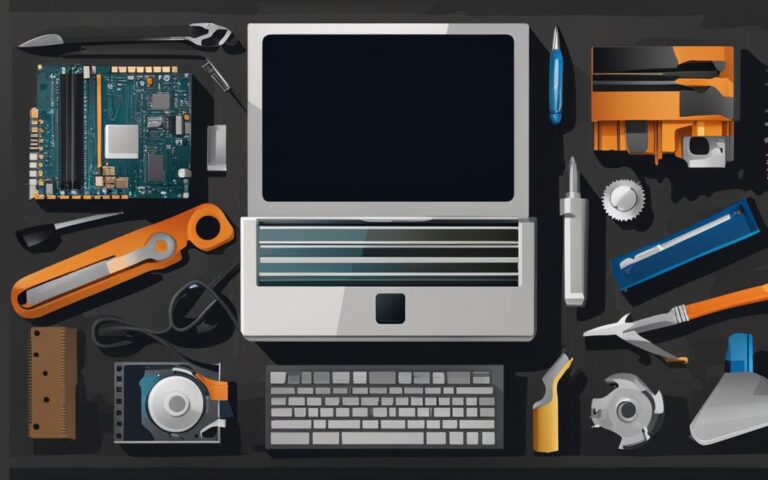
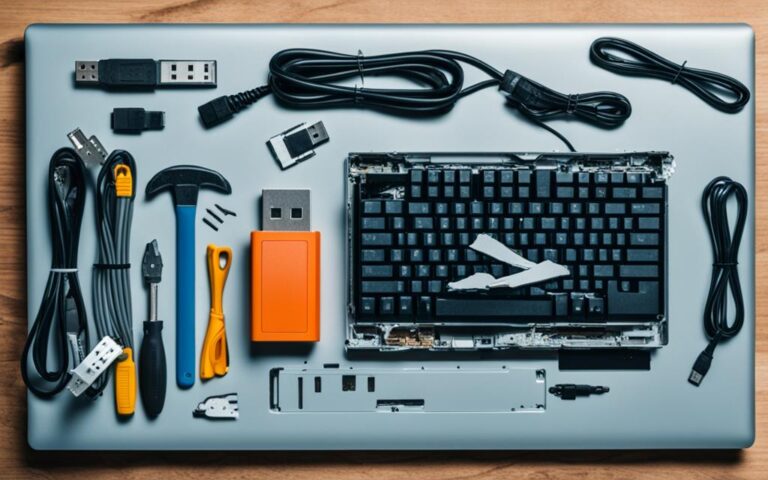
Gather the Necessary Tools
Before you begin the CPU upgrade process, make sure you have all the necessary tools at hand. Having the right equipment will ensure a smooth and successful upgrade.
Essential Tools
Here is a list of the essential tools you will need:
- A soft cloth
- Paper towels
- Rubbing alcohol
- Thermal paste
- A screwdriver
The type of screwdriver required will depend on how the heatsink and computer case are secured. Make sure you have the appropriate screwdriver to safely remove and install these components.
Additional Equipment
In addition to the essential tools, it’s recommended to have the following equipment:
- An anti-static band or wrist strap
- A clean, hard surface to work on
- A bowl or container to hold loose screws
Wearing an anti-static band or periodically grounding yourself is important to prevent any static electricity from damaging sensitive components during the upgrade process. A clean and hard surface will provide a stable workspace, while a bowl or container will help you keep track of small screws and prevent them from getting lost.
By gathering all the necessary tools and equipment, you’ll be well-prepared for a successful CPU upgrade.
Conclusion
Upgrading your desktop CPU can be a game-changer for both gamers and productivity users. By following the step-by-step guide provided in this article, you can ensure a successful CPU upgrade and unlock the full potential of your desktop computer.
First and foremost, it’s crucial to check the compatibility of your chosen CPU with your motherboard. This step ensures that the new processor can work seamlessly with your existing hardware. Additionally, backing up your data before the upgrade is optional but highly recommended to safeguard against any unforeseen accidents or data loss.
Updating your BIOS, although optional, is another important consideration. A BIOS update can resolve potential compatibility issues and optimize the performance of your upgraded CPU. However, it’s essential to follow the instructions carefully to avoid any risks.
Before you begin the upgrade process, gather all the necessary tools, including a soft cloth, paper towels, rubbing alcohol, thermal paste, and a suitable screwdriver. Taking precautions, such as grounding yourself periodically and working on a clean, hard surface, is essential to protect sensitive components.
Throughout the upgrade process, remember to safely open your PC, remove the heatsink or fan, clean off the old thermal paste, and secure the new processor with the appropriate thermal paste application. Finally, reinstall the heatsink or fan and ensure everything is securely in place.
With these comprehensive steps, you can confidently undertake a CPU upgrade, enhancing the performance and overall efficiency of your desktop computer.