Game Console Reassembly: A Comprehensive Guide
Welcome to our comprehensive guide on game console reassembly. Whether you’re a gaming enthusiast or a DIY repair enthusiast, this guide will provide you with the knowledge and step-by-step instructions you need to successfully reassemble your game console. From Xbox One to Nintendo 3DS to PlayStation 4, we’ve got you covered. Let’s dive in and get your gaming hardware back in action!
Reassembling a game console can be a complex process, but with the right tools and know-how, anyone can conquer it. In this guide, we’ll walk you through the cleaning and preparation steps before reassembly, and then take you step-by-step through the process of putting your console back together. We’ll also provide you with some essential tips and best practices to ensure your reassembly is a success.
By following the instructions in this guide, you’ll not only save money on professional repairs but also gain the satisfaction of reviving your gaming hardware. So, grab your screwdriver, put on your electronics hat, and let’s embark on this exciting reassembly journey together!
Understanding Game Console Parts and Components
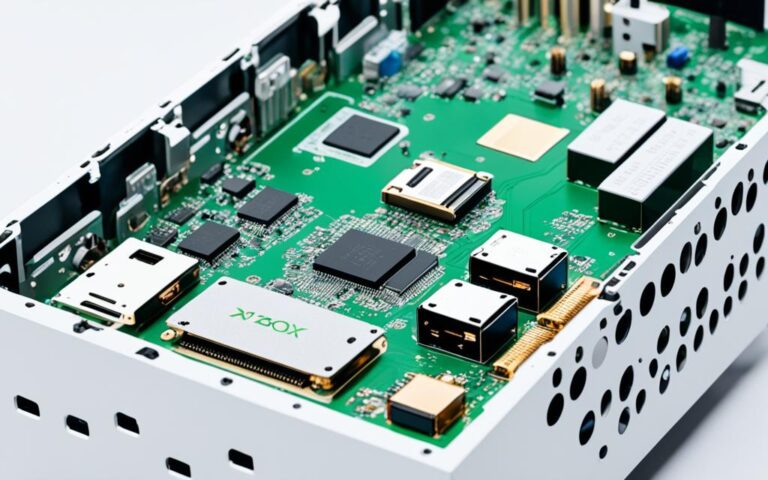
Before diving into the reassembly process, it’s important to familiarize yourself with the different parts and components of a game console. By understanding the specific components of your console, you can identify any issues and ensure a successful reassembly.
Commonly Replaced Parts
When it comes to game console repairs, certain parts are more frequently replaced than others. Familiarizing yourself with these components will give you a good starting point for troubleshooting and reassembling your console.
| Component | Description |
|---|---|
| Controller Joysticks | The joystick controls allow you to navigate and interact with games. These are prone to wear and tear over time. |
| HDMI Ports | The HDMI ports connect your console to the TV or monitor. Faulty ports can result in a lack of video or audio output. |
| Batteries | If your console uses batteries for power, these can wear out and need replacement to maintain optimal performance. |
| Optical Drives | The optical drive is responsible for reading game discs. If it fails, games may not load or play properly. |
These are just a few examples of commonly replaced parts, but each console has its own unique set of components that may require attention during reassembly.
Identifying Components
When disassembling your game console, carefully note the order in which you remove the components. Taking detailed photographs or making a diagram can be helpful for reference later on. By following the reverse process and placing each component back where it belongs, you’ll ensure a proper reassembly.
Remember, if you’re unsure about a certain component, consult the manufacturer’s instructions or reliable online resources for guidance. Additionally, online forums and communities dedicated to console repairs can provide valuable insights and troubleshooting tips.
With a solid understanding of game console parts and components, you’re now ready to move on to the cleaning and prep work phase to ensure a successful reassembly.
Cleaning and Prep Work Before Reassembly
Before reassembling a game console, it’s crucial to properly clean and prepare it. A clean console not only ensures optimal performance but also prolongs its lifespan. Dust, grime, and dirt can accumulate over time and lead to issues like overheating and poor connectivity. By following a few essential cleaning steps and performing the necessary prep work, you can ensure a successful reassembly and enjoy a smooth gaming experience.
Cleaning the Console Exterior
The first step in preparing your game console for reassembly is to clean its exterior. Dusting the console regularly, including the vents, helps prevent dust buildup and promotes proper airflow. This is especially vital for consoles placed in enclosed spaces or areas prone to dust accumulation. For the cleaning process, you’ll need:
- Lint-free cloth
- Cleaning solution (preferably alcohol-based)
Start by gently wiping the console surface and vents with the lint-free cloth to remove any loose dust or particles. Next, dampen the cloth with the cleaning solution and carefully wipe down the entire exterior, paying extra attention to areas with visible grime or fingerprints. This will help remove stubborn stains and ensure a clean, polished look.
Cleaning the Internal Components
While cleaning the exterior is important, it’s equally crucial to clean the internal components of your game console. Dust and dirt can accumulate inside, affecting performance and potentially causing damage. To clean the internal components, you’ll need:
- Compressed air canister
- Clean, dry cloth
Begin by carefully opening the console according to the manufacturer’s instructions, or refer to online resources for detailed guides specific to your console model. Using the compressed air canister, blow out any dust from the internal components, such as the motherboard, fans, and disc drives. Ensure you hold the canister upright and use short bursts of air to avoid causing damage.
After removing the dust, use a clean and dry cloth to gently wipe any visible dirt or debris from the components. Allow the console and its components to air dry completely before moving on to the reassembly process. This step is crucial to prevent any moisture-related issues during the reassembly.
Prep Work for Reassembly
Once the console is thoroughly cleaned, it’s time for the prep work to ensure a smooth reassembly process. Start by organizing all the screws and small parts in a secure location to avoid misplacing them. Consider using a small container or magnetic tray to keep everything organized and easily accessible.
Next, gather all the necessary tools required for reassembly, such as screwdrivers and any additional components or replacement parts. Double-check that you have everything you need before proceeding to avoid any delays or interruptions during the reassembly.
Finally, take a moment to review the manufacturer’s instructions or consult reliable online resources for any specific guidelines or tips related to the reassembly process. This step will ensure you have a clear understanding of the sequence and steps required to successfully reassemble your game console.
By following these cleaning and prep work steps, you’ll be well-prepared to begin the reassembly process of your game console. Taking the time to clean the console and its components not only improves performance and longevity but also enhances your overall gaming experience.
Step-by-Step Reassembly Process
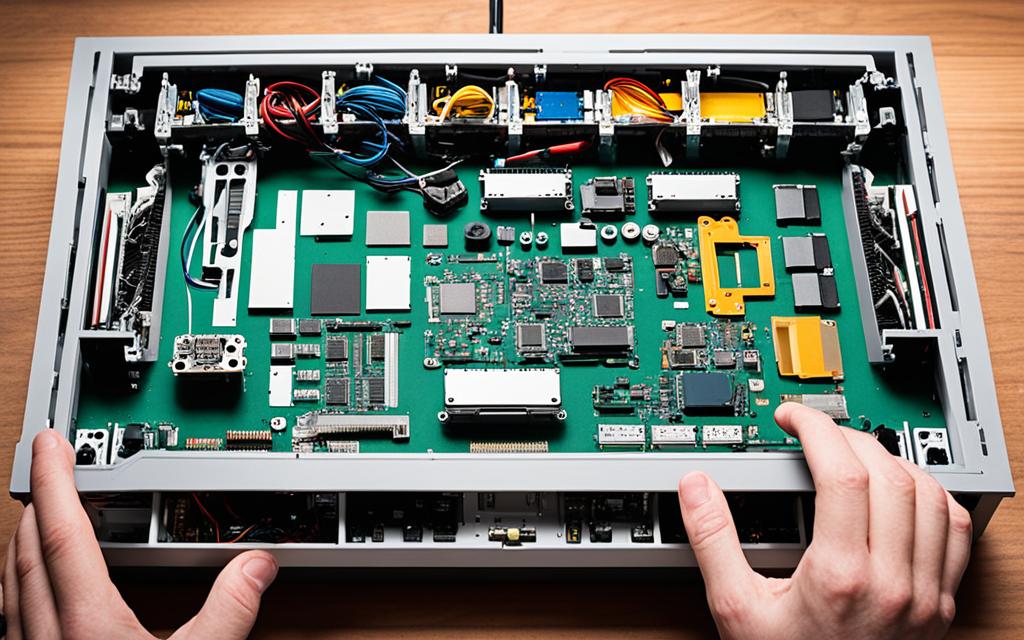
Now it’s time to start reassembling your game console. Begin by shutting down and unplugging the console. Follow the manufacturer’s instructions or consult online resources for specific console models to guide you through the reassembly process. This may involve removing screws, metal plates, and other components to access and clean the internal parts. Take note of the order in which the components were initially removed and carefully follow the reverse process to ensure a proper reassembly.
Reassembling a game console requires patience and attention to detail. Follow these step-by-step instructions to ensure a successful reassembly:
- Start by shutting down and disconnecting your game console from the power source.
- Refer to the manufacturer’s instructions or online resources for your specific console model.
- Use the necessary tools, such as screwdrivers, to remove any screws securing the console’s outer casing.
- Gently lift off the casing to expose the internal components.
- Take note of the arrangement and order of the components as you remove them.
- Clean the internal parts using compressed air or a lint-free cloth to remove any dust or debris.
- Carefully reinsert each component in the reverse order of removal, ensuring they are properly aligned and connected.
- Secure the components with screws and ensure they are tightened appropriately.
- Replace the outer casing and secure it with screws.
- Connect the console back to the power source and turn it on to test the reassembly.
Following these step-by-step instructions will help you successfully reassemble your game console and get it back up and running.
Tips and Best Practices for Successful Reassembly
Reassembling a game console can be intricate work, so it’s important to follow some best practices to ensure a successful reassembly. Here are some tips to make the process smoother:
- Keep screws and small parts organized: When disassembling the console, make sure to keep track of all the screws and small components. Place them in a secure location, such as a labeled organizer or a small tray, to avoid losing them during the reassembly.
- Use the appropriate tools: To handle delicate console components, such as circuit boards or connectors, it’s crucial to use the right tools. Invest in a quality set of screwdrivers, including precision ones, to ensure a proper fit and prevent damage. Compressed air can also be useful for cleaning hard-to-reach areas.
- Take your time and double-check: Reassembling a game console is not a task to rush. Take your time to carefully follow each step of the reassembly process. Before moving on to the next step, double-check your work to avoid any mistakes or missed connections.
- Consult online forums for guidance: If you encounter any difficulties or feel unsure about a specific part of the reassembly, consider seeking help from online forums or communities dedicated to console repair. Experienced enthusiasts can provide valuable advice and solutions to common issues.
By following these best practices, you can increase your chances of a successful reassembly and ensure your game console functions properly once again.
Conclusion
Game console reassembly offers a rewarding and cost-effective solution for prolonging the lifespan of your gaming hardware. With the right knowledge and attention to detail, anyone can successfully reassemble their console, ensuring hours of uninterrupted gameplay. To ensure a smooth process, it is crucial to follow the manufacturer’s instructions or consult reliable resources specific to your console model.
Proper cleaning and preparation are essential steps in the reassembly process. By regularly dusting the console and its vents and using a lint-free cloth and cleaning solution to remove grime, you can eliminate performance issues caused by dust and dirt buildup. Additionally, taking the time to clean the internal components and ensuring they are dry will contribute to a successful reassembly.
Following a step-by-step reassembly process is crucial for a proper reassembly. Take note of the order in which the components were initially removed and carefully follow the reverse process. Organize screws and small parts in a secure location to prevent loss, and use the appropriate tools for handling delicate components. By exercising patience and double-checking each step, you can avoid mistakes and confidently reassemble your game console.
By embarking on the rewarding journey of game console reassembly, you can breathe new life into your favorite gaming hardware and enjoy countless hours of immersive gameplay. Remember to incorporate these best practices, consult reliable resources, and take the time necessary to master the reassembly process. Get ready to level up your gaming experience!
FAQ
What are the commonly replaced parts in a game console?
Commonly replaced parts in a game console include controller joysticks, HDMI ports, batteries, and optical drives.
Why is it important to clean and prepare the game console before reassembling?
Cleaning and preparing the game console ensures that any dust, grime, or dirt is removed, which can improve performance and prevent issues during reassembly.
How do I start reassembling my game console?
Begin by shutting down and unplugging the console, then follow the manufacturer’s instructions or consult online resources for your specific console model.
What tips can help make the reassembly process smoother?
To make the reassembly process smoother, keep screws and small parts organized, use the appropriate tools, take your time, and double-check each step before moving on to the next.
Is game console reassembly a cost-effective way to extend the lifespan of my console?
Yes, reassembling your game console can be a cost-effective way to extend its lifespan and continue enjoying your favorite games.
