Are you facing a cracked or damaged screen on your iPhone 13 Pro Max? Don’t worry, you can save time and money by repairing it yourself with some simple DIY techniques. In this article, we will guide you through the step-by-step process of repairing your iPhone 13 Pro Max screen. Whether you’re a tech enthusiast or simply looking to save on repair costs, these DIY techniques will help you get your iPhone back to its pristine condition.
Before you start the DIY screen repair on your iPhone 13 Pro Max, it’s important to take certain precautions. Discharge your iPhone battery below 25% to prevent any accidents. Power off your iPhone before starting the disassembly process. Remove the two pentalobe screws at the bottom edge of the iPhone. Keep in mind that opening the iPhone’s display will compromise its waterproof seals, so have replacement seals ready or avoid liquid exposure if you reassemble your iPhone without replacing the seals. To mark the opening pick and prevent damage, measure 3 mm from the tip and mark it with a permanent marker. You can also use clear packing tape to tape over the cracked screen and keep further breakage contained.
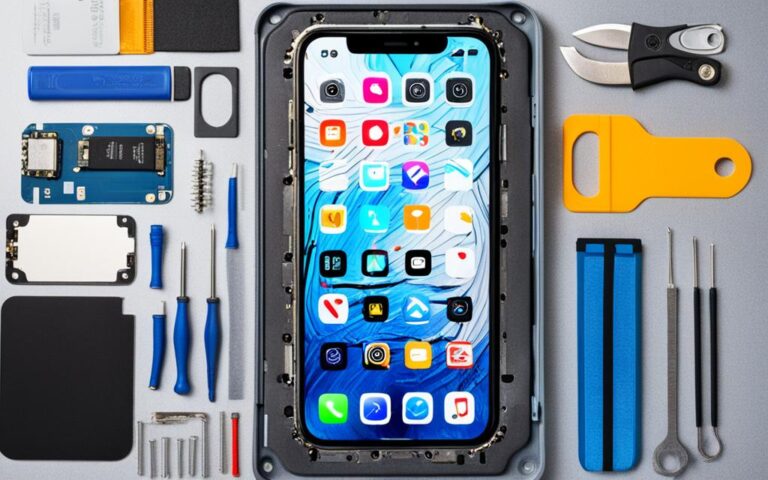
Having the right tools and supplies is crucial for a successful screen repair. Some essential tools include a pentalobe P2 screwdriver, a spudger, a suction cup, an opening pick, a Y000 screwdriver, and safety glasses. It’s also recommended to have a hair dryer or heat gun to soften the adhesive and a magnetic project mat to keep track of screws. To ensure compatibility and functionality, choose genuine Apple parts when ordering replacements.
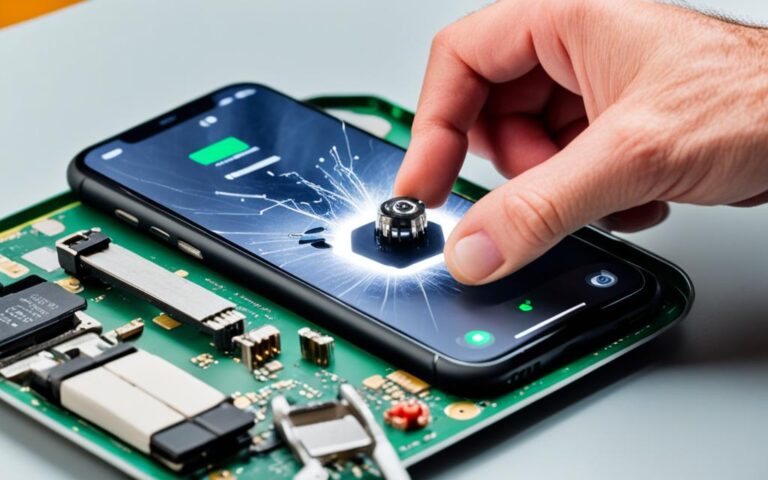
Follow our detailed step-by-step guide to repair the screen of your iPhone 13 Pro Max. Start by powering off the device and gathering all the necessary tools and supplies. Remove the pentalobe screws and use an opening pick to separate the display. Take extra care when disconnecting delicate cables and heating the edges of the iPhone to loosen the adhesive. Transfer the necessary components to the new screen and apply new adhesive strips. Once everything is in place, press down on the screen to activate the adhesive and ensure a watertight seal. Finally, test the new display to ensure it’s functioning correctly.
It’s important to understand the warranty and service options available for iPhone 13 Pro Max screen repair. The Apple Limited Warranty covers hardware repairs for one year, but it’s essential to check if the issue is covered and whether it may void the warranty. Authorized service providers offer professional repairs with genuine Apple parts, while third-party repair shops may provide more affordable alternatives. DIY repairs using non-authorized parts may void warranties or compromise the water resistance of the device. Consider the costs, warranty implications, and quality of service before proceeding with a screen repair option.
In conclusion, whether you choose to repair the screen yourself or seek professional help, ensuring the repair is conducted accurately and safely will help maintain the longevity and functionality of your iPhone 13 Pro Max. With the right tools, techniques, and attention to detail, you can have your iPhone’s screen looking as good as new.
Tools and Supplies for DIY iPhone 13 Pro Max Screen Repair
Repairing the screen of your iPhone 13 Pro Max can be a daunting task, but with the right tools and supplies, you can successfully complete the repair yourself. Here’s a list of essential tools and supplies you’ll need for a DIY screen repair:
Pentalobe P2 screwdriver – used to remove the pentalobe screws at the bottom edge of the iPhone
Spudger – helps in safely prying open the iPhone and disconnecting cables
Suction cup – used to lift the screen and create separation between the display assembly and the rest of the iPhone
Opening pick – helps in separating the adhesive and removing the display assembly
Y000 screwdriver – used for various screws inside the iPhone
Safety glasses – protect your eyes from any potential hazards during the repair process
Aside from the tools mentioned above, here are some additional items that will come in handy:
Hair dryer or heat gun – used to soften the adhesive and make it easier to remove the screen
Magnetic project mat – helps keep track of screws and small components during the repair process
Clear packing tape – can be used to secure a cracked screen or prevent further breakage
Permanent marker – useful for marking the opening pick and preventing damage to the device
Anti-clamp tool – makes it easier to open the screen without applying excessive force
When ordering replacement parts for your iPhone 13 Pro Max screen, it’s crucial to choose genuine Apple parts to ensure better compatibility and functionality. Using substandard or counterfeit parts can lead to further issues and affect the overall performance of your device.
DIY iPhone 13 Pro Max Screen Repair Tools and Supplies
Tools
Supplies
Pentalobe P2 screwdriver
Hair dryer or heat gun
Spudger
Magnetic project mat
Suction cup
Clear packing tape
Opening pick
Permanent marker
Y000 screwdriver
Anti-clamp tool
Safety glasses
Step-by-Step Guide for DIY iPhone 13 Pro Max Screen Repair
Follow these step-by-step instructions to repair the screen of your iPhone 13 Pro Max:
Power off the device: Before starting the repair process, ensure that your iPhone 13 Pro Max is powered off to avoid any accidents.
Gather necessary tools and supplies: Make sure you have all the required tools and supplies for the repair, including a pentalobe screwdriver, an opening pick, adhesive strips, and more. Refer to the previous section for a complete list.
Remove pentalobe screws: Locate the two screws at the bottom edge of your iPhone and remove them using a pentalobe screwdriver.
Separate the display: Take an opening pick and carefully insert it into the gap between the display and the rear case. Gently move the pick along the edges to separate the display from the adhesive.
Disconnect delicate cables: Once the display is slightly lifted, you’ll find several delicate cables connecting it to the iPhone’s logic board. Use a spudger or a similar tool to disconnect these cables, taking extra care to avoid any damage.
Heat the edges: To loosen the adhesive that holds the screen in place, use a hair dryer or a heat gun to gently warm the edges of the iPhone. This will make it easier to remove the screen.
Transfer components: Carefully transfer the necessary components, such as the earpiece speaker, front camera, and home button, from the old screen to the new one.
Apply new adhesive strips: Remove the old adhesive strips from the iPhone’s frame and apply new ones to the frame of the new screen.
Press down and activate the adhesive: Once you’ve aligned the new screen with the iPhone’s frame, press down firmly to ensure the adhesive sticks properly. This will help create a watertight seal.
Test the new display: Power on your iPhone and test the functionality of the new screen, making sure everything is working correctly.
Following these steps will allow you to successfully replace the screen of your iPhone 13 Pro Max. Take your time, be careful, and refer back to the previous sections for additional guidance, tools, and supplies.
Warranty and Service Options for iPhone 13 Pro Max Screen Repair
When it comes to iPhone 13 Pro Max screen repair, understanding the warranty and service options available is crucial. The Apple Limited Warranty provides coverage for hardware repairs for one year. However, it’s important to verify if the specific issue is covered and if attempting a DIY repair may void the warranty.
For professional repairs using genuine Apple parts, authorized service providers are the recommended choice. These providers have the expertise and resources to deliver high-quality repairs that meet Apple’s standards. Opting for authorized service providers ensures that your iPhone 13 Pro Max retains its functionality and performance.
Alternatively, third-party repair shops may offer more affordable options for screen repair. While they may provide cost savings, it’s important to consider certain trade-offs. DIY repairs using non-authorized parts can void warranties and compromise the water resistance of the device. You may also need to weigh the risks of potential compatibility and functionality issues.
Before deciding on a screen repair option, carefully consider the costs, warranty implications, and quality of service. The choice you make should align with your budget, desired level of expertise, and preferences for using genuine Apple parts.
“Ensuring your iPhone 13 Pro Max is repaired by an authorized service provider is the best way to maintain its performance and longevity.” – Apple Support
Conclusion
Repairing the screen of your iPhone 13 Pro Max can be accomplished through DIY techniques or by seeking assistance from professional service providers. DIY screen repair requires the use of the right tools and careful attention to detail when following step-by-step instructions. On the other hand, authorized service providers offer professional repairs using genuine Apple parts, ensuring high-quality results.
Before deciding which route to take, it is crucial to consider the costs and warranty implications associated with each option. DIY repairs allow for cost savings and flexibility, but they may void warranties or compromise the water resistance of the device if not executed accurately. On the contrary, professional repairs come with the assurance of expert knowledge, compatible parts, and warranty coverage.
Regardless of the chosen approach, it is essential to prioritize accuracy and safety during the repair process. Following the provided instructions meticulously and being mindful of delicate components will help maintain the longevity and functionality of your iPhone 13 Pro Max. Whether you choose to repair the screen yourself or opt for professional assistance, successfully restoring your device’s screen will allow you to continue enjoying its features and usability.
FAQ
What precautions should I take before starting the DIY screen repair on my iPhone 13 Pro Max?
Before starting the DIY screen repair on your iPhone 13 Pro Max, it’s important to discharge the battery below 25% and power off the device. Additionally, make sure to remove the two pentalobe screws at the bottom edge of the iPhone and have replacement waterproof seals ready or avoid liquid exposure if you reassemble the iPhone without replacing the seals.
What tools and supplies do I need for DIY iPhone 13 Pro Max screen repair?
To repair the screen of your iPhone 13 Pro Max, you’ll need essential tools such as a pentalobe P2 screwdriver, a spudger, a suction cup, an opening pick, a Y000 screwdriver, and safety glasses. Additionally, a hair dryer or heat gun can be used to soften the adhesive, and a magnetic project mat helps keep track of screws. Clear packing tape, a permanent marker, and an anti-clamp tool are also recommended.
How do I repair the screen of my iPhone 13 Pro Max using DIY techniques?
To repair the screen of your iPhone 13 Pro Max, start by powering off the device and gathering all the necessary tools and supplies. Remove the pentalobe screws at the bottom edge of the iPhone and use an opening pick to separate the display. Take care when disconnecting delicate cables and heating the edges of the iPhone to loosen the adhesive. Transfer the necessary components to the new screen, apply new adhesive strips, activate the adhesive by pressing down on the screen, and test the new display for proper functionality.
What warranty and service options are available for iPhone 13 Pro Max screen repair?
The Apple Limited Warranty covers hardware repairs for one year, but it’s important to check if the issue is covered and if the repair may void the warranty. Authorized service providers offer professional repairs using genuine Apple parts, while third-party repair shops may provide more affordable alternatives. DIY repairs using non-authorized parts can void warranties or compromise the device’s water resistance. Consider the costs, warranty implications, and quality of service before deciding on a screen repair option.
Should I repair the screen of my iPhone 13 Pro Max myself or seek professional assistance?
Whether you choose to repair the screen yourself or seek professional help depends on your comfort level, expertise, and considerations such as costs and warranty implications. DIY screen repair requires the right tools, attention to detail, and following step-by-step instructions. Authorized service providers offer professional repairs using genuine Apple parts, ensuring compatibility and functionality. Ultimately, ensuring accurate and safe repairs will help maintain the longevity and functionality of your iPhone 13 Pro Max.
Many users of the iPhone 6s Plus have reported experiencing vibration motor problems, such as loud buzzing sounds or lack of vibration feedback. These…
Are you facing Wi-Fi connectivity issues on your iPhone XS Max? You’re not alone. Many users have reported experiencing problems with their Wi-Fi connections…

")