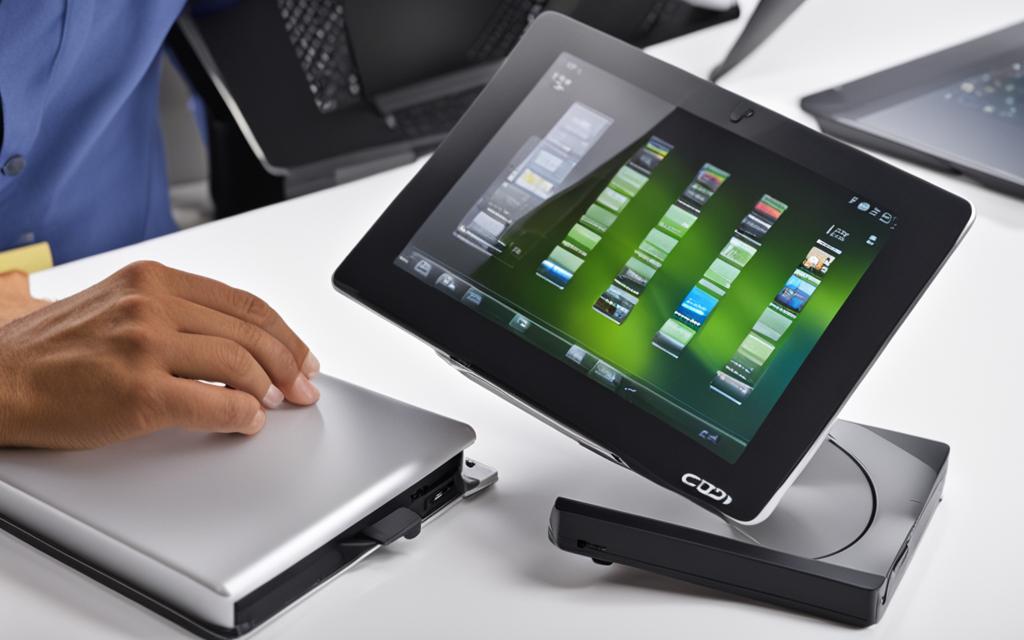
Tablet CD/DVD Drive Ejection Problems: Solutions
Welcome to our comprehensive guide on troubleshooting CD and DVD drive issues for your tablet. We understand the frustration that comes with encountering problems like CD not found errors, CD-ROM drive not being recognized, or CD/DVD drives not opening properly. In this section, we will provide you with practical solutions to resolve these issues and ensure smooth operation of your tablet CD/DVD drives.
When faced with CD/DVD drive problems, it is important to first check the power of the drive and make sure it is properly connected. Sometimes, a simple power issue can cause the drive to malfunction. If the power is not the problem, we will guide you through steps to manually eject the CD/DVD tray and test the drive with different discs. Proper handling and storage of discs will also be covered to prevent future issues.
Through the solutions offered in this section, you will learn how to troubleshoot CD/DVD drive problems, successfully troubleshoot CD/DVD drive issues, and overcome challenges such as CD/DVD not found errors, CD-ROM drive not being recognized, and CD/DVD drives not opening. With our step-by-step instructions and tips, you can resolve these issues and enjoy a seamless experience with your tablet CD/DVD drives. Trust us to provide you with the knowledge and solutions you need.
DVD Disc Won’t Eject: Causes and Solutions
If you’re experiencing difficulties with your DVD disc not ejecting or your DVD drive not opening, there are several potential causes and solutions to consider. These issues can be frustrating, but with the right troubleshooting steps, you can resolve them and get back to enjoying your DVDs hassle-free.
One common cause of a DVD disc getting stuck in the drive is a power failure. When power is interrupted, the DVD drive may not respond to commands to eject. In such cases, it’s essential to check the power connection and ensure that the DVD drive has enough power to function properly.
Corrupted or improperly inserted discs can also lead to problems with ejecting DVDs. If you receive error messages while ejecting the DVD, such as “Disc not recognized” or “Disc drive not responding,” it’s worth checking the condition of the disc. Examine it for any visible scratches, smudges, or dirt. If the disc appears damaged, clean it gently with a soft cloth or consider using a disc repair kit.
Related:


Another potential issue is the DVD player app rejecting the disc. In this case, try accessing the disc using a different DVD player application or software. Some applications may have compatibility issues or restrictions that prevent them from recognizing or playing certain discs. By switching to a different application, you may be able to eject the disc successfully.
DVD driver conflicts can also contribute to problems with ejecting discs. If you’ve recently updated your operating system or installed new software, it’s possible that the new changes have caused conflicts with the DVD driver, rendering the eject function unresponsive. In such cases, try updating or reinstalling the DVD driver to resolve any compatibility issues.
If you’re unable to eject the disc using conventional methods, there are alternative options available. Within the operating system, you can force eject the disc by using the appropriate commands. However, it’s important to note that these methods may vary depending on the operating system and DVD player software you’re using.
Additionally, you can manually open the DVD drive using a paper clip. Many DVD drives have a small hole that allows manual operation for situations when the eject button fails. By straightening a paper clip and inserting it into this hole, you can manually release the disc tray.
It’s worth mentioning that continuously encountering issues with ejecting discs may indicate deeper DVD driver issues that require further inspection or repair. In such cases, it’s advisable to seek professional assistance to diagnose and resolve the problem.
One alternative solution to consider is digitizing your DVDs using software such as WinX DVD Ripper Platinum. By ripping your DVDs into digital formats, you can avoid physical damage to both the disc and the DVD drive. This method allows you to create a digital library of your DVDs, which can be accessed and played on various devices without the need for a DVD drive. It’s a convenient and efficient way to preserve your DVD collection while eliminating the potential for ejection errors.
| Possible Causes | Solutions |
|---|---|
| Power failure | Check power connection, ensure drive has sufficient power |
| Corrupted or improperly inserted discs | Clean disc, repair if necessary |
| DVD player app rejection | Switch to a different DVD player application |
| DVD driver conflicts | Update or reinstall DVD driver |
| Force eject within the operating system | Follow operating system-specific commands |
| Manually open DVD drive | Use a paper clip to release the disc tray |
Digitize DVD to Avoid Ejecting Errors
In today’s digital age, the convenience of accessing media files on various devices has become essential. When encountering DVD drive ejection errors, a practical solution is to digitize your DVDs. By converting your physical DVD collection into digital formats, you can enjoy your favorite movies and TV shows hassle-free, without the need for a DVD drive. One popular software that simplifies this process is WinX DVD Ripper Platinum, known for its efficiency and user-friendly interface.
WinX DVD Ripper Platinum offers a quick and effective solution for backing up DVDs and ripping them to digital formats. This powerful software allows you to convert your DVDs to a wide range of compatible file types, including popular formats like MP4, AVI, MKV, and more. With the ability to choose the output format that suits your needs, you can ensure compatibility with various devices, such as smartphones, tablets, and smart TVs.
When encountering issues with a DVD drive not ejecting, digitizing your DVD collection provides an alternative way to access your movies and TV shows without relying on physical discs. By creating digital backups of your DVDs, you eliminate the risk of encountering ejection errors, as digital files can be stored and accessed easily across multiple devices.
It’s important to note that while digitizing DVDs offers convenience and flexibility, it’s essential to respect copyright laws. Ensure that you only digitize DVDs that you own and refrain from copying or distributing copyrighted material without proper authorization.
In conclusion, by using WinX DVD Ripper Platinum or similar software to digitize your DVD collection, you can avoid DVD drive ejection errors and enjoy your favorite movies and TV shows on various devices. Ensure you follow copyright laws and only digitize DVDs that you legally own. Embrace the benefits of digital formats and make the most out of your DVD collection.
Eject the Disc Within the Operating System
When you encounter a situation where the physical eject button fails to work, there is still a way to eject the disc within the operating system. Follow these steps to successfully eject the disc and overcome this frustrating issue:
Step 1: Reboot your computer
If your optical drive is unresponsive, a simple reboot may resolve the issue. Restart your computer and try ejecting the disc again once the system has fully rebooted.
Step 2: Open the File Explorer
After rebooting your computer, open the File Explorer by clicking on the folder icon situated in the taskbar or by pressing the Windows key + E simultaneously.
Step 3: Navigate to the Optical Drive
In the File Explorer, locate and select the optical drive where the disc is inserted. The optical drive is usually listed as “DVD-ROM” or “CD/DVD Drive”.
Step 4: Select the Eject Option
Once you’ve selected the optical drive, right-click on it to open a context menu. From the options presented, choose the “Eject” command to prompt the operating system to release the disc.
Please note that the options and commands within the File Explorer may differ slightly depending on the specific DVD player model and the operating system version you are using.
If, after following these steps, you are still unable to eject the disc, it is advisable to contact customer support or seek professional assistance to resolve the issue. Attempting to force the disc out without proper knowledge and tools can potentially cause further damage to the optical drive.
By following these steps, you can successfully eject a disc within the operating system when the physical eject button fails to respond. It is important to properly address this issue to ensure the smooth functioning of your optical drive.
Open the DVD Drive with a Paper Clip
When other methods fail to open the DVD drive, you can manually open it using a paper clip. Some DVD drives have a small hole on the surface, specifically designed for emergencies like this. By inserting a straightened paper clip into the hole, you can release the tray and access the disc.
To proceed with this method, follow these steps:
- Power off your computer to ensure safety.
- Locate the small hole on the front panel of the DVD drive.
- Straighten a paper clip, leaving a small bend at one end for grip.
- Insert the straightened paper clip into the small hole, applying gentle pressure.
- You will feel a slight resistance, but continue to push until the tray starts to move.
- Gently pull out the tray using the paper clip until it is fully open.
Once the tray is open, you can examine both the disc and the drive for any physical damages. Make sure there are no scratches or dents on the disc that could affect its performance. Similarly, check the drive for any obstructions or blockages that may have caused the tray to not open.
By following these steps, you can manually open the DVD drive using the paper clip method. Remember to use caution and apply gentle force to avoid causing any further damage to the drive or the disc.
Conclusion
In conclusion, this article has provided various solutions to troubleshoot CD and DVD drive issues. It has addressed the common problems faced by users, such as CD not found error, CD-ROM drive not recognized, and DVD disc won’t eject. By following the step-by-step instructions provided, users can effectively resolve these issues and ensure smooth operation of their tablet CD/DVD drives.
The article has also emphasized the option of digitizing DVDs as a preventive measure to avoid physical damage to the discs and drives. By using software like WinX DVD Ripper Platinum, users can conveniently make digital copies of their DVDs and enjoy them on different devices without the need for a DVD drive. This approach not only preserves the quality of the DVDs but also provides greater flexibility in accessing and watching the content.
In addition, the article has outlined methods for force ejecting discs within the operating system and manually opening the DVD drive using a paper clip. These techniques can be helpful in situations where the traditional methods of ejecting the disc fail. It is important to handle the disc and the drive with care to avoid any potential damage during the manual ejection process.
By implementing the solutions discussed in this article, users can overcome CD and DVD drive issues, troubleshoot errors, digitize their DVD collection, force eject discs if necessary, and safely open the DVD drive manually. These practical tips and techniques will enable users to make the most of their tablet CD/DVD drives and enhance their overall experience with digital media.