iPad Pro Microphone Quality Improvement
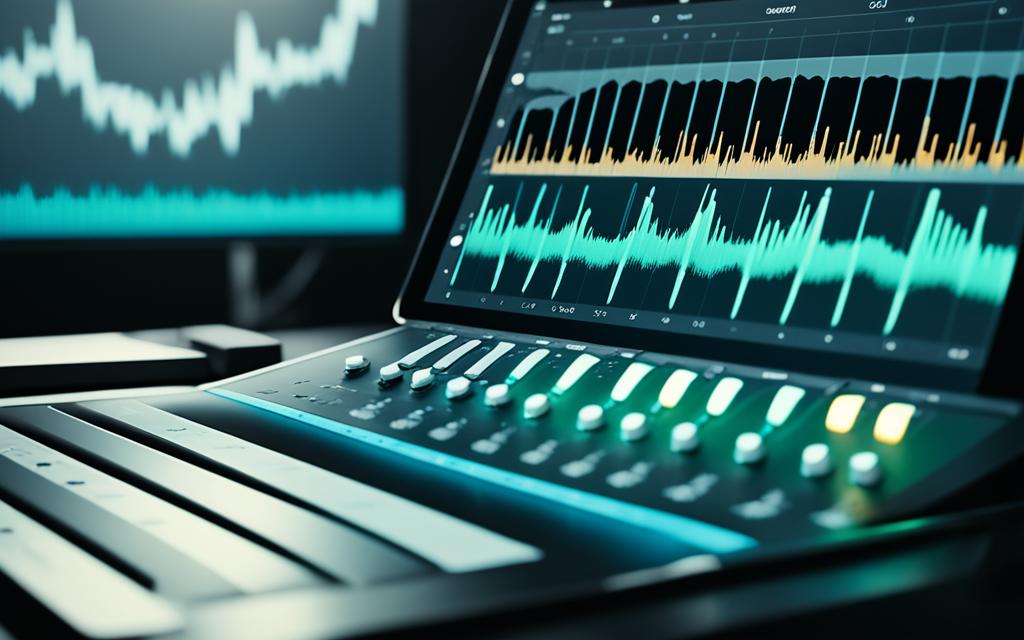
Are you looking to improve the microphone quality on your iPad Pro? Whether you’re recording podcasts, vlogging, or capturing videos, having crystal-clear recordings on your iPad Pro is essential. Enhancing audio on your iPad Pro can significantly elevate your recording experience, allowing you to produce professional-quality results.
The newer generation iPad Pro models, such as the 5th generation, have been reported to have improved microphone quality compared to their predecessors. Users have found that the microphones on these newer iPads pick up spoken voices from further away, delivering excellent audio clarity. While Apple does not provide specific quantitative technical specifications for the microphones, users have tested them and have been impressed with the results.
To achieve the best audio quality on your iPad Pro, it’s important to understand the benefits of better microphone quality. Built-in microphones on iPads may not provide the range or depth of sounds necessary for professional recordings. By using an external microphone, you can enhance the audio quality and capture every detail with precision.
Understanding the Importance of iPad Microphone Enhancement
Having a high-quality microphone on your iPad Pro is crucial for activities such as vlogging, podcasting, and video recording. The built-in microphones on iPads often do not provide the range or depth of sounds necessary for professional-quality audio.
By using an external microphone, you can significantly improve the audio quality of your recordings. External microphones for iPads offer a range of features, including low cut and gain control, voice-changing effects, and wireless connectivity.
| Benefits of Enhancing iPad Pro Microphone |
|---|
| 1. Improved Audio Quality: External microphones capture clearer and more defined sound, ensuring crystal-clear recordings on your iPad Pro. |
| 2. Professional-Grade Recordings: Better microphone quality allows you to create content that sounds professional and engaging. |
| 3. Enhanced Range and Depth: External microphones capture a wider range of frequencies, providing better depth and richness to your recordings. |
| 4. Noise Reduction: External microphones help minimize background noise, resulting in clearer and more focused audio. |
| 5. Versatility: External microphones offer various features and effects, allowing you to experiment with different recording styles and sounds. |
Quote:
“Investing in an external microphone for your iPad Pro not only improves the quality of your audio recordings but also opens up new possibilities for creative expression.” – Audio Expert
Enhancing the microphone quality on your iPad Pro elevates your audio recording experience and enables you to produce professional-quality content. Whether you are a content creator, journalist, or simply enjoy capturing high-quality audio, investing in an external microphone is a worthy addition to your iPad Pro setup.
Choosing the Right iPad Microphone
When selecting an iPad microphone, there are several factors to consider.
Physical and Electrical Connections
The physical connection of the microphone is an important consideration. You’ll need to decide whether you prefer a wireless microphone or a wired one. Additionally, you should determine whether the microphone should use a Lightning or USB-C connector, depending on your iPad model. The electrical connection should be reliable to ensure minimal latency and interruptions during recording.
Audio Quality
Audio quality is a crucial factor when choosing an iPad microphone. It’s essential to select a microphone that can meet your specific recording needs. Look for a microphone that can capture clear and crisp sound with minimal background noise. A microphone with a natural frequency response ranging from 20Hz to 20,000Hz will ensure accurate sound reproduction.
Durability
For outdoor recording or extended use, durability becomes a significant factor. Choose a microphone that can withstand the demands of your recording environment. Look for microphones made from robust materials that can handle rough handling and adverse weather conditions.
Overall Functionality
Consider the overall functionality of the microphone. Take note of whether the microphone obstructs the camera lens or offers features like gain control to adjust the volume levels. Some microphones may also provide additional features such as voice-changing effects or wireless connectivity.
| Factors to Consider | Importance |
|---|---|
| Physical and Electrical Connections | High |
| Audio Quality | High |
| Durability | Medium |
| Overall Functionality | Medium |
Considering these factors will help you make an informed decision when choosing the right iPad microphone for your recording needs.
Compatible Microphone Connectors for iPad
When it comes to connecting an external microphone to your iPad, it’s crucial to have the right connector for compatibility. The type of connector required depends on the specific iPad model you have. Let’s explore the different microphone connectors for iPads:
Lightning Connector
The majority of recent iPhone and iPad models, including the latest iPad Pro, use the Lightning connector. This connector provides a reliable and fast connection for audio devices like microphones. It ensures seamless compatibility with your iPad, allowing you to capture high-quality audio recordings.
USB-C Connector
Some iPads, such as the iPad Air and iPad Mini, feature the USB-C connector. This connector offers a versatile and powerful connection option for external microphones. With the USB-C connector, you can easily connect a wide range of professional microphones to your iPad, enhancing your recording capabilities.
TRRS Connector
In addition to Lightning and USB-C connectors, the TRRS (tip-ring-ring-sleeve) connector is commonly used for iPads. The TRRS connector allows both audio input and output, making it suitable for various audio devices, including microphones. This connector offers compatibility not only with iPads but also with computers and Android smartphones.
To help you understand the different connectors visually, here is a table summarizing the compatibility of each connector with different iPad models:
| iPad Model | Lightning Connector | USB-C Connector | TRRS Connector |
|---|---|---|---|
| iPad Pro (5th generation) | ✓ | – | – |
| iPad Air (4th generation) | – | ✓ | – |
| iPad Mini (6th generation) | – | ✓ | – |
| iPad (9th generation) | ✓ | – | – |
With the correct connector for your iPad model, you can seamlessly connect an external microphone, offering you enhanced audio recording capabilities on your iPad.
Connecting an External Microphone to iPad
When it comes to connecting an external microphone to your iPad, you have two options that offer flexibility and convenience. Whether you prefer a plug-and-play option or need to use adapters for compatibility, there are solutions available to enhance your audio recording capabilities.
Option 1: Directly Plugging the Microphone into the iPad
If your external microphone has the same connector as your iPad, such as a standard 3.5mm jack, you can simply plug it directly into the iPad’s port. This method provides a straightforward and hassle-free connection, allowing you to start recording immediately. It’s a convenient option for microphones specifically designed for iPad usage.
Quick Tip: Ensure that your microphone is compatible with your iPad before attempting a direct connection. Check the microphone’s specifications or consult the manufacturer’s website for compatibility information.
Option 2: Using Adapters for Different Connectors
If your external microphone has a different connector than your iPad, such as a USB or XLR port, don’t worry. You can still connect it to your iPad by using adapters. One popular option is using a USB to Lightning adapter. This adapter allows you to connect microphones with USB connectors to your iPad’s Lightning port.
By using adapters, you can expand your options and use a wide range of microphones with your iPad, regardless of their connector type. This flexibility is especially beneficial if you already own microphones with different connectors or if you prefer using professional-grade microphones for your recordings.
Quick Tip: Make sure to purchase high-quality adapters from reputable brands to ensure reliable connections and optimal audio performance.
Troubleshooting iPad Microphone Issues
If you experience issues with your iPad microphone, there are several troubleshooting steps you can try.
- Restarting your iPad: Restarting your iPad can help resolve software issues that may be affecting the microphone. Sometimes, a simple restart can fix any minor glitches that may be causing the problem.
- Checking specific app: Check if the problem is specific to a particular app. Sometimes, the microphone issues may be related to the app itself rather than the iPad. Try recording with a different app to determine if the issue persists.
- Removing iPhone case: If you’re using an iPhone case on your iPad, it is possible that it may be blocking the microphone and affecting the audio quality. Remove the case and test the microphone again to check if it improves.
- Cleaning the microphones: Dust and debris can accumulate in the microphones over time, affecting their functionality. Use a soft, lint-free cloth or a can of compressed air to gently clean the microphones. Be careful not to apply too much pressure. Cleaning the microphones can help resolve any issues caused by blockages.
If the above troubleshooting steps do not resolve the iPad microphone problems, it is recommended to contact Apple Support for further assistance. They can provide expert guidance and advice on resolving any hardware-related issues. If your iPad is still covered under warranty, you may also reach out to the retail sales store where you purchased it for warranty information.
By following these troubleshooting steps, you can effectively resolve common iPad microphone issues and enjoy optimal audio recording on your device.
Troubleshooting Steps for iPad Microphone
| Issue | Troubleshooting Step |
|---|---|
| Software-related issues | Restarting your iPad |
| App-specific issues | Checking specific app |
| Obstructed microphone | Removing iPhone case |
| Dust or debris blockage | Cleaning the microphones |
Updating iPad Software and Seeking Further Assistance
Ensuring that your iPad software is up to date is vital for maintaining optimal performance, including the functionality of the microphone. By regularly checking for and installing any available software updates, you can benefit from enhanced features and bug fixes that could potentially resolve microphone issues.
If you have followed the troubleshooting steps mentioned earlier and are still experiencing microphone problems, it is recommended to contact Apple Support. They have a dedicated team of experts who can provide further assistance and guidance in resolving any hardware-related issues that may be affecting your iPad’s microphone. Apple Support can be reached via phone, email, or online chat.
If your iPad is still covered under warranty, you may also consider reaching out to the retail store where you purchased it for warranty information. They can provide guidance on the warranty coverage and any available options for repair or replacement.
Remember, seeking further assistance from Apple Support and exploring warranty options can help ensure that your iPad’s microphone issues are appropriately addressed, allowing you to make the most out of your device’s audio capabilities.
Troubleshooting iPad Microphone Issues
“If you experience issues with your iPad microphone, there are several troubleshooting steps you can try. Restarting your iPad can help resolve software issues that may be affecting the microphone. Checking if the problem is specific to a particular app can help determine if the issue lies with the app rather than the microphone itself. Removing the iPhone case can also improve audio quality if it was obstructing the microphone. Additionally, cleaning the microphones to remove dust and debris can help resolve any functionality issues.” – Apple Support
| Troubleshooting Steps | Description |
|---|---|
| Restart your iPad | Power off and then power on your iPad to resolve any software-related microphone issues. |
| Check specific app | Test the microphone with different apps to determine if the problem is confined to a particular application. |
| Remove iPhone case | If you are using an iPhone case, remove it as it may be obstructing the iPad’s microphone. |
| Clean the microphones | Gently clean the microphones using a soft cloth or compressed air to remove any dust or debris that could be affecting their functionality. |
Conclusion
Enhancing the microphone quality on your iPad Pro can open up a world of possibilities for improving your audio recording capabilities. By selecting the right external microphone that meets your specific needs, taking into account factors such as physical and electrical connections, audio quality, and overall functionality, you can achieve crystal-clear recordings that elevate the audio experience on your iPad Pro.
Connecting an external microphone to your iPad is a straightforward process, whether you directly plug it into the iPad’s port or use an adapter. Troubleshooting any microphone issues, such as restarting your iPad, checking specific apps, or cleaning the microphones, can help resolve any challenges you may encounter along the way. Additionally, regularly updating your iPad software ensures optimal performance and compatibility with the microphone.
With an improved microphone, you can take your audio recording to the next level and enjoy the benefits of enhanced microphone quality. Whether you’re recording podcasts, vlogs, or videos, the improved audio clarity and depth will add a professional touch to your content. Elevate your audio recording on your iPad Pro and unleash the full potential of your creativity.
