When it comes to replacing a screen on a device, it’s not uncommon to encounter a few bumps along the way. These issues can range from problems with the touchscreen to display glitches and unresponsive home buttons. Understanding these common problems and how to troubleshoot them effectively is essential for ensuring a successful screen replacement.
Whether you’re a seasoned technician or a DIY enthusiast, it’s important to be prepared for the challenges that may arise after a screen replacement. By familiarizing yourself with the basic steps of the replacement process, you can minimize the chances of encountering issues and ensure a smooth transition to the new screen.
In the following sections, we will explore the common issues that may occur after a screen replacement and provide troubleshooting tips to help you overcome them. From touchscreen problems to battery drain and software glitches, we’ve got you covered with practical solutions.
Whether you’re a professional or tackling the replacement project on your own, this guide will equip you with the knowledge and skills to troubleshoot common issues and achieve a successful screen replacement. Let’s dive in and explore the world of screen replacement troubleshooting!
Understanding the Basic Steps of Screen Replacement.
Before diving into troubleshooting, it is essential to have a thorough understanding of the basic steps involved in replacing a screen. By following these steps correctly, you can minimize the chances of encountering issues after the screen replacement.
Power off the device: Begin by powering off the device to ensure safety during the screen replacement process.
Remove casing or screen protectors: Take off any protective casing or screen protectors that may be covering the device.
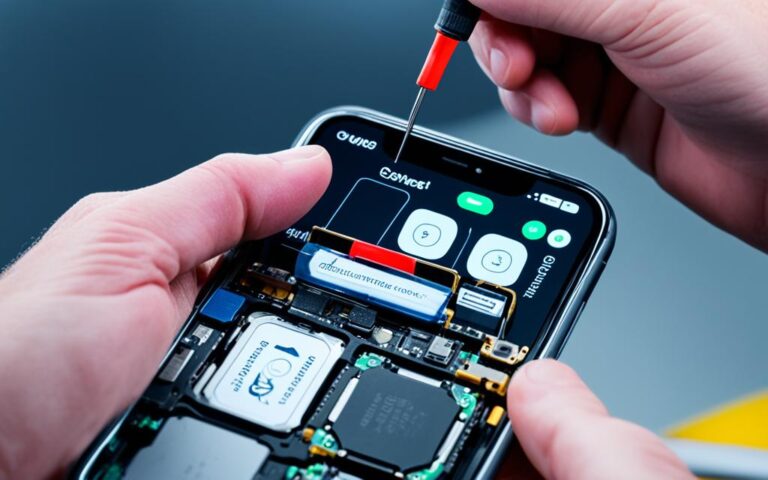
Carefully pry open the screen: Use a specialized tool or a thin, plastic pry tool to gently separate the screen from the device body. Take your time and be cautious to avoid damaging any internal components.
Disconnect cables: Locate the cables that connect the screen to the device’s motherboard. Carefully detach these cables, ensuring not to apply excessive force.
Replace the screen: Install the new screen by following the manufacturer’s instructions. Align it properly with the device and reconnect the cables securely.
Reassemble the device: Put the device back together by reversing the steps taken to disassemble it. Ensure all components fit properly and any screws or fasteners are tightened correctly.
By following these basic steps, you can successfully replace the screen and reduce the likelihood of encountering issues. However, should any problems arise during or after the replacement, troubleshooting techniques will prove invaluable.
Common Issues After a Screen Replacement.
When it comes to screen replacement, encountering issues is not uncommon. In this section, we will explore some of the common problems that users may face after replacing their screens. These issues include touchscreen unresponsiveness, display problems, and an unresponsive home button. Understanding these issues and how to troubleshoot them can help ensure a successful screen replacement.
Touchscreen Not Working
One of the most frequently encountered issues after a screen replacement is a non-responsive touchscreen. This can be frustrating, but there are several troubleshooting steps you can take to address the problem:
Check the connections: Make sure that all the cables and connectors are properly attached. Sometimes, a loose or improperly connected digitizer cable can result in an unresponsive touchscreen.
Reattach the digitizer cable: If the touchscreen is still not working, try detaching and reattaching the digitizer cable. Ensure that it is securely connected to the device’s motherboard.
If these steps don’t resolve the issue, it may be necessary to seek professional help or consider replacing the screen again with a high-quality replacement part.
Display Problems
Another issue that users may encounter after a screen replacement is display problems. These problems can manifest as lines, black spots, or flickering on the screen. Here are some possible reasons and troubleshooting steps:
Installation damage: During the replacement process, it’s essential to handle the screen with care to avoid any damage. If there are lines or black spots on the display, it could indicate physical damage during installation.
Faulty screens: In some cases, the screen itself may be defective. Consider obtaining another replacement screen from a reputable supplier to rule out any issues with the screen’s quality.
Ensuring proper connections and considering a replacement screen can help resolve display problems effectively.
Unresponsive Home Button
An unresponsive home button is another issue that may arise after a screen replacement. This problem can be attributed to misalignment or damage to the home button connector. Here’s what you can do:
Check for misalignment: Ensure that the home button is correctly aligned with the connector on the device’s front panel. Adjust its position if necessary.
Inspect the home button connector: Examine the connector for any signs of damage. If the connector is damaged, it may need to be replaced.
If the home button remains unresponsive after these troubleshooting steps, it is advisable to consult a professional technician for further assistance.
Issue
Troubleshooting Steps
Touchscreen Not Working
1. Check the connections 2. Reattach the digitizer cable
Display Problems
1. Check for installation damage 2. Consider replacing the screen
Unresponsive Home Button
1. Check for misalignment 2. Inspect the home button connector
Dealing with Battery Drain and Software Glitches.
After a screen replacement, some users may notice an issue of increased battery drainage. This can be attributed to improper installation, which places additional strain on the device and its power consumption. To address this concern, it is important to check the connections and ensure proper alignment during the replacement process. By doing so, users can minimize battery drain and optimize the performance of their devices.
In addition to battery drain, software glitches may also occur following a screen replacement. These glitches can lead to erratic behavior and impact the overall user experience. To troubleshoot software-related issues, one effective approach is to reset the device to its factory settings. This can help resolve any software conflicts that may have arisen during the screen replacement process. Alternatively, updating the device’s software to the latest version can also rectify certain software glitches, ensuring smooth functioning of the device.
Pro Tip: Before attempting any troubleshooting steps, it is recommended to backup your device to avoid data loss.
Troubleshooting Tips
Here are some troubleshooting tips to address battery drain and software glitches after a screen replacement:
Check Connections: Ensure all cables and connectors are properly connected and securely in place. Loose connections can contribute to battery drain and software glitches.
Verify Alignment: Make sure the screen and other components are aligned correctly. Misalignment can result in increased power consumption and software conflicts.
Perform a Factory Reset: Resetting the device to its factory settings can help resolve software-related issues. Keep in mind that this will erase all data on the device, so be sure to backup any important information beforehand.
Update Software: Check for any available software updates and install them on your device. New updates often address bugs and glitches, enhancing the overall performance and stability.
By following these troubleshooting tips, users can overcome battery drain and software glitches after a screen replacement, ensuring an optimal user experience.
Battery Drain
Software Glitches
Troubleshooting Tips
Increased power consumption
Erratic behavior
Check connections
Improper installation
Software conflicts
Verify alignment
Data loss
Perform a factory reset
Update software
Conclusion.
Troubleshooting common issues after a screen replacement requires attention to detail and following the correct steps. By understanding the basic process of screen replacement, identifying common issues, and implementing troubleshooting tips, users can successfully overcome these challenges.
Firstly, it is crucial to use high-quality replacement parts to ensure a seamless functionality. Cheap or counterfeit parts may lead to further complications and unsatisfactory results.
Secondly, handling cables with care is essential to prevent any damage during the replacement process. Incorrectly connecting cables can result in touchscreen issues, display glitches, or an unresponsive home button.
Lastly, it is advisable to test the new screen before sealing the device. Verifying its functionality will help detect any potential problems and allow for timely troubleshooting.
However, tackling screen replacement issues can be complex, especially for individuals without technical expertise. In such cases, seeking professional help from authorized service centers or technicians is a smart choice. Their expertise and experience ensure a successful screen replacement and minimize the risk of further complications.
FAQ
What are the basic steps involved in replacing a screen?
The basic steps involved in replacing a screen include powering off the device, removing casing or screen protectors, prying open the screen, disconnecting cables, replacing the screen, and reassembling the device.
Why is my touchscreen not responding after a screen replacement?
The touchscreen may not be responding due to improper connection. Try checking and reattaching the digitizer cable properly.
What can cause display problems after a screen replacement?
Display problems such as lines or black spots can be caused by damage during installation or faulty replacement screens. Ensure proper connections and consider a replacement screen.
Why is my home button unresponsive after a screen replacement?
An unresponsive home button may be caused by misalignment or damage to the home button connector.
Why is my battery draining faster after a screen replacement?
Improper installation can put additional strain on the device, leading to increased battery drain. Check connections and ensure proper alignment.
How do I fix software glitches after a screen replacement?
Resetting the device or restoring it to factory settings can often resolve software-related issues after a screen replacement.
What should I do if I encounter issues I’m not confident in troubleshooting?
If you’re not confident in troubleshooting the issues, it is recommended to seek professional help.
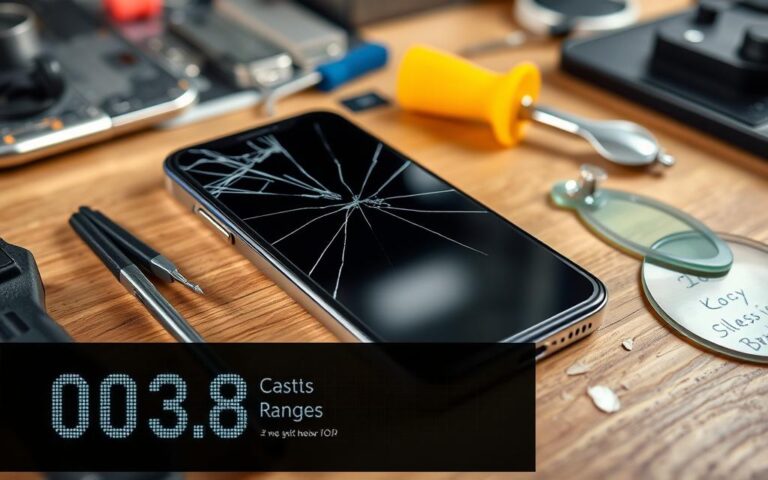
Today, seeing a cracked screen is quite common, with 50 million cases in the U.S. alone each year. If you have an iPhone X, fixing it is likely on your mind. The Apple Store might charge you around $279, but other places could ask for about $148. We will look into the costs and options…
Are you faced with a disabled iPhone and worried about losing your important data? Don’t panic! In this article, we will explore methods to unlock a disabled iPhone without compromising your valuable data. With the right approach, you can regain access to your iPhone and preserve all your cherished files, photos, and documents. When you…
Are you experiencing ghost touch issues on your device after a screen replacement? Ghost touch refers to when your screen reacts to touches that you didn’t initiate, causing it to move or tap buttons on its own. This can be incredibly frustrating and hinder your device’s usability. In this article, we will explore the common…
Welcome to our guide on fixing the notorious PS4 blue light of death, also known as the blinking blue light. If you’re experiencing this issue, you’re not alone. Many PlayStation 4 users have encountered this frustrating problem, which is often accompanied by a “Weak or No Signal” message or a black screen. But fear not,…
Welcome to our comprehensive guide on iPhone proximity sensor repairs for screen functionality. If you’re experiencing issues with your iPhone’s proximity sensor, you’re in the right place. Our expert repair services are available across the UK, offering reliable solutions to restore your device’s proper functionality. The proximity sensor is a vital component of iPhones, responsible…
If you’ve encountered a bricked phone, don’t panic! There are solutions available to unbrick your Android device. Understanding the different types of bricking and the common causes can help you determine the best approach to revive your device. The most common types of bricking include soft brick, where your phone freezes, gets stuck in a…