Troubleshooting and Repairing Desktop PSU Failures
When a PC experiences sudden malfunctions, it is essential to check the PC power supply as it can be the root cause of many hardware problems. Issues that may arise due to a faulty power supply include system failures during boot-up, the PC not powering on at all, spontaneous restarts or lockouts, non-spinning case fans and hard drives, overheating due to fan failure, errors related to system memory, and recurring Blue Screen of Death (BSOD).
To troubleshoot the power supply, first disconnect all unnecessary peripherals and check the external switch located at the rear of the unit. Ensure that the power cable is plugged into a working wall socket and turn on the computer. Look for indicators of proper operation such as spinning fans, functioning PSU cables, and flashing lights on the motherboard. Additionally, consider using the paper clip test to verify PSU functionality and perform more advanced testing using a multimeter if necessary. It is recommended to keep spare power supplies for “swap” testing in case of recurring issues. Finally, if the power supply is still under warranty, it is advisable to seek manufacturer support for troubleshooting and replacement.
By following these practical solutions, you can effectively troubleshoot and repair desktop power supply failures. With a focus on the UK market, it is important to address common issues and provide relevant guidance for users facing desktop power supply problems. In the following sections of this article, we will explore the signs of power supply failure, testing methods, common power supply issues, selecting and installing a new power supply, ESD precautions, and safety measures. Stay tuned for comprehensive information on resolving desktop power supply issues.
Signs of Power Supply Failure
When troubleshooting power supply issues, it is crucial to be able to identify the signs of power supply failure. By recognizing these signs, you can take the necessary steps to address the problem and prevent further damage to your desktop.
1. Lack of Power:
- No LED lights turning on
- No fan activity
- No disk drive activity
It is important to check if the power cord is properly connected to a working power source. Additionally, ensure that the voltage selector is set correctly.
Related:


2. Indications of Power:
- Blinking amber power LEDs
- Solid amber LEDs
- Fan spin
- Disk drive activity
In order to determine if the power supply is the culprit, it is necessary to isolate the power supply. Reseating power leads to the motherboard and removing memory, expansion cards, and disk drive data cables can help in the diagnosis.
If there are still no signs of power, it is likely that the power supply is non-functional and needs to be replaced. In such cases, technical support may be necessary, especially if the failure is attributed to the motherboard.
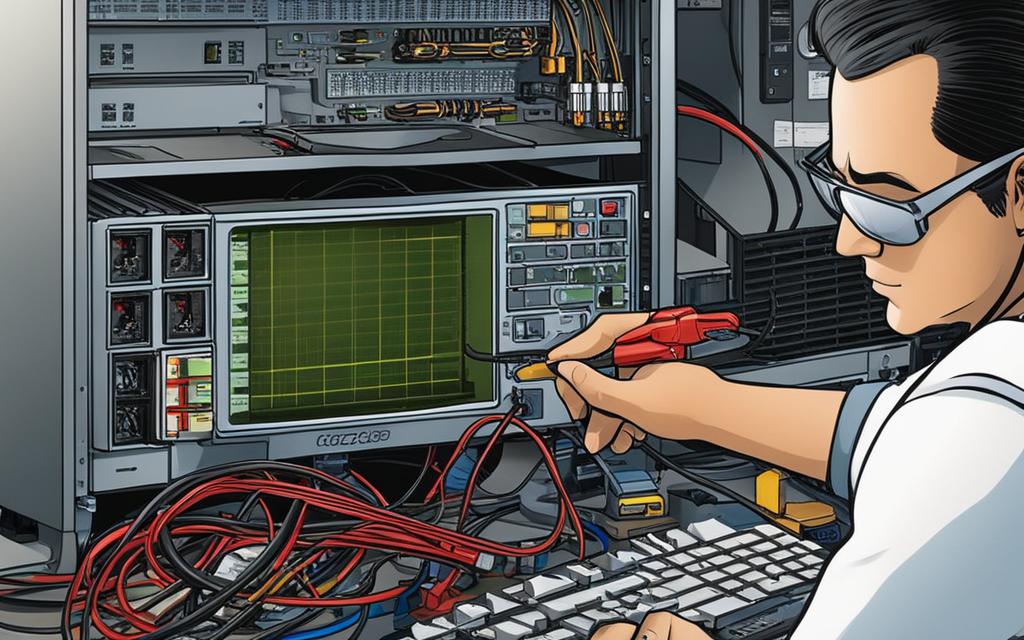
Testing the Power Supply
Properly testing the power supply is crucial in diagnosing and resolving potential issues. Fortunately, many Dell desktop systems come equipped with a built-in self-test (BIST) feature that allows for convenient power supply testing. This self-test can be conducted using the button on the power supply or without the button.
-
Using the BIST button:
To begin the test, ensure that the computer is turned off. Locate the BIST button on the power supply, typically located near the AC power input. Press and hold this button for a few seconds.
If the self-test is successful, you will observe the LED light up and the power supply fan start spinning, indicating that the power supply is delivering power to the system board.
However, if the LED fails to light up or the fan does not spin, it suggests that the power supply is not functioning correctly and may require repair or replacement.
-
Testing without the BIST button:
If your power supply does not feature a BIST button, you can conduct a manual test by following these steps:
-
First, ensure that the computer is turned off and unplugged from the power source.
-
Next, disconnect all power cables from the motherboard and other components.
-
Verify that all connections are secure and reseat any loose cables.
-
Reconnect the power cable to the power supply and turn on the computer.
-
Observe the LED indicator on the power supply. If it lights up and the fan starts spinning, it indicates that the power supply is functioning properly.
If the LED fails to light up or the fan does not spin, it suggests a potential power supply failure that may require repair or replacement.
-
If you encounter any issues or need further assistance with power supply testing, it is recommended to contact Dell Technical Support for expert guidance.
| Power Supply Test Results | LED Indicator | Fan Activity |
|---|---|---|
| Successful Test | Lights up | Starts spinning |
| Potential Failure | Fails to light up | No activity |
Common Power Supply Issues
Power supply issues can arise due to various factors, including voltage fluctuations, overheating, and power rail failures. These issues can result in a range of problems such as system startup failures, lockups, memory errors, HDD file system corruption, and USB power problems.
One common cause of power supply issues is loose or malfunctioning cables that can interfere with the CPU fan or other moving parts. This can lead to overheating and potentially cause power supply failure.
Monitoring the system for noticeable changes in boot-up time, shutdowns, and spontaneous reboots can help identify potential power supply issues. If you notice any abnormalities, it is advisable to troubleshoot the power supply using the methods mentioned in the previous sections.
To ensure a smooth and reliable operation of your desktop power supply, it is essential to address any common power supply issues promptly and implement proper troubleshooting techniques.
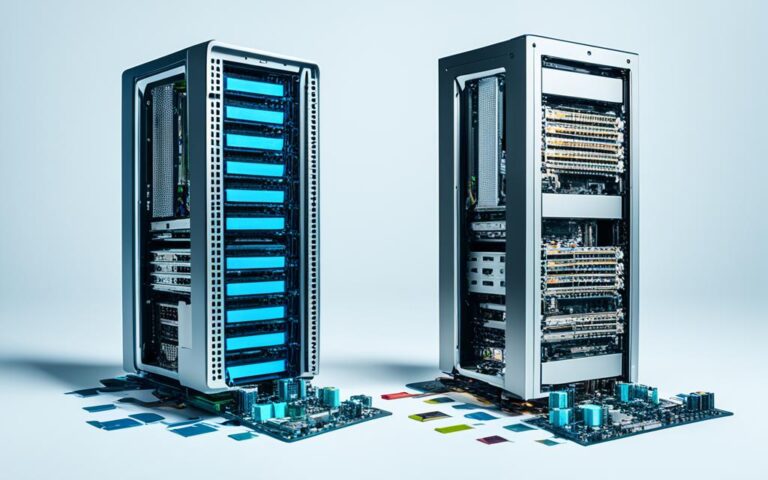
Selecting and Installing a New Power Supply
When it comes to replacing a power supply, it’s essential to choose one that matches the specifications of the old unit. Most modern computers use ATX power supplies, but it’s important to confirm the type before making a purchase to ensure compatibility. Additionally, pay attention to the width of the new power supply to ensure it fits correctly in the case.
Proper installation involves a series of steps. Firstly, disconnect all external connectors from the old power supply. Carefully remove the old unit from the case, making sure to keep track of the cables that connect to various devices. When installing the new power supply, connect the devices in the same manner as before, referring to the documentation or labels on the power supply for guidance.
It’s vital to secure all cables properly to avoid any loose connections that could cause issues down the line. Take your time to organize the cables neatly and secure them using cable ties or clips. A well-organized and secure cable management system not only improves airflow but also minimizes the risk of accidental disconnection or damage to components.
Once the installation is complete, reconnect all external connections to the computer, ensuring that everything is plugged in securely. Before powering on the computer, double-check that all cables are properly seated and the power supply switch is in the correct position. Power on the computer and monitor for any warning lights, unusual sounds, or error messages during the boot process, as these could indicate an incorrect installation or compatibility issue.
In case you need visual guidance, here is a step-by-step guide on installing a power supply:
| Step | Description |
|---|---|
| 1 | Disconnect all external connectors from the old power supply. |
| 2 | Remove the old power supply from the case. |
| 3 | Check the specifications of the new power supply and confirm compatibility. |
| 4 | Place the new power supply into the case, aligning it with the mounting holes. |
| 5 | Connect the necessary cables to the appropriate devices, following the documentation or labels on the power supply. |
| 6 | Secure all cables using cable ties or clips to ensure a clean and organized cable management system. |
| 7 | Reconnect all external connectors to the new power supply. |
| 8 | Double-check that all connections are secure and properly seated. |
| 9 | Power on the computer and monitor for any warning lights, unusual sounds, or error messages. |
Following these steps will ensure a successful and hassle-free power supply replacement. If you encounter any difficulties or have concerns, consult the manufacturer’s documentation or seek professional assistance from a qualified technician.
ESD Precautions and Safety Measures
Before working on a computer, it is important to familiarize yourself with proper Electrostatic Discharge (ESD) procedures. This involves taking necessary precautions to avoid damaging computer hardware due to static electricity.
One of the essential ESD precautions is wearing an anti-static wrist-strap that is properly grounded. This strap helps to discharge any static electricity from your body and prevent it from transferring to the sensitive components of the computer, including the power supply.
When handling the power supply, it is crucial to be cautious of any loose cables. Loose cables can not only obstruct the CPU fan and other moving parts but also create potential hazards. Ensure that the cables are properly secured and arranged to maintain a safe and organized workspace.
Before removing the case cover, it is advisable to disconnect all external connectors from the power supply unit. This step ensures that there are no active electrical connections that could pose a risk. Additionally, identifying the power supply unit and understanding its location within the computer case can help you navigate the task more efficiently.
After completing the necessary repairs or maintenance, it is important to replace the case cover and reconnect all external connections. This step ensures that the power supply and other components are properly secured and prevents any accidental damage or disconnections.
To demonstrate these ESD precautions and safety measures in action, refer to the following diagram:
| ESD Precautions | Safety Measures |
|---|---|
|
|
By following these ESD precautions and safety measures, you can ensure that your computer repair tasks are performed in a secure and efficient manner. Remember, prevention is key when it comes to protecting sensitive hardware components, such as the power supply, from potential damage caused by electrostatic discharge.
Conclusion
In conclusion, troubleshooting and repairing desktop power supply failures can be a challenging endeavor. However, by following the recommended steps and taking necessary precautions, it is possible to diagnose and resolve PSU issues effectively. Starting with basic troubleshooting, such as checking connections and performing power supply tests, can help pinpoint the root cause of power supply failures.
If the issue persists, it may be necessary to replace the power supply with a compatible unit and ensure proper installation. Ensuring that all external connectors are securely connected and cables are properly managed is crucial to the overall functioning of the power supply. By adhering to Electrostatic Discharge (ESD) precautions and safety measures, computer repairs can be carried out both efficiently and safely.
Remember to consult the manufacturer’s support and warranty options for further assistance if your power supply is still under warranty. Resolving power supply issues is essential for maintaining a reliable and efficient computer system. With attention to detail and the right approach, you can successfully troubleshoot and repair desktop power supply failures, ensuring optimal performance for your PC.