Resolving Desktop Memory Compatibility Issues
If you are facing difficulties with your computer recognizing a new memory upgrade, there are several memory compatibility fixes you can try. These solutions include pressing harder when inserting modules into the memory slot, checking for OS memory limitations, ensuring all power cords and internal cables are securely connected, and updating your BIOS.
Additionally, there are installation tips such as removing and reinstalling modules, using the same type of memory as your old modules, and filling memory slots in the correct order. By troubleshooting and taking the appropriate steps, you can resolve memory compatibility issues and optimize the performance of your desktop.
Inserting Memory Modules Correctly
Properly inserting memory modules is a crucial step in resolving memory compatibility issues. By following the correct procedures, you can ensure a secure and proper connection between the memory module and the slot, allowing your computer to recognize and utilize the new memory upgrade effectively.
When inserting the memory modules, it is important to align the notches on the module with the keys in the slot. This ensures that the module is inserted in the correct orientation, preventing any potential installation problems.
“Always double-check that the notches in your memory module are lined up with the keys in the memory slot.”
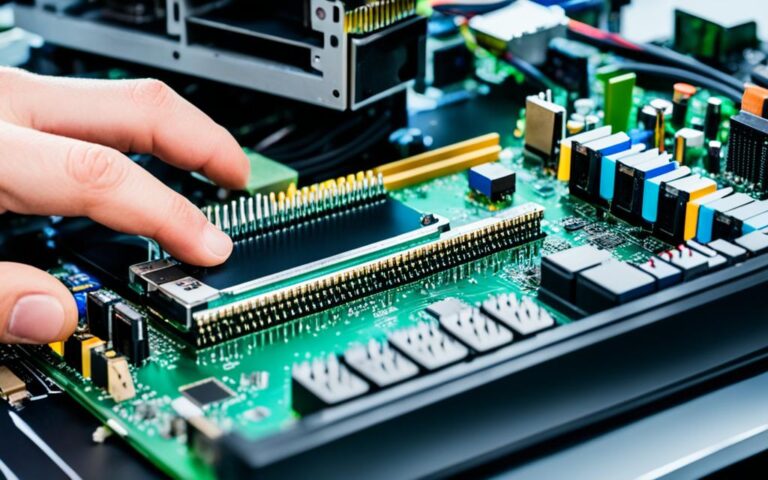
After ensuring proper alignment, apply 20 to 30 pounds of pressure to “seat” the memory module correctly. This pressure ensures that the module is firmly inserted into the slot, establishing a reliable connection.
Once properly installed, the clips on the side of the module should snap into place on their own. This indicates that the module is securely attached to the slot and eliminates any concerns about loose connections.
“Listen for the reassuring sound of the clips on the memory module snapping into place.”
For visual confirmation, a thin portion of the gold pins on the memory module should be visible, around 1/16th of an inch or less. This visibility indicates that the module is fully inserted, with the gold pins making proper contact with the slot for data transfer.
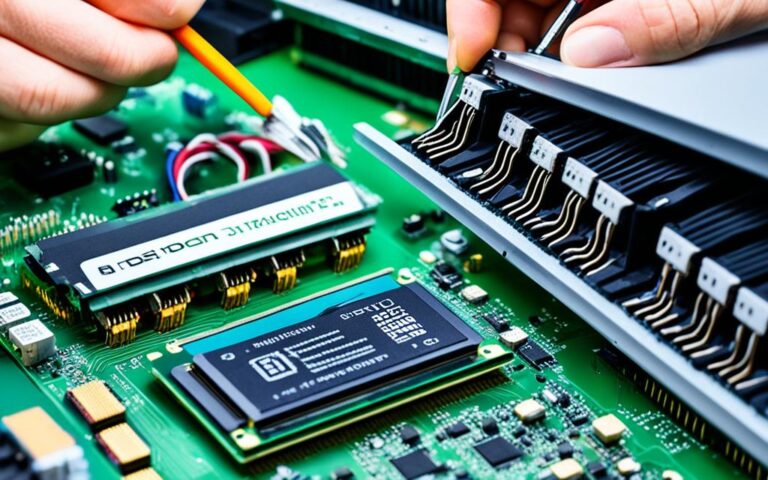
To illustrate this process, refer to the image below:
| Steps for Properly Inserting Memory Modules: |
|---|
| 1. Align the notches on the memory module with the keys in the slot. |
| 2. Apply 20 to 30 pounds of pressure to “seat” the memory module. |
| 3. Listen for the clips on the memory module snapping into place. |
| 4. Confirm the visibility of a thin portion of the gold pins. |
By following these steps, you can ensure a successful installation of memory modules and resolve any compatibility issues that may arise. Proper insertion guarantees a reliable connection and optimal performance for your desktop memory.
Checking for OS Memory Limitations
In some cases, memory compatibility issues may not be caused by hardware but by the operating system (OS) itself. Windows-based operating systems have specific limitations on the maximum amount of memory they can accept. When upgrading your computer’s memory, it is essential to consider these OS memory limitations to ensure optimal compatibility and performance.
If your computer is not recognizing your new memory upgrade, you should first check if your operating system has any limitations on the amount of memory it can support. Exceeding the maximum memory limit set by your OS can lead to compatibility issues and prevent your computer from utilizing the full capacity of the new memory modules.
To verify the memory limitations of your Windows-based operating system, you can follow these steps:
- Open the “System Properties” window by right-clicking on “This PC” or “My Computer” and selecting “Properties.”
- In the system information window, you will find details about your installed memory under the “Installed RAM” or “Installed memory (RAM)” section.
- Take note of the maximum memory capacity indicated.
If the maximum memory capacity specified is less than the total amount of memory in your new upgrade, it means your OS has memory limitations. In such cases, you have a few options:
- Upgrade your operating system: Consider upgrading your Windows-based operating system to a version that can support the desired amount of memory. Make sure to check the system requirements of the new OS version to ensure compatibility with your hardware and software.
- Work within the memory constraints: If upgrading the OS is not feasible, you can work within the limitations by using the maximum amount of memory supported by your current operating system. This may involve installing only a portion of the new memory modules or using lower capacity modules to stay within the supported range. Keep in mind that this may limit the overall performance benefits you can achieve.
By checking for OS memory limitations and taking appropriate steps, you can ensure that your computer’s memory upgrade aligns with the specifications supported by your operating system.
Windows-Based Operating System Memory Limitations
| Windows Version | Maximum Memory Limit |
|---|---|
| Windows 10 Home (32-bit) | 4 GB |
| Windows 10 Home (64-bit) | 128 GB |
| Windows 10 Pro, Enterprise (32-bit) | 4 GB |
| Windows 10 Pro, Enterprise (64-bit) | 2 TB |
| Windows 8/8.1 (32-bit) | 4 GB |
| Windows 8/8.1 (64-bit) | 128 GB |
| Windows 7 Starter, Home Basic, Home Premium (32-bit) | 4 GB |
| Windows 7 Starter, Home Basic, Home Premium (64-bit) | 16 GB |
| Windows 7 Professional, Ultimate (32-bit) | 4 GB |
| Windows 7 Professional, Ultimate (64-bit) | 192 GB |
Ensuring Proper Power Connections and Internal Cables
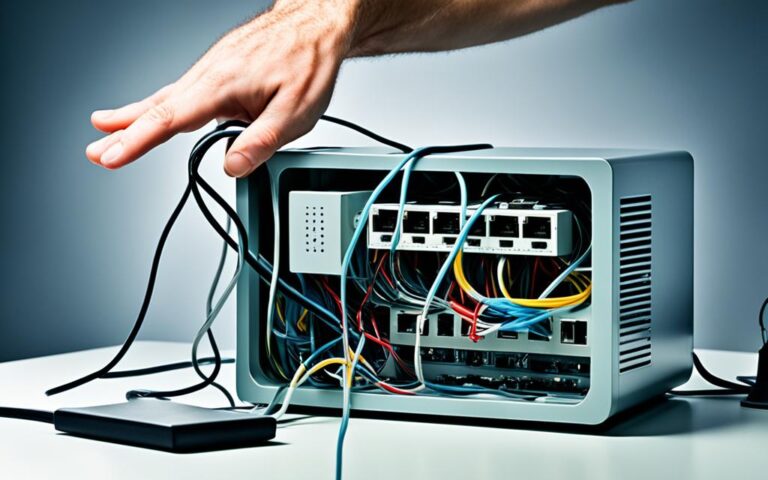
Sometimes, memory compatibility issues can be caused by loose power cords or internal cables. Before troubleshooting further, double-check that all power cords are securely plugged in. It is also important to ensure that no wires or cables inside your computer have been accidentally bumped or loosened during the memory installation process. A loose hard drive cable, for example, can prevent your computer from booting up properly. Make sure all cables are firmly lodged in their sockets to ensure a stable and reliable connection.
If you are uncertain about the proper connection of power cords and internal cables, refer to the manufacturer’s instructions for your specific computer model. These instructions will provide detailed illustrations and guidance on how to secure and troubleshoot any loose connections.
Proper Power Cord Connection
To ensure a secure power connection, follow these steps:
- Turn off your computer and disconnect it from the power source.
- Check the power cord for any visible damage or frayed wires. If you notice any issues, replace the power cord.
- Insert one end of the power cord into the power supply unit (PSU) located at the back of your computer.
- Plug the other end of the power cord into a reliable power outlet.
- Make sure the power cord is firmly inserted into both the PSU and the power outlet.
- Turn on your computer and check if the memory compatibility issue persists.
Internal Cable Check
To ensure proper connection of internal cables, follow these steps:
- Power off your computer and disconnect it from the power source.
- Open the computer case or access panel to gain access to the internal components.
- Inspect the internal cables, such as SATA cables, IDE cables, and hard drive cables, for any signs of looseness or disconnection.
- If you find any loose cables, gently push them back into their respective sockets until they are firmly lodged.
- Close the computer case or access panel and reconnect the power source.
- Power on your computer and check if the memory compatibility issue has been resolved.
By ensuring proper power connections and securely fastened internal cables, you can eliminate a potential source of memory compatibility issues. If the issue persists, proceed to the next section for further troubleshooting steps.
Updating BIOS and Additional Tips
If your computer is older, it may require an update to its BIOS (Basic Input Output System) in order to fully support new memory technology. BIOS updates can be obtained from your system or motherboard manufacturer. It is crucial to carefully follow their instructions to download and install the software correctly for optimal results.
In case you encounter a memory mismatch error, accessing the BIOS setup and selecting “save and exit” can often resolve the issue. This simple step can help re-establish the compatibility between your system and the newly installed memory modules.
Moreover, there are additional installation tips to ensure smooth memory compatibility. Start by removing and reinstalling your memory modules, ensuring they are correctly seated in their slots. It is also recommended to use the same type of memory as your old modules to avoid any potential compatibility issues. Additionally, make sure to fill your memory slots in the correct order as specified in the motherboard manual.
By following these suggestions, you can effectively optimize the compatibility and performance of your desktop memory. Whether it’s updating your BIOS or implementing installation tips, resolving memory compatibility issues will ensure your computer operates smoothly and efficiently.
