How to Replace Tablet’s Internal Speakers
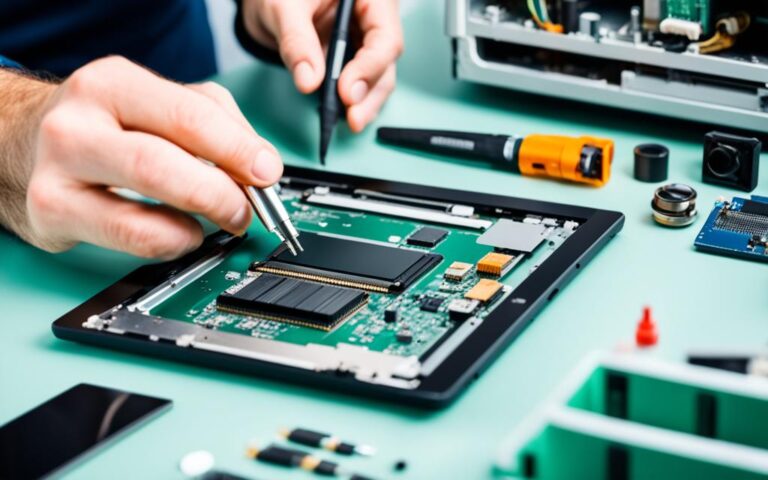
If you’re experiencing issues with the sound on your tablet, it may be time to replace the internal speakers. Whether they’re crackling, distorted, or not working at all, replacing the speakers can restore your tablet’s audio quality. In this guide, we will walk you through the step-by-step process of replacing your tablet’s internal speakers, ensuring that you can enjoy a clear and immersive audio experience once again.
Before we dive into the details, it’s important to note that replacing internal speakers requires a certain level of technical knowledge and expertise. If you don’t feel confident or comfortable performing the replacement yourself, it’s recommended to seek professional assistance.
Opening the Device and Removing the Battery
To begin the process of replacing your tablet’s internal speakers, you need to open the device and remove the battery. Follow these steps:
- Start by opening the HDMI/USB port cover on the left edge of the tablet. (Figure 1)
- Remove the screws underneath the port cover. (Figure 2)
- Next, locate and open the Micro SD slot on the top side of the tablet. (Figure 3)
- Remove the screws beneath the Micro SD slot cover. (Figure 4)
- Use a suction cup to separate the screen from the rest of the device. Be careful not to damage the front camera cable. (Figure 5)
- Disconnect the display ribbon cable from the motherboard. (Figure 6)
- To proceed, you need to disconnect the battery from the motherboard. Pull out the cable located below the fan. (Figure 7)
- Remove the seven screws that secure the battery in place. (Figure 8)
- Carefully remove the battery from the back assembly. (Figure 9)
Figure 2: Removing screws underneath the port cover
Figure 3: Opening the Micro SD slot
Figure 4: Removing screws beneath the Micro SD slot cover
Related:


Figure 5: Using a suction cup to separate the screen
Figure 6: Disconnecting the display ribbon cable
Figure 7: Disconnecting the battery from the motherboard
Figure 8: Removing screws securing the battery
Figure 9: Removing the battery from the back assembly
Once you have successfully completed these steps, you are ready to proceed with the next section: Removing the Motherboard and Disconnecting Cables.
Removing the Motherboard and Disconnecting Cables
Once the battery is removed, it’s time to proceed with removing the motherboard of your tablet. This step is crucial in the process of replacing the internal speakers.
Start by carefully removing the nine screws that hold the motherboard securely in place. These screws are typically situated around the edges of the motherboard.
Tip: Keep track of the screws to ensure they are not misplaced or mixed up during the reassembly process.
After removing the screws, gently pull out the black plastic dust shield that serves as a protective barrier for the sensitive camera component.
But before completely removing the motherboard, several cables need to be disconnected to ensure a safe and successful removal. These cables include:
- The cable connected to the top of the display
- The power jack connector located on the left side of the screen
- The daughterboard connector positioned above and to the right of the WiFi chip slot
Caution: Take care not to damage the cables during the disconnection process. Use gentle and steady force to detach them.
Once these cables have been safely disconnected, you can proceed by gently pulling the motherboard out from the right side. Flip the motherboard to expose its underside for further examination and replacement if necessary.
| Cable | Location |
|---|---|
| Cable connected to the top of the display | Above the screen |
| Power jack connector | Left side of the screen |
| Daughterboard connector | Above and to the right of the WiFi chip slot |
Now that you have successfully removed the motherboard and disconnected the necessary cables, you are one step closer to replacing the internal speakers of your tablet.
Next Steps:
In the following section, we will guide you through the process of removing the internal speakers from your tablet assembly.
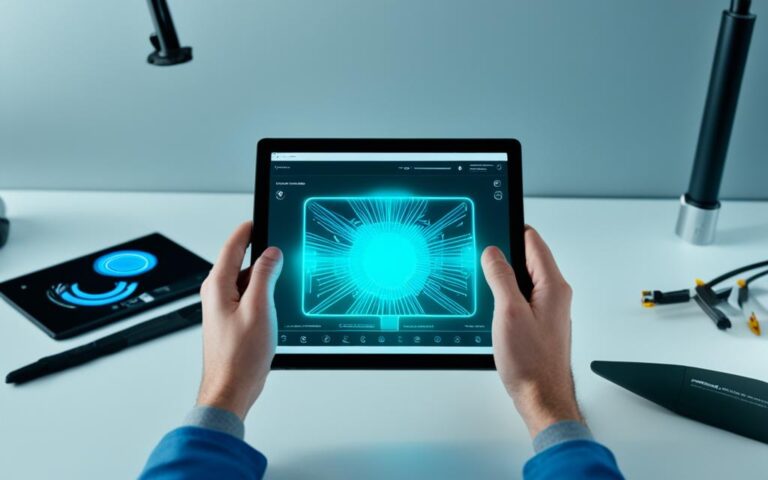
Removing the Internal Speakers
With the motherboard out and flipped, it’s time to remove the internal speakers from your tablet. Follow these step-by-step instructions:
- Start by removing the speaker connector located next to the SSD slot. Take care to disconnect it completely.
- Next, locate the screws that secure the upper and lower ends of each speaker module. Remove all four screws.
- Once the screws have been removed, trace the speaker wires and remove any tape that is holding the speakers to the assembly. Ensure all the tape is taken off.
- During the motherboard removal process, the speaker connector should have already been disconnected. If not, ensure that it is detached now.
- Once you have completed all these necessary steps, the speaker wiring and assembly should be completely free to be removed from the tablet assembly.
Remember to handle the internal speakers with care throughout the removal process to avoid any damage or mishaps.
To get a clear understanding of the speaker removal process, refer to the following table that outlines the steps:
| Step | Instructions |
|---|---|
| 1 | Disconnect the speaker connector located next to the SSD slot. |
| 2 | Remove the four screws from the upper and lower ends of each speaker module. |
| 3 | Trace the speaker wires and remove any tape holding the speakers to the assembly. |
| 4 | Ensure that the speaker connector has been disconnected during the motherboard removal process. |
| 5 | Once all necessary steps are complete, the speaker wiring and assembly should be free to remove from the tablet assembly. |
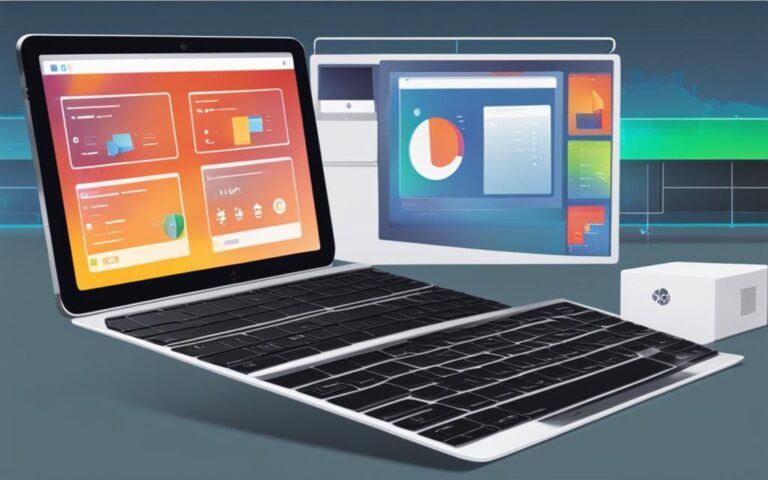
Reassembling the Device
After successfully replacing the internal speakers of your tablet, it’s now time to put all the components back together. Follow the step-by-step instructions below to ensure a smooth reassembly process and restore the functionality of your device.
Step 1: Placing the Speaker Wiring and Assembly
The first step in reassembling your tablet is to place the speaker wiring and assembly back into the tablet assembly. Take care to align the speakers properly and secure them using tape if necessary. This ensures that the sound quality remains optimal once the reassembly is complete.
Step 2: Inserting the Motherboard and Reconnecting Cables
Next, carefully insert the motherboard back into the device, making sure it fits snugly into place. Take note of the connectors and cables that need to be reattached. Reconnect all the necessary cables, including the display ribbon cable, power jack connector, and daughterboard connector. Double-check that all connections are secure to avoid any potential issues.
Step 3: Replacing the Black Plastic Dust Shield
Now, it’s time to replace the black plastic dust shield. This shield serves as protection for the sensitive camera component and helps ensure a seamless reassembly. Gently insert the shield back into its original position and ensure that it is properly secured before moving on to the next step.
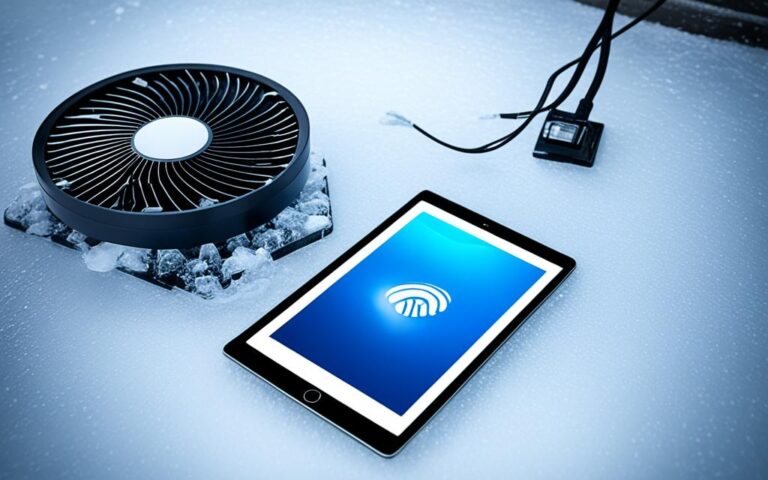
Step 4: Reattaching the Battery
Reattach the battery to the back assembly by carefully aligning it and securing it with the screws. Ensure that the battery is tightly fitted to avoid any issues with power supply or stability.
Step 5: Connecting the Display Ribbon Cable and Placing the Screen
Connect the display ribbon cable to the appropriate connector on the motherboard. Be cautious when handling the delicate cable to prevent damage. Carefully place the screen back onto the device, ensuring it is properly aligned and fits securely. Take the time to adjust and align the screen for optimal display quality.
Step 6: Replacing the Screws and Covers
Finally, replace the screws under the HDMI/USB port cover and the Micro SD slot cover. This will help secure the device’s external components and complete the reassembly process. Ensure that all screws are tightened appropriately but not overly tightened to avoid any damage to the device.
Your tablet is now successfully reassembled, and the internal speakers have been replaced. Take a moment to admire your handy work and power on the device to enjoy the enhanced audio experience. With proper care and attention to detail, this reassembly process can be completed successfully, allowing you to fully utilize your tablet’s internal speakers once again.
Conclusion
Replacing the internal speakers of your tablet may initially seem like a challenging and complex endeavor. However, by carefully following the step-by-step guide provided in this article, you can confidently complete the repair. Remember to approach the process with patience, as well as treat the delicate components with utmost care.
By following the instructions closely and dedicating the necessary time, you can restore the sound capabilities of your tablet. Whether you’re using it for entertainment, work, or communication, having functioning internal speakers is crucial for an optimal user experience.
So go ahead, take on the challenge, and revive the audio output of your tablet. With meticulous attention to detail and adherence to instructions, you’ll be able to enjoy high-quality sound once again.