Welcome to our comprehensive guide on how to remove and replace the adhesive on your iPhone screen. Whether you’re facing a cracked screen or simply need to replace the adhesive for a secure repair, our expert tips and techniques will ensure a precise and professional result.
If you’re in need of an iPhone screen adhesive replacement or planning to embark on a journey of removing and replacing iPhone screen adhesive, you’ve come to the right place. Our step-by-step instructions will guide you through the process, allowing you to restore your iPhone to its optimal condition.
In this guide, we’ll cover everything from preparing your workspace and gathering the necessary tools to safely prying and separating the screen, removing adhesive residue, and reinstallation tips for a strong bond.
Follow our professional advice to ensure a successful iPhone screen adhesive replacement. Let’s begin!
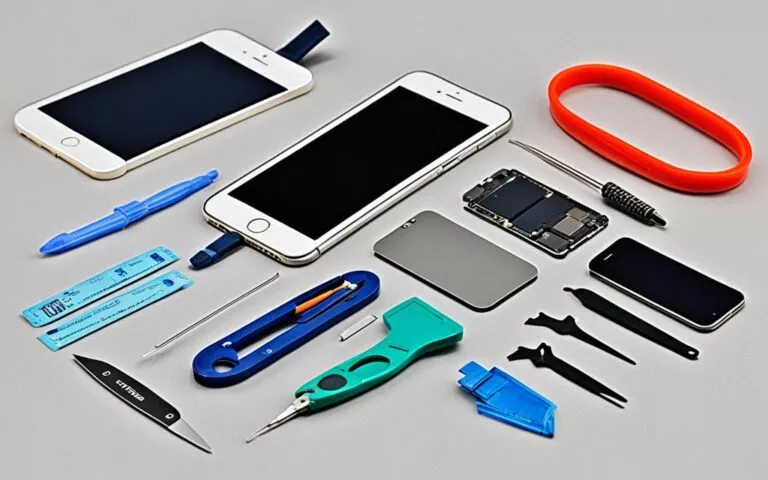
Before you begin removing the adhesive from your iPhone screen, it’s important to gather the necessary tools and prepare your workspace. Follow these steps to ensure a smooth and successful adhesive removal process.
Heat gun: A heat gun is necessary to soften the adhesive and make it easier to remove.
Prying tools: Use tools such as iOpener or suction cups to safely pry the screen from the frame without causing damage.
Tweezers: Tweezers will come in handy when disconnecting ribbon cables from the logic board.
Create a Clean Workspace
Clear your workspace and make sure it is clean and well-lit. A clean workspace will help prevent dust and debris from interfering with the adhesive removal process. Additionally, good lighting will allow you to see any small components or connectors more clearly.
Power Off Your iPhone
Before you begin the adhesive removal process, make sure your iPhone is powered off. This will prevent any accidental damage and ensure your safety throughout the repair process.
Once you have gathered your tools, created a clean workspace, and powered off your iPhone, you’re ready to proceed with removing the adhesive from your iPhone screen.
Continue reading to learn about the next step in removing and replacing iPhone screen adhesive.
Applying Heat to Loosen the Adhesive
Gently heating the edges of the screen is a crucial step in removing the iPhone screen adhesive. This process softens the adhesive, making it easier to pry the screen off without causing damage. However, it’s important to handle this step with care to prevent overheating and potential harm to the internal components. Follow these expert tips to ensure a successful adhesive loosening process.
Step 1: Power off your iPhone to ensure safety during the repair process.
Step 2: Gather the necessary tools, including a heat gun, prying tools such as iOpener or suction cups, and tweezers. Creating a clean workspace with good lighting is also essential.
Step 3: Position the heat gun approximately 2-3 inches away from the edges of the screen.
Step 4: Turn on the heat gun and move it in a circular motion around the edges of the screen. Maintain a constant speed and keep the heat gun in continuous motion to avoid overheating in one spot. The goal is to evenly distribute the heat across the adhesive.
Step 5: Heat the edges of the screen for approximately 1-2 minutes.
Remember, when applying heat, moderation is key. Overheating the screen can lead to irreversible damage, so it’s crucial to exercise caution throughout the process.
Expert Tip: Test the adhesive by gently prying the screen up with a suction cup or iOpener. If it doesn’t readily detach, reapply heat and try again. Patience and persistence are crucial in achieving a successful adhesive loosening.
Key Points:
Gently heat the edges of the screen using a heat gun.
Keep the heat gun in continuous motion to ensure even distribution of heat.
Test the adhesive by attempting to pry the screen up after heating.
Exercise caution to avoid overheating and damaging the internal components.
Tips for Applying Heat:
Step
Description
1
Power off your iPhone to ensure safety during the repair process.
2
Gather the necessary tools, including a heat gun, prying tools such as iOpener or suction cups, and tweezers. Create a clean workspace with good lighting.
3
Position the heat gun approximately 2-3 inches away from the edges of the screen.
4
Turn on the heat gun and move it in a circular motion around the edges of the screen. Maintain a constant speed and keep the heat gun in continuous motion to avoid overheating in one spot. The goal is to evenly distribute the heat across the adhesive.
5
Heat the edges of the screen for approximately 1-2 minutes.
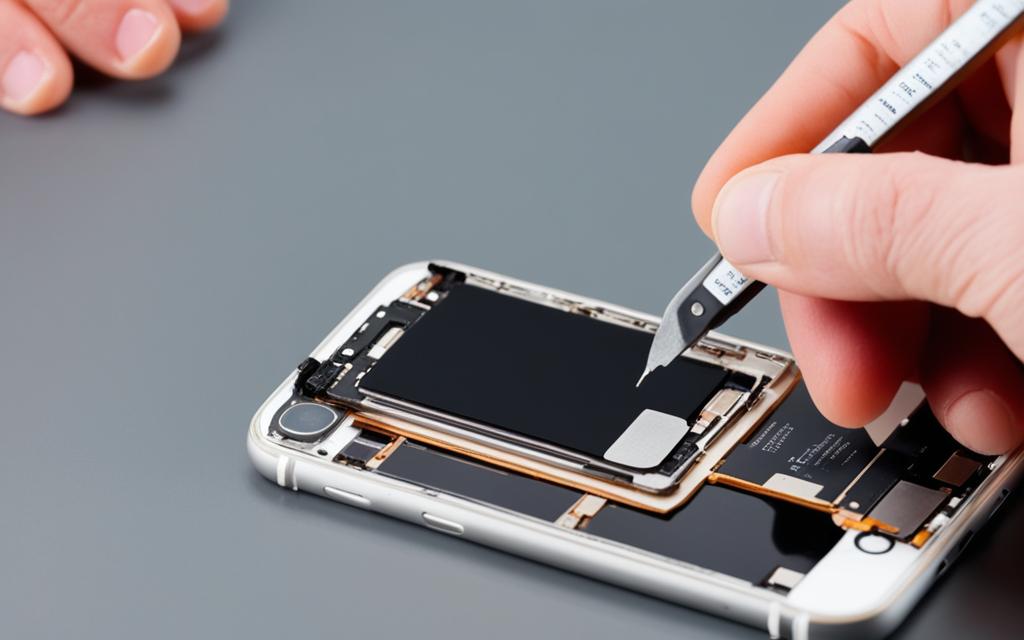
Safely Prying and Separating the Screen
When it comes to prying your iPhone screen and separating it from the adhesive, it’s important to proceed with caution. Follow these steps to safely remove the screen without causing any damage.
Carefully insert a thin prying tool, such as a guitar pick, between the screen and the frame of your iPhone. Be sure to avoid the LCD panel, as any damage to it can result in costly repairs.
Gently twist and slide the prying tool around the edges of the screen to gradually separate the adhesive. Take your time and apply consistent but gentle pressure to ensure a smooth separation.
If the adhesive is particularly stubborn, don’t hesitate to use multiple tools. Different angles and sizes can help you get better leverage and make the process easier.
Once the screen is mostly detached, it’s essential to locate and disconnect any ribbon cables that connect it to the logic board. Use tweezers to carefully disconnect these cables without causing any damage.
Remember, patience is key when it comes to prying and separating the screen. Rushing or using excessive force can result in permanent damage to your iPhone. Take your time and follow these steps diligently for a successful screen removal.
Tools Needed:
Steps:
Guitar pick or thin prying tool
1. Carefully insert the prying tool between the screen and the frame
Tweezers
2. Gently twist and slide the tool around the edges of the screen
Multiple prying tools (if necessary)
3. Use additional tools for stubborn adhesive
4. Locate and disconnect ribbon cables using tweezers
Removing the Screen and Cleaning Residue
Once you have successfully detached the iPhone screen from the frame, it’s time to remove any remaining adhesive and ensure a clean surface for reinstallation. Follow these steps to properly clean the iPhone screen and frame:
Lift the screen from the frame carefully and place it flat on the work surface. Be cautious not to touch or put pressure on the LCD panel, as it can be easily damaged.
Use a soft, lint-free cloth or isopropyl alcohol to gently remove any adhesive residue from the frame and the back of the screen. Apply the cloth or alcohol in small circular motions to ensure thorough cleaning.
Pay close attention to any stubborn adhesive spots or residue. If needed, you can use a plastic or nylon prying tool to scrape off the residue gently. Avoid using metal tools as they might scratch or damage the screen.
After cleaning the adhesive residue, make sure both the frame and the back of the screen are completely dry before proceeding with the reinstallation process. This will ensure a secure and reliable bond between the screen and the frame.
Tips for Reinstallation and Final Bonding
After successfully removing the screen and cleaning the adhesive residue, it’s time to reinstall your iPhone screen with a strong and secure bond. Follow these tips to ensure a smooth reinstallation process:
1. Align the top edge of the screen with the phone body and gently press it into place. Make sure the screen is properly aligned to avoid any issues with functionality or appearance.
2. Apply even pressure around the perimeter of your iPhone to ensure a proper bond. This will help to prevent any gaps or loose areas between the screen and the frame.
3. To further enhance the bonding process, you can use coins or screen vise clamps to exert additional pressure on the screen. This will help the adhesive adhere firmly to the frame of your iPhone.
4. For optimal results, heat the side edges of your iPhone with a hair dryer or heat gun before placing heavy books on top. This will soften the adhesive and allow it to bond more effectively. Leave the books in place for approximately thirty minutes to ensure a strong bond.
5. Finally, press firmly on all four corners of the display to ensure that the adhesive is evenly distributed. Additionally, make sure to reinstall the two pentalobe screws to secure the screen in place.
By following these tips, you can reinstall your iPhone screen with confidence, ensuring a secure bond between the screen and the frame. Proper reinstallation is crucial for the overall longevity and functionality of your device.
FAQ
What tools do I need to remove the adhesive from my iPhone screen?
To remove the adhesive from your iPhone screen, you will need a heat gun, prying tools such as iOpener or suction cups, and tweezers.
How do I prepare my workspace for removing the adhesive?
Before you begin, make sure your iPhone is powered off and create a clean workspace with good lighting.
How do I soften the adhesive before removing the screen?
Gently heat the edges of the screen with a heat gun to soften the adhesive. Be careful not to overheat, as this can damage the internal components.
How do I separate the screen from the adhesive?
Carefully insert a thin prying tool, like a guitar pick, between the screen and the frame, avoiding the LCD panel. Gently twist and slide the tool around the edges of the screen to separate the adhesive. Use multiple tools if necessary.
How do I remove any remaining adhesive from the frame and the back of the screen?
After lifting the screen from the frame, lay it flat on a work surface and use a soft, lint-free cloth or isopropyl alcohol to remove any remaining adhesive.
How do I reinstall the screen and ensure a proper bond?
To reinstall the screen, align the top edge with the phone body and gently press it into place. Apply even pressure around the perimeter of your iPhone to ensure a proper bond. You can use coins or screen vise clamps to help with this process.
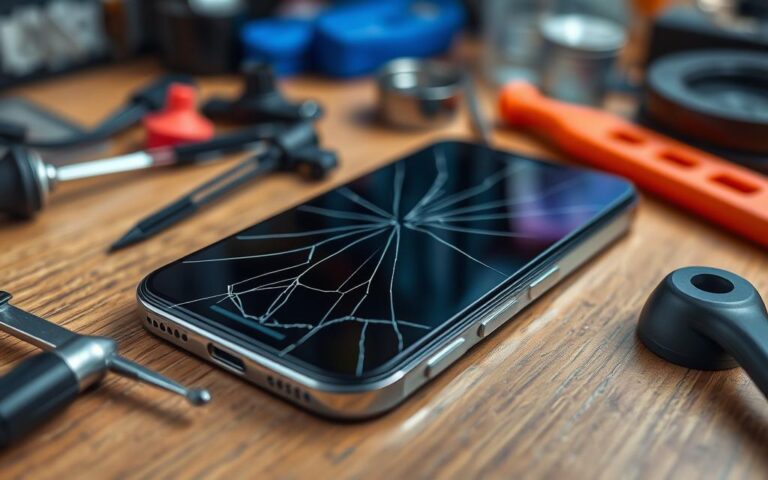
The cost to fix an iPhone 11 screen can change a lot. It depends on who fixes it, if you have a warranty, and how bad the damage is. Apple usually asks for about £129 to replace a screen. But, you might find lower or higher prices, from £40 to £350, at other places. This…
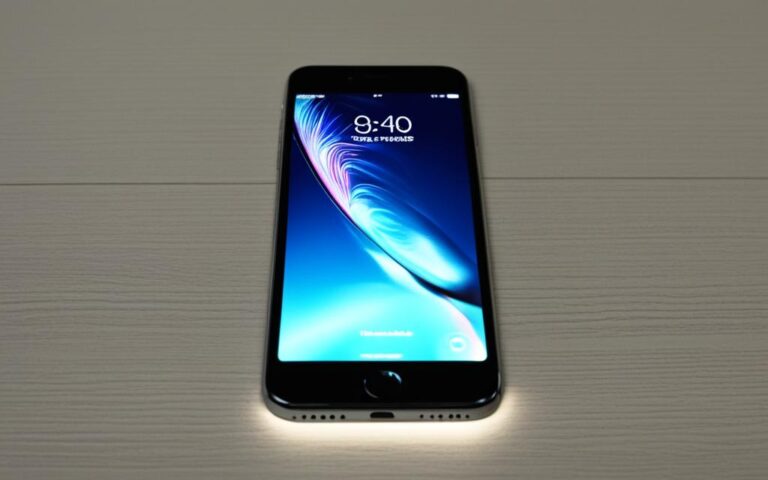
Are you experiencing screen brightness issues on your iPhone? If so, you’re not alone. Many users have reported encountering screen brightness problems, including the iPhone XR and iPhone 11 Pro Max. These issues can disrupt your viewing experience and make it difficult to optimize display visibility. One common problem is that the brightness automatically reduces…
The iPhone XR is renowned for its reliable performance, but some users may encounter challenges with signal reception and transmission. Compared to other iPhone models, such as the iPhone XS, the iPhone XR may experience poorer cell phone signal strength. Despite troubleshooting attempts such as updates and resets, the problem persists. A comparison between the…
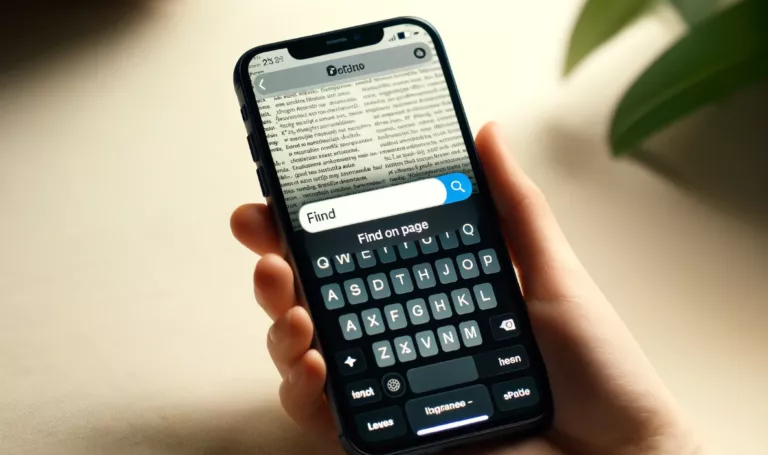
Have you ever wished you could quickly locate a specific word or phrase on your iPhone, just like you do with the Ctrl+F command on a computer? Many people don’t realize that this handy “find” feature exists on smartphones, too, making it much easier to locate information in long articles, documents, or web pages. But…
If you’re an iPhone 12 Mini user who has been experiencing low sound volume from your device’s built-in speaker, you’re not alone. Many users have reported this issue, which can be quite frustrating when trying to enjoy music or have clear phone conversations. However, there is good news – there are steps and repairs you…
When it comes to repairing an iPhone screen, having the right tools is essential. Whether you’re opting for a DIY repair or seeking professional assistance, having the necessary tools and materials will ensure a successful repair. In this article, we’ll explore the must-have iPhone screen repair tools based on factual data from various sources. Repairing…