Repairing Your Nintendo Switch: A Guide for Parents
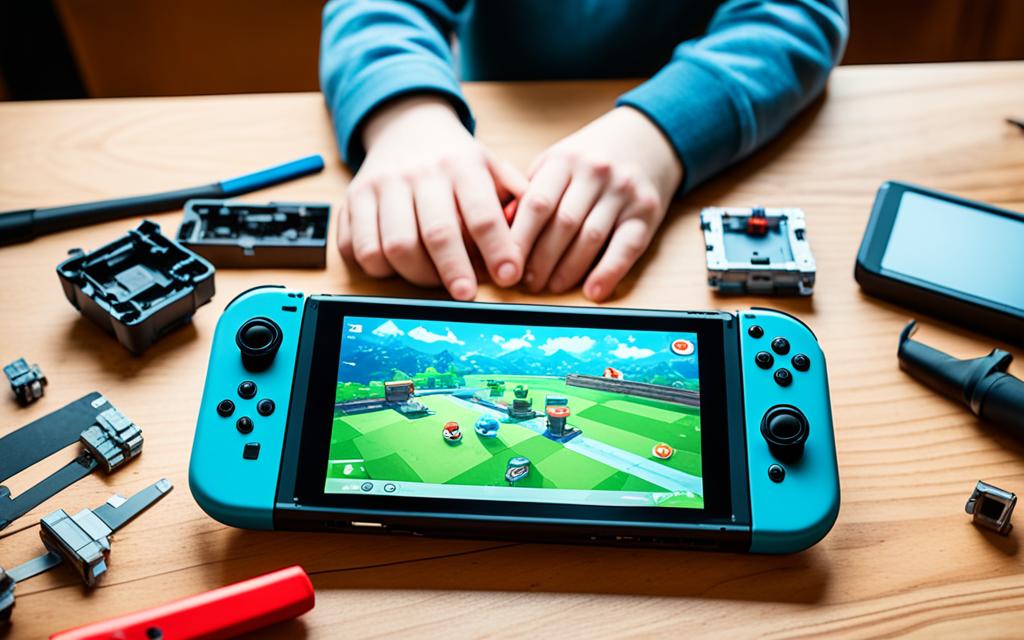
Welcome to our comprehensive guide on repairing your Nintendo Switch! As a parent, you know how valuable this gaming console is to your child’s entertainment. However, like any electronic device, it may encounter issues that require troubleshooting and repair. This guide aims to provide you with the knowledge and resources necessary to fix common problems and keep your Nintendo Switch running smoothly.
Whether it’s unresponsive Joy-Con controllers, charging problems, or system errors, we’ve got you covered. Our guide is designed specifically for parents, ensuring that the information is easily digestible and actionable. With step-by-step instructions, you’ll be able to quickly identify and resolve issues, saving you both time and money.
Don’t let a malfunctioning Nintendo Switch dampen your child’s gaming experience. Take control of the situation and become the hero of their gaming world! So, let’s dive in and explore the troubleshooting tips, repair techniques, and essential tools you’ll need to keep your Nintendo Switch in top shape.
Troubleshooting for Nintendo Switch
Troubleshooting is an essential step in resolving common issues with your Nintendo Switch console. By following these step-by-step solutions, you can quickly get your device back up and running smoothly.
Unresponsive Joy-Con Controllers
If your Joy-Con controllers are not responding, try the following:
- Ensure the controllers are charged by attaching them to the console or using the charging grip.
- Make sure there are no obstructions between the controllers and the console.
- Perform a system update to ensure you have the latest firmware.
- Reset the controllers by detaching them from the console, turning off the Switch, and pressing the SYNC button on each controller for a few seconds.
Charging Errors
If you’re experiencing issues with charging your Nintendo Switch, try these troubleshooting tips:
- Check the USB-C cable and AC adapter for any visible damage or fraying.
- Try charging the console using a different USB-C cable and AC adapter.
- Clean the console’s USB-C port using a can of compressed air to remove any debris or dust.
System Updates
If you’re having trouble with system updates, follow these steps:
- Ensure your Nintendo Switch is connected to a stable Wi-Fi network.
- Go to System Settings and select System.
- Select System Update to check for the latest firmware.
- If an update is available, follow the on-screen instructions to download and install it.
Lost or Stolen Devices
If your Nintendo Switch has been lost or stolen, take immediate action:
Contact your local law enforcement and provide them with all the necessary details.
Reach out to Nintendo Support to report your lost or stolen device and request assistance with securing your account.
Remember to deactivate your Nintendo Account from the stolen device by accessing it from a different console or device.
For more detailed troubleshooting steps and official support resources, visit the Nintendo Support website.
Now that you have the knowledge to troubleshoot common Nintendo Switch issues, you can enjoy a seamless gaming experience. However, if these solutions don’t resolve your specific problem, it may be necessary to explore further repair options.
| Common Issues | Solutions |
|---|---|
| Unresponsive Joy-Con Controllers | Charge controllers, remove obstructions, perform system update, reset controllers. |
| Charging Errors | Check cables and adapter, try different cables, clean USB-C port. |
| System Updates | Ensure stable Wi-Fi connection, check for updates, follow on-screen instructions. |
| Lost or Stolen Devices | Contact law enforcement, report to Nintendo Support, deactivate Nintendo Account. |
Console Repair Options
When your beloved Nintendo Switch encounters a technical glitch or damage, it’s crucial to explore the various repair options available. Fortunately, Nintendo provides an official repair service that caters specifically to these situations. With warranty coverage and professional expertise, Nintendo’s official repair service ensures your console receives the care it deserves.
Under the manufacturer’s warranty, eligible repairs can be carried out by certified technicians, safeguarding the integrity of your Nintendo Switch. The warranty typically covers defects in materials and workmanship for a specified period, which varies depending on your region and the specific warranty terms. It’s advisable to check the warranty documentation or contact Nintendo Support to determine the coverage applicable to your console.
If your Nintendo Switch is experiencing issues that fall within the warranty coverage, you may be entitled to a repair or replacement at no additional cost. To initiate the repair process, follow the guidelines provided by Nintendo Support to ensure proper packaging and secure transit. It’s important to track the status of your repair and maintain communication with Nintendo Support for any updates during the repair period.
Official Repair Service: Key Highlights
- Repair service offered by Nintendo for Nintendo Switch consoles.
- Warranty coverage for eligible repairs based on specified terms.
- Guidelines for packaging and shipping your console for repair.
- Progress tracking and communication through Nintendo Support.
While Nintendo’s official repair service is a reliable and convenient option for repairing your Nintendo Switch, it’s important to note that repairs outside of warranty coverage may incur additional costs. These costs may include parts, labor, and shipping fees, depending on the nature and extent of the repair required.
For a comprehensive breakdown of the repair costs and guidelines, refer to the official Nintendo Support website. Here, you’ll find detailed information on pricing, frequently asked questions, and other relevant resources to assist you in making informed decisions about your console repair.
“Nintendo’s official repair service offers a seamless solution for Nintendo Switch owners in need of expert repair assistance. With warranty coverage and accessible communication channels, parents can trust Nintendo to have their consoles back in tip-top shape.”
| Repair Option | Key Features |
|---|---|
| Official Repair Service |
|
Essential Tools for Console Repair
When it comes to repairing a Nintendo Switch, having the right tools is essential. The following tools are necessary for successful console repair:
Screwdrivers
Various screwdrivers are required to disassemble and reassemble the console. These include:
- Tri-wing screwdriver
- Phillips screwdriver
- Torx screwdriver
Multimeter
A multimeter is a vital tool for diagnosing electrical issues in the Nintendo Switch. It allows you to test and measure voltage, current, and resistance, aiding in the identification of faulty components.
Soldering Iron
A soldering iron is essential for advanced repairs that involve soldering components onto the circuit board. It allows you to securely attach or replace components such as capacitors, resistors, or connectors.
It is crucial to prioritize safety during the repair process. Always wear protective gear such as safety goggles and gloves to prevent injuries.
Pro Tip: Before attempting any repairs, ensure you have a clean and organized workspace. Keep all the tools and components organized to avoid misplacing or losing them during the repair process.
| Tool | Image |
|---|---|
| Screwdrivers | |
| Multimeter | |
| Soldering Iron |
Console Anatomy and Understanding Components
Understanding the components and anatomy of a Nintendo Switch is crucial for successful repairs. In addition to the Nintendo Switch, this section also provides an overview of the internal parts of Xbox and PlayStation consoles. By familiarising yourself with the various components, you’ll be better equipped to diagnose and fix any issues that may arise.
Key Console Components
Let’s take a closer look at some of the key components found in these consoles:
| Component | Description |
|---|---|
| Hard Drive | The hard drive stores game data, system software, and other digital content. |
| Cooling Fan | The cooling fan regulates the console’s temperature to prevent overheating during intense gaming sessions. |
| Motherboard | The motherboard is the central circuit board that connects and facilitates communication between all the internal components. |
| Power Supply | The power supply unit provides the necessary electrical power to the console. |
| Blu-ray Drive | The Blu-ray drive enables games and movies to be played on the console, specifically in the case of the Xbox and PlayStation consoles. |
| Joy-Con Controllers | The Nintendo Switch features detachable Joy-Con controllers, which provide input and game control for the console. |
It’s worth noting that the specific components and their arrangements may vary slightly between the Nintendo Switch, Xbox, and PlayStation consoles. Understanding the internal structure of each console will facilitate more effective troubleshooting and repair processes.
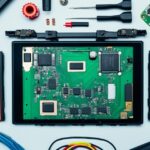
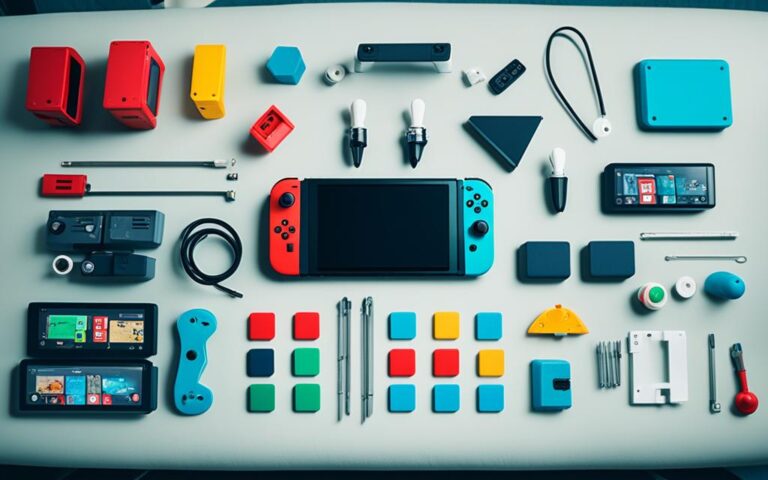
Having a visual representation of the console’s internal components can be helpful during the repair process. The image above provides a clear depiction of the layout and key parts of a Nintendo Switch console.
Mastering Console Repair Techniques
Mastering console repair techniques is essential for anyone looking to fix their Nintendo Switch and other gaming consoles. This section will guide you through the step-by-step process of repairing your console, from opening the device to testing the effectiveness of your repairs.
Step 1: Opening the Console
To begin the repair process, you’ll need to open your console. Start by removing the screws that secure the outer casing. Use a screwdriver suitable for your console’s screws to avoid damaging them. Make sure to keep track of the screws and where they belong, as this will make reassembling the console easier later on.
Step 2: Identifying the Issues
Once you have opened the console, it’s time to identify the issues that need to be addressed. Examine the internal components for any signs of damage or malfunction. Look out for loose connections, burnt circuits, or swollen capacitors. It may be helpful to consult online resources or the manufacturer’s documentation to better understand the components and their expected functionality.
Step 3: Repairing or Replacing Faulty Components
If you have identified the faulty components, you can proceed with repairing or replacing them. This may involve desoldering and replacing a damaged circuit board, reconnecting loose cables, or replacing worn-out buttons. For more complex repairs, such as replacing a faulty screen or joystick, consult expert guides or consider seeking professional assistance.
Step 4: Testing the Repairs
After repairing or replacing the faulty components, it’s crucial to test the effectiveness of your repairs. Power on the console and check if the previously identified issues have been resolved. Test all functions, including buttons, touchscreen responsiveness, audio output, and internet connectivity. If the repairs are successful, proceed to reassemble the console. Otherwise, revisit the troubleshooting process to identify and address any remaining issues.
By following these step-by-step console repair techniques, you’ll be able to tackle common issues and restore your Nintendo Switch and other gaming consoles to working order. Remember to exercise caution while working with electronic components and always refer to manufacturer guidelines for safety. Now that you have mastered the repair techniques, you can confidently take on future console repairs and enjoy uninterrupted gaming experiences.
Common Console Issues and How to Fix Them
If you’re experiencing issues with your Nintendo Switch console, don’t worry – you’re not alone. Many Nintendo Switch owners encounter common problems that can be easily resolved with a bit of troubleshooting and some simple fixes. In this section, we’ll address three common console issues and provide solutions to get your Nintendo Switch back up and running smoothly.
1. Overheating Issues
One of the most common problems Nintendo Switch users face is overheating. When the console overheats, it can cause performance issues, screen freezes, and even shutdowns. To fix this problem, follow these steps:
- Ensure that the console is properly ventilated. Avoid placing it in enclosed spaces or covering it with objects that can block the airflow.
- Remove any dust or debris that may be blocking the console’s cooling vents. Gently use compressed air or a soft brush to clean the vents.
- Consider using a cooling stand or fan to provide additional airflow to the console.
- Avoid playing for extended periods without giving the console a break. Letting it cool down periodically can help prevent overheating.
Note: If the overheating problem persists despite these measures, it’s recommended to contact Nintendo Support for further assistance.
2. Dealing with Sticky Buttons
Another common issue for Nintendo Switch owners is sticky buttons. Sticky buttons can occur due to spills, dirt, or general wear and tear. To fix sticky buttons, try the following:
- Gently clean the buttons using a soft cloth dampened with isopropyl alcohol. Make sure to turn off your console before cleaning and avoid using excess liquid.
- If the buttons are still sticky, you may need to remove them for a more thorough cleaning. Consult the Nintendo Switch user manual or online tutorials for instructions on safely removing the buttons and cleaning them.
- If cleaning doesn’t work, you may consider replacing the buttons. Replacement buttons can be purchased online or from authorized Nintendo retailers.
3. Software Glitches and Resets
Software glitches can cause various issues with the Nintendo Switch, such as freezing, crashing, or error messages. To fix software glitches, try the following:
- Ensure your console is running the latest firmware version. Go to System Settings > System > System Update to check for updates.
- If you encounter a specific software issue, try performing a reset. This can be done by holding down the power button for at least 12 seconds until the console powers off. Then, press the power button again to turn it back on.
- If the problem persists, you may need to perform a factory reset. However, be aware that a factory reset will erase all user data, so make sure to back up your important files before proceeding. You can initiate a factory reset in the System Settings menu.
Note: If none of these solutions work, it’s advisable to reach out to Nintendo Support for further assistance.
Regular maintenance and care can go a long way in preventing and resolving common console issues. Make it a habit to clean your Nintendo Switch regularly, avoid exposing it to extreme temperatures or liquids, and keep the firmware up to date. By following these tips, you can prolong the lifespan of your Nintendo Switch and ensure a smooth gaming experience.
| Common Console Issues | How to Fix Them |
|---|---|
| Overheating | Ensure proper ventilation, clean cooling vents, use cooling stand/ fan, take breaks during extended play sessions. |
| Sticky Buttons | Clean buttons with isopropyl alcohol, remove buttons for thorough cleaning, consider replacement if cleaning doesn’t work. |
| Software Glitches and Resets | Update firmware, perform soft reset, consider factory reset if necessary. |
Conclusion
In conclusion, this comprehensive guide provides parents with the necessary information and resources for repairing their Nintendo Switch consoles. With the rise in popularity of the Nintendo Switch, it’s essential for parents to have the knowledge and skills to fix common issues that may arise.
By embracing DIY console repair, parents can enjoy several benefits. Firstly, it offers economic advantages as repairing consoles is often more cost-effective than buying new ones. This not only saves money but also reduces electronic waste, contributing to a more sustainable environment.
Moreover, mastering console repair techniques can bring a sense of fulfillment. As parents become proficient in troubleshooting and repairing their Nintendo Switch consoles, they gain valuable skills that can be applied to other electronics. This opens up opportunities for side hustles or even a potential career path in electronic repair.
By following the steps outlined in this guide, parents can confidently maintain and repair their Nintendo Switch consoles. From troubleshooting common issues to understanding console anatomy and utilizing the right tools, this guide equips parents with the knowledge needed to take control of their gaming experience.
