The Nintendo Switch is a popular gaming console that requires proper protection to ensure its longevity. This article will provide you with expert tips on how to keep your Nintendo Switch safe, including protective measures and repair insights. We will cover common problems, such as Joy-Con connectivity issues and screen scratches, and provide solutions to extend the battery life and troubleshoot software errors. Whether you are a casual gamer or a hardcore enthusiast, these tips will help you protect your Nintendo Switch and ensure a seamless gaming experience.
Protective Measures for Nintendo Switch Joy-Con Controllers
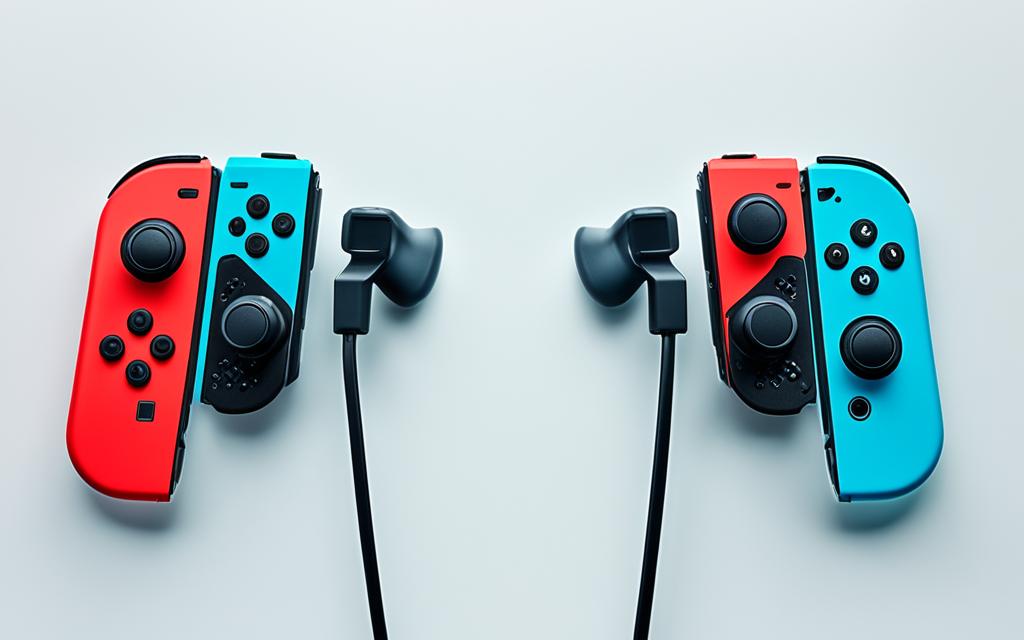
One frequently reported concern among Nintendo Switch users is the connectivity issues with Joy-Con controllers. This can range from unresponsive inputs to disconnection while playing. To address these problems, it is important to take certain protective measures.
Ensure Clear Communication: Make sure there are no obstructions between the console and Joy-Con controllers. Objects like large metallic surfaces or other electronic devices can interfere with the signals, causing connectivity issues.
Set Up a Clean Gaming Environment: Keep other electronic devices away from your gaming setup to minimize interference that can disrupt the connection between the console and controllers. This can include mobile phones, routers, or any other devices that emit wireless signals.
Update Controller Software: Regularly check for software updates for your Joy-Con controllers. Nintendo often releases firmware updates to address connectivity issues and improve performance. Updating the software can help resolve any known issues.
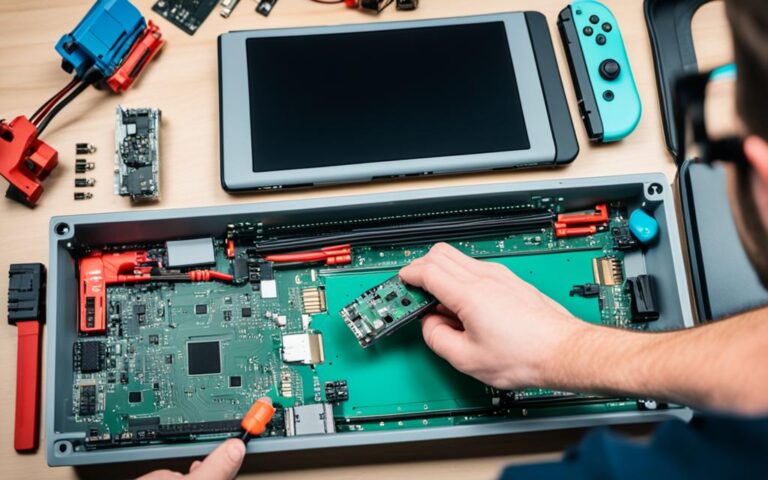
Seek Professional Repair Assistance: If the connectivity issues persist after trying the above measures, it is recommended to reach out to professional repair experts. They have the knowledge and expertise to diagnose and fix any underlying hardware or software problems.
By taking these protective measures, you can improve the connectivity and performance of your Nintendo Switch Joy-Con controllers, ensuring a smoother gaming experience.
Testimonials:
“I followed the recommended protective measures for my Joy-Con controllers, and I noticed a significant improvement in connectivity. The steps provided here were easy to follow and made a real difference.” – Steve, Nintendo Switch User
Protective Measures
Effectiveness
Ensuring Clear Communication
✓
Setting up a Clean Gaming Environment
✓
Updating Controller Software
✓
Seeking Professional Repair Assistance
✓
How to Fix Nintendo Switch Joy-Con Drifting
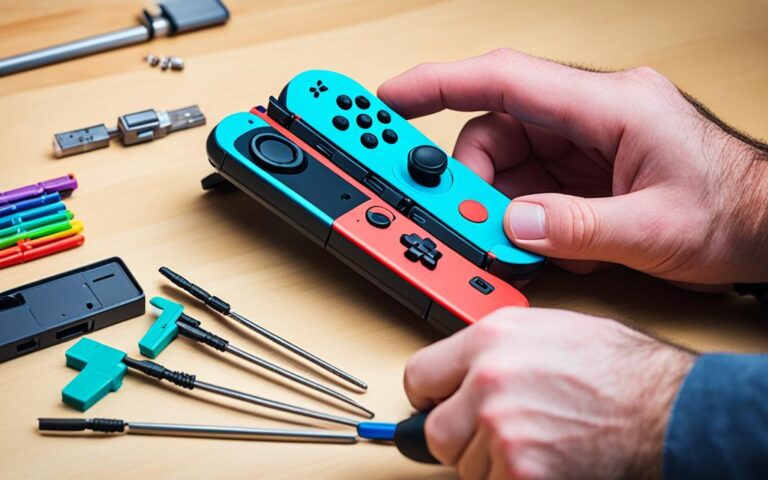
Joy-Con drifting is a known problem with some Nintendo Switch controllers, where the analog sticks register movements without player input. This can be frustrating and affect gameplay. Fortunately, there are several methods you can try to fix Joy-Con drifting and restore the optimal performance of your Nintendo Switch controllers.
Calibration: One of the initial steps to fix Joy-Con drifting is to calibrate the controllers through the console settings menu. This process helps correct movement inaccuracies and can potentially resolve the issue. Follow these steps to calibrate your Joy-Con controllers:
Go to the System Settings on your Nintendo Switch.
Select Controllers and Sensors.
Choose Calibrate Control Sticks.
Follow the on-screen instructions to complete the calibration process.
Cleaning the Analog Sticks: If calibration doesn’t fully resolve the drifting problem, you can try cleaning around the base of the affected analog stick. Sometimes, dust or debris may interfere with the stick’s movements, causing drifting. Here’s how you can clean the analog sticks:
Power off your Nintendo Switch.
Gently remove the Joy-Con controllers from the console.
Use a can of compressed air to blow away any dust or debris around the base of the analog stick.
If compressed air is unavailable, you can also use a soft cloth lightly dampened with isopropyl alcohol to clean the area.
Allow the controllers to dry before reattaching them to the console.
Third-Party Repair Solutions: In cases where calibration and cleaning do not resolve the Joy-Con drifting issue, you may consider seeking professional repair options. Companies like iFixScreens offer third-party repair services specifically for Nintendo Switch controllers. These services can often fix drifting problems and restore the functionality of your controllers.
Contact Nintendo Support: If all else fails, contacting Nintendo Support is another option to explore. Nintendo has acknowledged the Joy-Con drifting issue and may offer repair or replacement options, especially if your console is still within the warranty period.
It’s important to note that if your Nintendo Switch console is no longer covered by warranty and you decide to use third-party repair services or attempt a DIY fix, it can potentially void any remaining warranty on the console itself. Therefore, weigh your options carefully and consider the best course of action based on the circumstances.
By following these steps, you can address Joy-Con drifting and enhance your gaming experience on the Nintendo Switch.
Preventing Scratches and Dead Pixels on the Nintendo Switch Screen
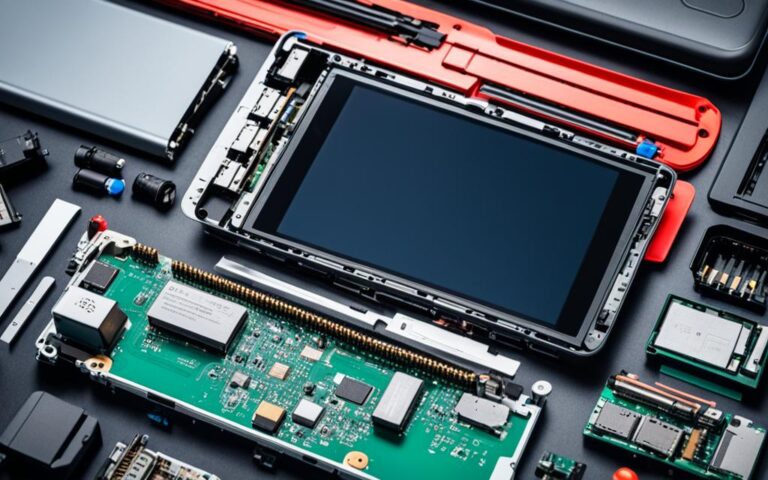
Many Nintendo Switch owners have experienced issues with screen scratches or dead pixels. To prevent scratches on the console’s screen, it is recommended to apply a screen protector as a preventive measure against damage. Using a high-quality screen protector can safeguard your Nintendo Switch screen from everyday wear and tear, keeping it in pristine condition for a longer period.
If scratches persist, sending the device to a reputable repair center like iFixScreens for evaluation may be necessary. Their expert technicians can assess the extent of the damage and provide appropriate solutions to restore the screen’s integrity. Professional evaluation and repair ensure that your Nintendo Switch screen receives the necessary attention and care it requires.
Dead pixels, while not considered a defect by Nintendo, can be frustrating for gamers. Dead pixels are individual pixels on the screen that do not function properly, resulting in small dots or spots that can be noticeable during gameplay.
To mitigate the problem of dead pixels, it is recommended to check your warranty coverage. Depending on the warranty terms, Nintendo or authorized service centers may provide assistance in resolving dead pixel issues, either by repairing or replacing the console. Alternatively, using undamaged external displays like TVs can bypass dead pixel visibility during gameplay.
Quick Tips: Preventing Scratches and Dead Pixels on the Nintendo Switch Screen
Apply a high-quality screen protector to prevent scratches.
Seek professional evaluation and repair if scratches persist.
Check warranty coverage for assistance with dead pixel issues.
Consider using undamaged external displays to mitigate dead pixel visibility.
Tips to Prevent Overheating and Warping of the Nintendo Switch Console
Overheating and warping are common issues reported by Nintendo Switch users. To prevent these problems, it is important to ensure proper ventilation by not blocking the device’s vents and considering the purchase of a cooling accessory designed specifically for the Nintendo Switch. Additionally, turning off the console when not in use can help mitigate overheating. By following these tips, you can extend the lifespan of your Nintendo Switch console and prevent potential hardware issues.
Proper Ventilation
One of the main causes of overheating in the Nintendo Switch console is improper ventilation. The console is designed with vents to release heat generated during gameplay. Blocking these vents can lead to heat buildup and potential damage to the console’s internal components.
Make sure to place your Nintendo Switch console in a well-ventilated area, away from any objects that may obstruct the airflow. Avoid using the console on surfaces such as carpets or blankets, which can restrict airflow. Consider using a dedicated stand or dock that allows for better air circulation around the console.
Regularly clean the vents of the console to remove any dust or debris that may accumulate over time. This will help maintain optimal airflow and prevent overheating.
Cooling Accessories
To further enhance the cooling capabilities of your Nintendo Switch console, you can invest in cooling accessories specifically designed for the device. These accessories, such as cooling stands or fans, help dissipate heat and keep the console at a lower temperature during intense gaming sessions.
Power Off When Not in Use
When you’re done playing your Nintendo Switch console, it is advisable to power it off completely instead of leaving it in standby mode. By turning off the console, you allow it to cool down fully and prevent any potential overheating issues.
Additionally, when transporting the console, make sure it is turned off and cooled down to avoid any thermal stress that could lead to warping or damage.
By following these tips and implementing proper ventilation, considering cooling accessories, and turning off the console when not in use, you can prevent overheating and warping of your Nintendo Switch console. Protecting your console from these issues will ensure a smoother gaming experience and prolong its lifespan.
Troubleshooting Switch Dock and HDMI Connectivity Issues
If you’re experiencing hardware problems or HDMI connectivity issues with your Nintendo Switch dock, don’t panic. There are several troubleshooting steps you can take to resolve the issue and get back to gaming seamlessly.
Check Your Connections
The first step is to ensure that all connections between your TV, Nintendo Switch, and dock are secure. Check that the HDMI cable is firmly plugged into both the dock and your TV. If the cable is loose or damaged, it may cause connectivity issues. Additionally, make sure that your dock is properly connected to a power source.
Test Different HDMI Ports
If your Nintendo Switch dock is still not connecting properly, try testing different HDMI ports on your TV. Sometimes, a specific HDMI port may have a problem, and switching to a different one can resolve the issue. Remember to select the corresponding HDMI input on your TV after connecting the dock.
Inspect the Cable for Damage
Inspect the HDMI cable for any visible signs of damage, such as frayed or bent connectors. If the cable is damaged, it’s best to replace it with a new one to ensure a stable connection between your Nintendo Switch and TV. Damaged cables can cause signal interference and result in connectivity issues.
Professional HDMI Port Replacement
If you’ve tried all the troubleshooting steps and the HDMI port on your Nintendo Switch is still non-functional, it may require professional repair services. iFixScreens is a reputable repair service provider that specializes in Nintendo Switch repair, including quick and efficient HDMI port replacements. They have skilled technicians who can diagnose and fix the issue promptly, ensuring your gaming experience is back on track.
Troubleshooting Steps for Switch Dock and HDMI Connectivity Issues
Troubleshooting Steps
Description
Check Your Connections
Ensure all connections between your TV, Nintendo Switch, and dock are secure.
Test Different HDMI Ports
Try connecting the dock to different HDMI ports on your TV to identify any port-specific issues.
Inspect the Cable for Damage
Examine the HDMI cable for any visible signs of damage and replace it if necessary.
Professional HDMI Port Replacement
If all else fails, seek professional repair services like iFixScreens for HDMI port replacement.
By following these troubleshooting steps and seeking expert assistance if needed, you can overcome Nintendo Switch dock and HDMI connectivity issues and enjoy uninterrupted gaming sessions. Remember to ensure secure connections, test different HDMI ports, inspect cables for damage, and rely on professional repair services when necessary.
Resolving Nintendo Switch Software and Game Cartridge Errors
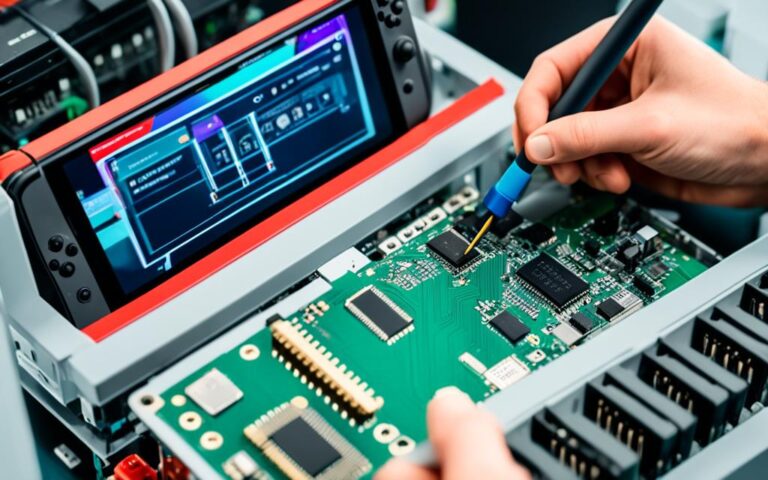
Nintendo Switch users may encounter software-related errors or problems with game cartridges. These issues can disrupt the gaming experience and prevent players from fully enjoying their Nintendo Switch console. However, there are troubleshooting steps that can be taken to resolve these errors and ensure a seamless gaming experience.
To address software errors, it is recommended to check for any available firmware updates. Nintendo regularly releases updates to fix bugs and improve system stability. Staying informed about these updates and installing them can help resolve known software issues.
When it comes to game cartridge errors, it is crucial to first remove the cartridge and inspect it for any visible damage or dirt. Dust or debris on the cartridge’s connectors can interfere with proper gameplay. Cleaning the connectors with a soft, lint-free cloth can help resolve minor issues.
After inspecting and cleaning the cartridge, firmly reinsert it into the Nintendo Switch slot. Sometimes, a loose connection can trigger errors or prevent the game from loading properly. Ensuring a secure and snug fit can often resolve these cartridge-related issues.
If the software errors or game cartridge issues persist after following these troubleshooting steps, it may be necessary to contact Nintendo Support for further assistance. They can provide additional guidance tailored to the specific problem or offer replacement options if the cartridge is found to be defective.
“Resolving software-related errors and game cartridge issues is essential to maintain a smooth gaming experience on the Nintendo Switch.”
It is worth noting that prevention is key to minimizing these errors. Properly storing game cartridges in their protective cases and keeping them away from extreme temperatures or moisture can help prevent damage and ensure their longevity. Furthermore, regularly backing up important saved game data can provide an extra layer of protection against potential data loss due to software errors.
By following these troubleshooting steps and adopting preventive measures, Nintendo Switch users can enjoy a glitch-free gaming experience and get the most out of their console.
Troubleshooting Summary:
Check for firmware updates and install them to address known software issues.
Inspect the game cartridge for visible damage or dirt.
Clean the cartridge’s connectors with a soft, lint-free cloth.
Firmly reinsert the cartridge into the Nintendo Switch slot.
Contact Nintendo Support for further assistance if the issues persist.
Software Errors
Game Cartridge Errors
Check for firmware updates
Inspect for visible damage
Install firmware updates
Clean connectors with a cloth
Reinsert cartridge firmly
Contact Nintendo Support if issues persist
Conclusion
Protecting your Nintendo Switch and ensuring a seamless gaming experience is crucial for every gamer. By implementing the discussed protective measures, you can safeguard your console from potential damage and extend its lifespan. Addressing Joy-Con connectivity issues is essential to maintain uninterrupted gameplay. Applying a screen protector and utilizing professional repair services can prevent scratches and dead pixels, ensuring pristine display quality. It is also important to troubleshoot software and hardware errors promptly to avoid gameplay interruptions.
Staying informed about firmware updates is key to resolving known issues and improving console performance. By taking advantage of professional repair services when needed, you can trust that your Nintendo Switch is in capable hands. Remember, the longevity of your console depends on the care and protective measures you employ. With these insights in mind, you can enjoy peace of mind gaming and fully immerse yourself in the world of Nintendo Switch.
FAQ
What are some protective measures for Nintendo Switch Joy-Con controllers?
To prevent connectivity issues, ensure there are no obstructions between the console and controllers, keep other electronic devices away from your gaming setup, update the controller’s software, and seek professional repair assistance if the issues persist.
How can I fix Nintendo Switch Joy-Con drifting?
You can try calibrating the controllers through the console settings menu and cleaning around the base of the affected analog stick with compressed air or a soft cloth. If repairs are impossible, consider contacting Nintendo Support or third-party repair solutions like iFixScreens.
What can I do to prevent scratches and dead pixels on the Nintendo Switch screen?
Apply a screen protector as a preventive measure against scratches. If scratches persist, consider sending the device to a repair center like iFixScreens. Dead pixels can be mitigated by checking warranty coverage and using undamaged external displays like TVs.
How do I prevent overheating and warping of the Nintendo Switch console?
Ensure proper ventilation by not blocking the console’s vents, consider purchasing a cooling accessory designed for the Nintendo Switch, and turn off the console when not in use to prevent overheating and warping.
What can I do to troubleshoot Switch Dock and HDMI connectivity issues?
Ensure all connections between your TV, Switch, and dock are secure, test various HDMI ports on your TV, and check for damages within the cable lines. If the HDMI port is damaged, professional repair services like iFixScreens can provide replacement options.
How can I resolve Nintendo Switch software and game cartridge errors?
Remove the cartridge and check for visible damage or dirt, reinsert the cartridge firmly into the Switch slot, and contact Nintendo Support or seek replacement options if issues persist. Stay informed about firmware updates as they can resolve known problems.
Welcome to our comprehensive guide on navigating Nintendo Switch firmware updates and repairs. As a dedicated Nintendo Switch owner, you know that staying up…