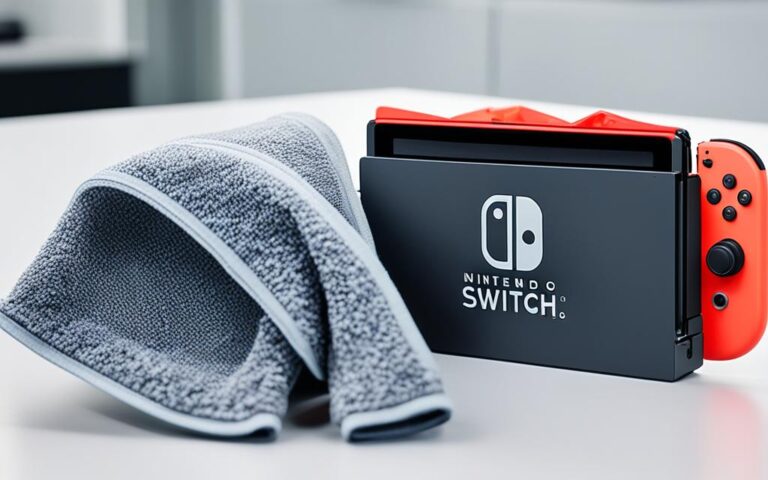
Welcome, UK enthusiasts, to our informative guide on crafting the ultimate Nintendo Switch Repair Workspace. Whether you’re a passionate gamer or a dedicated repair expert, having an efficient and organized setup is crucial for maintaining and repairing your beloved Nintendo Switch consoles. In this article, we will provide you with expert tips and guidance to help you design the perfect workspace tailored specifically to meet the needs of UK enthusiasts.
When it comes to Nintendo Switch repair, having a well-designed workspace is key to optimizing productivity and ensuring a smooth repair process. By following our expert advice, you can create a workspace that not only enhances your repair experience but also helps you work efficiently and effectively.
In the following sections, we will cover everything from assessing your space and equipment needs, to creating an ergonomic and comfortable setup, and organizing your tools and supplies for easy access. We will also provide valuable insights into storage solutions and the importance of having a labeling system in place. By implementing these tips, you can create an efficient workspace that will streamline your repair process and make your life as a UK Nintendo Switch enthusiast much easier.
Stay tuned as we take you through the essential steps to craft the ultimate Nintendo Switch Repair Workspace. Let’s get started!
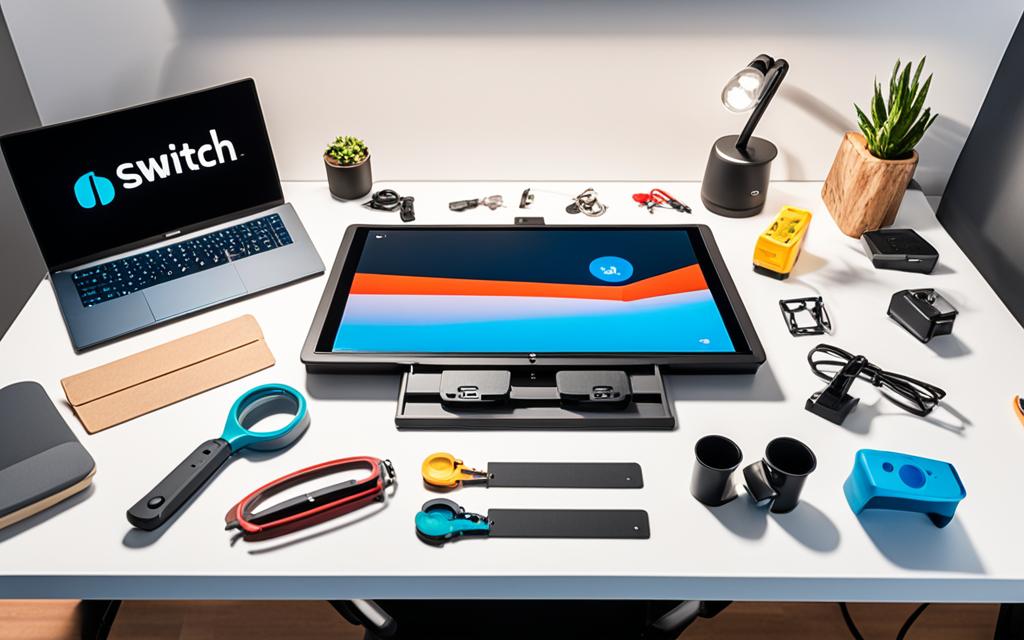
Assessing Your Space and Equipment Needs
Before setting up your Nintendo Switch Repair Workspace, it is important to assess your space and equipment needs. By carefully considering these factors, you can create a workspace that is both functional and efficient in meeting your repair requirements.
Space Requirements
Begin by determining the amount of space available for your Nintendo Switch Repair Workspace. This will help you plan and organize your equipment and tools effectively. Whether you have a small corner or a dedicated room, optimizing the available space will contribute to a more streamlined repair process.
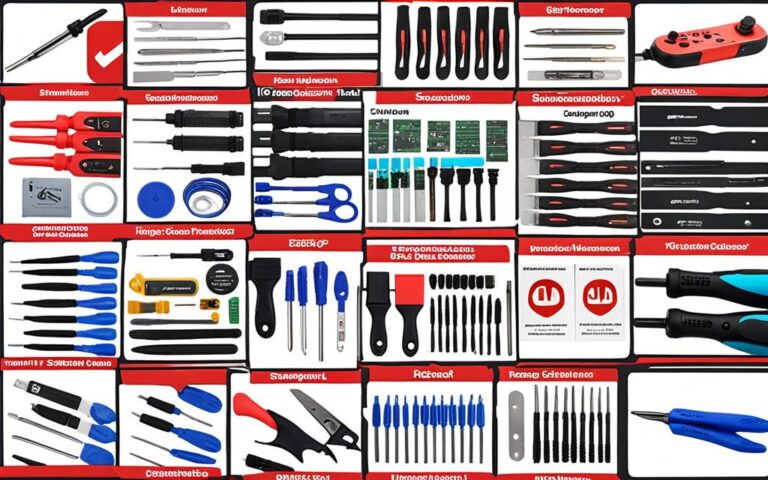
Next, identify the essential equipment required for repairing Nintendo Switch consoles. These may include screwdrivers, tweezers, a soldering iron, and other specialized tools. Having the right equipment on-hand will ensure that you can confidently tackle any repair task that comes your way.
Storage Solutions
Keeping your tools and spare parts organized is key to maintaining an efficient workspace. Explore different storage solutions such as toolboxes, cabinets, or wall-mounted shelves to keep everything neatly arranged and easily accessible. With proper storage, you can prevent clutter and save time by quickly locating the tools and parts you need.
Remember, an organized workspace not only enhances your repair process but also promotes productivity and efficiency.
Consider implementing a labeling system as well, where each tool and component is clearly labeled. This makes it easier to find specific items quickly, avoiding unnecessary time spent searching for the right tool.
By assessing your space and equipment needs and investing in effective storage solutions, you can create a well-functioning Nintendo Switch Repair Workspace. With everything in its place and easy to find, you’ll be able to focus on what you do best – repairing and maintaining these beloved consoles.
Creating an Ergonomic and Comfortable Setup
Creating an ergonomic and comfortable setup is crucial to prevent strain and fatigue during long repair sessions. To ensure a pleasant and productive working environment, it’s important to consider the following factors:
Ergonomic Design
When setting up your Nintendo Switch Repair Workspace, prioritize ergonomic design. Invest in a comfortable chair that provides adequate support for your back and promotes proper posture. Choose a chair with adjustable height and lumbar support to reduce the risk of discomfort or back pain. Additionally, opt for a desk that allows you to maintain a neutral position for your arms and wrists while working.
Proper lighting is also essential for ergonomic design. Ensure that your workspace is well-lit to reduce eye strain and improve visibility during repair tasks. Consider using task lighting directed towards your workspace and position your desk near a natural light source if possible.
Comfortable Workspace
A comfortable workspace promotes focus and productivity. Arrange your tools, components, and equipment in a way that allows easy access and minimizes reaching or stretching during repairs. Use storage solutions such as drawers or shelves to keep your workspace organized and clutter-free. A tidy workspace not only improves efficiency but also reduces the likelihood of accidents or misplaced tools.
Proper Lighting
Proper lighting is vital for a comfortable and effective Nintendo Switch Repair Workspace. In addition to ambient lighting, invest in task lighting to illuminate your work area adequately. Adjustable desk lamps or LED lights with adjustable brightness are convenient options to consider. Position the lighting sources in a way that minimizes shadows and allows you to clearly see the details of your repairs.
By prioritizing ergonomic design, maintaining a comfortable workspace, and ensuring proper lighting, you can create an environment that enhances your repair experience and reduces the risk of physical discomfort. Now that you have established the foundation of your Nintendo Switch Repair Workspace, let’s move on to organizing your tools and supplies for optimal efficiency.
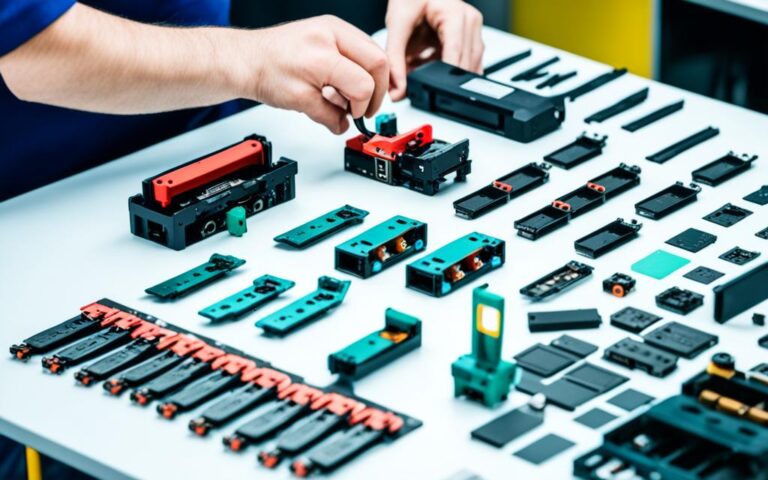
Organizing Tools and Supplies
Proper organization of tools and supplies is essential for an efficient Nintendo Switch Repair Workspace. When it comes to tool organization, investing in suitable storage solutions is key. Consider using toolboxes or tool cabinets that can accommodate your tools and keep them organized and easily accessible.
By utilizing storage solutions tailored to your needs, you can ensure that your tools are stored neatly and ready for use whenever you need them. Having a designated space for each tool not only saves time by preventing the need for extensive searching but also helps maintain the longevity of your tools by protecting them from damage.
One effective way to further streamline your organization system is by implementing a labeling system. With a labeling system, you can categorize and identify each tool and component, creating a streamlined workflow and minimizing the time spent locating specific items.
Labeling can be as simple as using adhesive labels or tape with clear and concise descriptions of each tool. You can also consider color-coding your labels for better visual identification. By adopting a systematic labeling approach, you can optimize your tool organization and enhance efficiency in your Nintendo Switch repair process.
Benefits of Tool Organization and Labeling System:
Streamlined Workflow: An organized workspace enables quick and easy access to tools, reducing the time spent searching for specific items and enhancing overall efficiency in the repair process.
Prevention of Tool Damage: Proper storage solutions protect tools from damage caused by improper handling or exposure to external elements, ensuring their longevity and reliability.
Enhanced Productivity: With tools neatly organized and labeled, you can complete repairs more efficiently, allowing you to work on multiple projects or tasks without unnecessary delays.
Reduced Potential for Errors: A labeling system ensures that each tool is clearly identified, minimizing the risk of using incorrect tools or components during the repair process.
To visualize the benefits of tool organization and labeling, take a look at the following table highlighting the positive impact of implementing these practices:
Benefits
Description
Streamlined Workflow
Quick and easy access to tools reduces search time.
Prevention of Tool Damage
Protects tools from damage, ensuring their longevity.
Enhanced Productivity
Completing repairs efficiently allows for increased productivity.
Reduced Potential for Errors
Clear identification of tools minimizes the risk of errors.
By implementing effective tool organization and utilizing a labeling system, you can transform your Nintendo Switch Repair Workspace into a well-structured, efficient, and streamlined environment. The adoption of these practices will not only optimize your repair process but also contribute to a more enjoyable and productive repairing experience.
Conclusion
Creating the perfect Nintendo Switch Repair Workspace is essential for UK enthusiasts dedicated to repairing and maintaining their consoles. By considering your space and equipment needs, designing an ergonomic setup, and organizing tools and supplies effectively, you can streamline your repair process, boost productivity, and ensure a seamless workflow.
Assessing your available space and investing in the necessary equipment sets the foundation for a successful workspace. Ensure you have the right tools, such as screwdrivers and tweezers, and explore storage solutions to keep everything organized and easily accessible.
Additionally, prioritize ergonomics and comfort in your setup. Invest in a comfortable chair, proper desk height, and adequate lighting to prevent strain and fatigue during long repair sessions. Adjustable monitor stands and task lighting can help optimize your posture and reduce eye strain.
Don’t underestimate the importance of tool and supply organization. Utilize storage solutions like toolboxes or cabinets and implement a labeling system to categorize and identify each item. This will save you valuable time and prevent frustrating searches for specific tools or components.
By following these expert tips and creating an efficient and organized Nintendo Switch Repair Workspace, you can maximize your repair efficiency, enhance your overall experience, and stay on top of all your console maintenance needs.
FAQ
Why is creating an efficient and organized workspace important for Nintendo Switch repair enthusiasts?
Creating an efficient and organized workspace is crucial to ensure a smooth repair process and optimize productivity for enthusiasts serious about repairing and maintaining their Nintendo Switch consoles.
How can I assess my space and equipment needs for a Nintendo Switch repair workspace?
Before setting up your workspace, evaluate the available space and determine the essential equipment required for repair, such as screwdrivers, tweezers, and a soldering iron. Additionally, explore storage solutions to keep your tools and spare parts organized and easily accessible.
What should I consider when creating an ergonomic and comfortable setup for my Nintendo Switch repair workspace?
It is important to ensure that your workspace is ergonomically designed with a comfortable chair, appropriate desk height, and proper lighting. Consider investing in an adjustable monitor stand to prevent neck and eye strain, and use task lighting to effectively illuminate your workspace.
How can I organize my tools and supplies in my Nintendo Switch repair workspace?
Invest in storage solutions such as toolboxes or tool cabinets to accommodate your tools. Implement a labeling system to categorize and identify each tool and component, making them easily accessible and preventing time-consuming searches for specific items.
Why is designing the ultimate Nintendo Switch repair workspace important for UK enthusiasts?
Designing the ultimate Nintendo Switch repair workspace is crucial for UK enthusiasts who are passionate about repairing and maintaining their consoles. By assessing space and equipment needs, creating an ergonomic setup, and organizing tools and supplies effectively, enthusiasts can optimize their repair process, enhance productivity, and ensure a smooth and efficient workflow.
The Nintendo Switch, a popular gaming console, has a significant environmental impact due to the raw materials used in its production. The extraction and…
Maintaining your Nintendo Switch is crucial for avoiding the need for costly repairs and ensuring a seamless gaming experience. By following these preventive maintenance…