3. Console Repair Techniques: How to Fix Your Gaming Console
Gaming consoles have become an integral part of our lives, offering not just entertainment but also a way to unwind and even socialize. But what happens when your trusty console starts acting up? Before you consider throwing it out or spending a fortune on professional repairs, why not try fixing it yourself? This article aims to be your ultimate guide on Console Repair Techniques: How to Fix Your Gaming Console. We’ll walk you through various issues, their solutions, and safety precautions to take. So grab your toolkit; we’re diving into the nitty-gritty of console repair!
I apologize for the oversight. Here’s just the first section focusing on “Why Repair Your Own Console?” under the main topic “Console Repair Techniques: How to Fix Your Gaming Console.
Why Repair Your Own Console?
Fixing your own gaming console isn’t just about saving a few bucks, although that’s a nice perk. It’s about the satisfaction of solving a problem with your own two hands. Plus, you’ll gain valuable skills that could come in handy down the line. Who knows, you might even become the go-to console repair guru in your friend circle!
Imagine this: you’re in the middle of a nail-biting match, and suddenly your console decides to take a nap. Frustrating, right? Now, you could either send it off for repairs and wait impatiently, or you could roll up your sleeves and fix it yourself. The latter not only saves you time but also gives you a sense of accomplishment. Trust us; fixing your own console is like hitting a game-winning home run—utterly satisfying!
The Cost Factor
Let’s talk turkey. Repair services can be expensive, especially for out-of-warranty consoles. By taking the DIY route, you can save a significant amount of money. All you need are some basic tools and a can-do attitude. And let’s be honest, who doesn’t love a good bargain?
Skill-Building
Apart from saving money, repairing your own console helps you acquire new skills. You’ll learn about the inner workings of your gaming machine, from the motherboard to the cooling fan. This knowledge is not only fascinating but also incredibly useful for future troubleshooting.
Related:


The Joy of DIY
There’s something incredibly rewarding about fixing things yourself. It’s like solving a complex puzzle, where each piece is a step closer to making your console as good as new. The sense of achievement you’ll feel is comparable to beating a challenging level or achieving a high score. It’s a win-win situation!
How to Fix Your Gaming Console: Understanding the Basics
Before you start unscrewing things, it’s crucial to understand what you’re getting into. You wouldn’t jump into a swimming pool without knowing how to swim, would you? The same logic applies to console repair. Knowing the basics can save you from turning a minor issue into a major disaster.
Types of Gaming Consoles
The first thing to consider is the type of console you’re dealing with. Whether you’re a PlayStation fan, an Xbox enthusiast, or a Nintendo aficionado, each console has its unique architecture and potential issues. Knowing the specifics of your console can guide you in the right direction when troubleshooting.
Common Problems
Consoles, like any other electronic device, have a set of common problems that you might encounter. These range from software glitches to hardware failures. Being aware of these issues can help you diagnose the problem more accurately. For instance, if your console is overheating, the issue might be with the cooling system, and you’ll know where to start your repair.
Safety First
Before you dive into the repair, it’s essential to take some safety precautions. Make sure your console is unplugged and that you’re working in a well-ventilated area. Use anti-static wristbands to prevent any electrical discharge that could damage the console’s sensitive components. Safety should always be your top priority.
By understanding these basics, you’re laying a strong foundation for a successful repair job. You’ll be better equipped to tackle the problem head-on, armed with the knowledge you need to get your console back in the game.
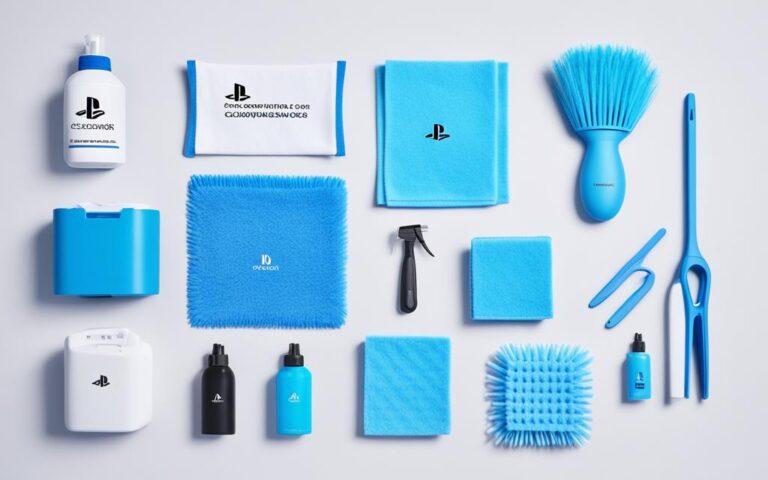
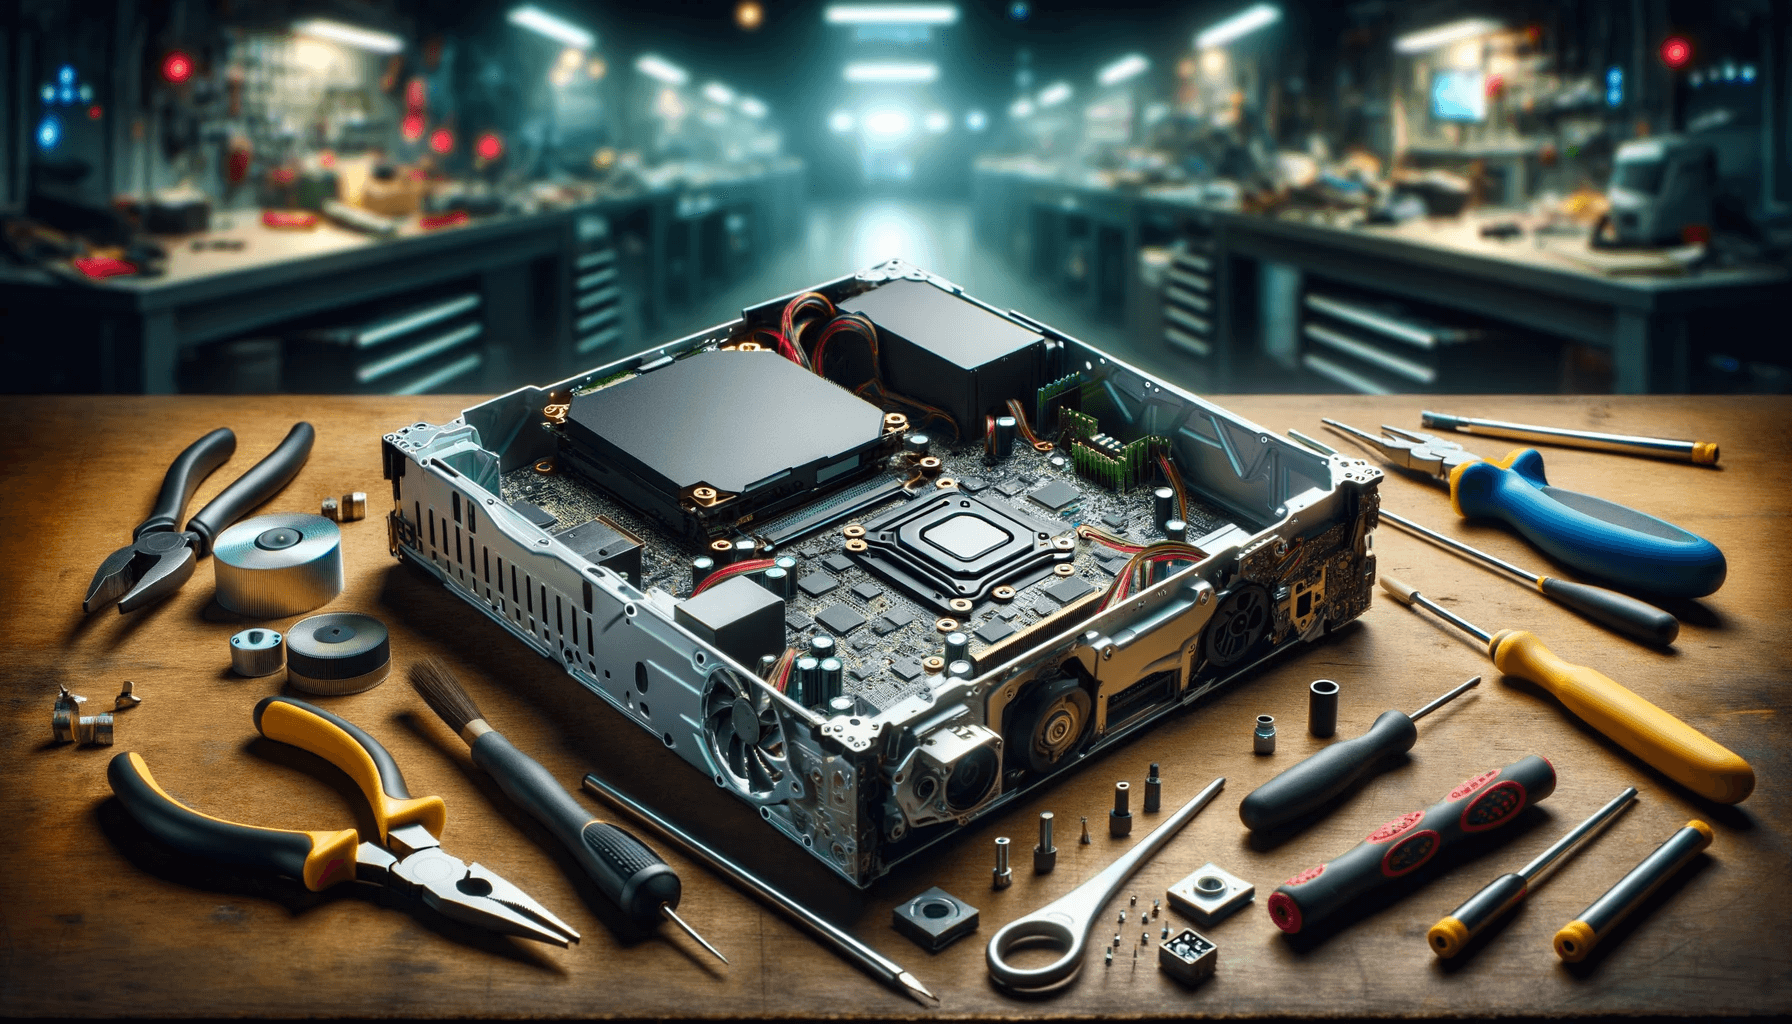
How to Fix Your Gaming Console: Essential Tools for Console Repair
You wouldn’t go to battle without your armor, and the same goes for console repair. Having the right tools can make the difference between a successful repair and a botched job. Here’s a rundown of the essential tools you’ll need to get your console back in action.
Screwdrivers
Different consoles require different types of screwdrivers. For instance, a PlayStation might require a Phillips head, while an Xbox could need a Torx. Make sure you have a set of screwdrivers that cater to various needs. A magnetic tip can be a lifesaver for keeping track of those tiny screws.
Thermal Paste
If your console is overheating, chances are the thermal paste needs replacing. This compound improves heat conduction between the CPU and the heatsink. It’s a small but crucial component in keeping your console cool.
Compressed Air
Dust can be a console’s worst enemy. A can of compressed air can help you clean out dust and debris from the console’s interior, especially the fan and cooling system. It’s like giving your console a breath of fresh air!
Anti-Static Wristband
As mentioned in the safety section, static electricity can be harmful to your console’s components. An anti-static wristband helps to ground you, reducing the risk of damaging sensitive parts.
Tweezers and Spudgers
Sometimes, you’ll need to handle small or delicate parts that your fingers just can’t grasp. That’s where tweezers and spudgers come in handy. They can help you navigate the intricate landscape inside your console.
Having the right tools not only makes the repair process smoother but also increases your chances of success. So before you dive into fixing your console, make sure your toolkit is up to par.
Pre-Repair Steps
Before you start tinkering with your console’s internals, there are some preliminary steps you should take. These steps ensure that you’re fully prepared for the repair process and can help prevent further issues down the line.
Backup Your Data
The first and foremost step is to backup your game data and any other important files. The last thing you want is to lose your progress in a game you’ve been grinding for months. Most consoles offer cloud storage options, so make sure to utilize that.
Check the Warranty
If your console is still under warranty, you might want to think twice before opening it up. Doing so could void the warranty, leaving you on your own for any future issues. If it’s out of warranty, then you’re good to go!
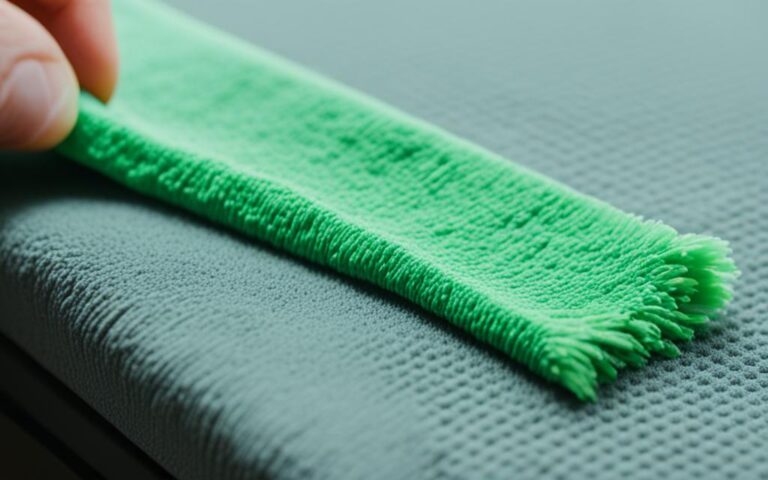
Clean the Exterior
Before opening up your console, give it a good clean on the outside. Dust and debris can easily get inside while you’re working, so it’s best to start with a clean slate.
Gather Your Tools
You’ve already read about the essential tools you’ll need. Now’s the time to gather them all in one place. Make sure everything is within arm’s reach to make the process as smooth as possible.
Set Up a Clean Workspace
Ensure you have a clean, well-lit workspace to carry out the repair. A cluttered or dark area can lead to mistakes or lost parts, so take the time to set up a suitable environment.
By taking these pre-repair steps, you’re setting yourself up for a successful repair job. You’ll be less likely to encounter hiccups along the way, making the process smoother and more efficient.
How to Fix Your Gaming Console: Opening the Console
So, you’ve got your tools ready, your workspace is set, and you’re mentally prepared to dive into the guts of your gaming console repair. But wait! Opening the console is a delicate operation that requires attention to detail. Here’s how to do it right.
Identifying Screws and Clips
Different consoles have different types of screws and clips holding them together. Before you start, take a moment to identify these. Some might be hidden under stickers or rubber feet, so be thorough in your inspection.
Gently Pry Open the Case
Once all screws are removed, gently pry open the case using a spudger or a flat-head screwdriver. Be cautious not to apply too much force as you could break the plastic clips that also help hold the case together.
Mind the Ribbon Cables
As you open the case, you’ll likely encounter ribbon cables connected to different components. These are delicate and can be easily damaged. Make sure to disconnect them carefully.
Take Photos for Reference
It’s easy to forget how everything fits back together. Take photos at each step of the disassembly process. These will serve as your guide when it’s time to reassemble the console.
Keep Track of All Parts
As you remove screws, clips, and other parts, keep them organized. Use a small container or a magnetic mat to hold these tiny but crucial components.
For more detailed guidance on opening electronic devices safely, you can refer to this comprehensive guide on best practices for electronic repair.
By following these steps, you’ll ensure that your console is opened safely and efficiently, setting the stage for a successful repair job.
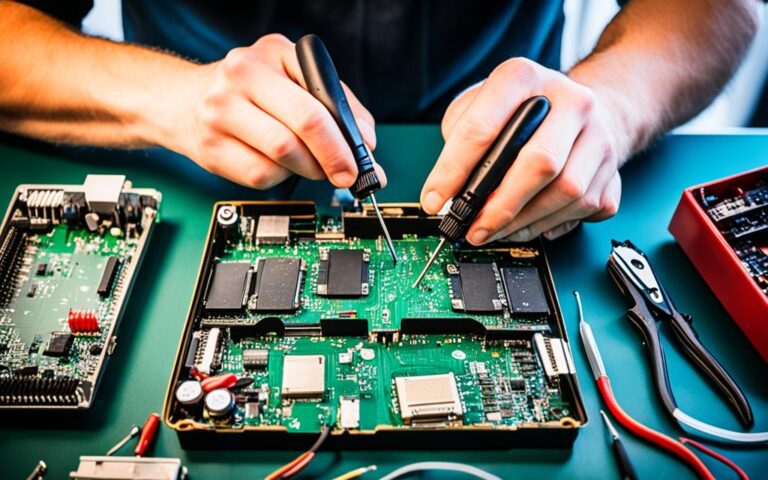
Inspecting the Hardware
Now that you’ve successfully opened your console, it’s time to play detective. Inspecting the hardware is a crucial step in identifying the root cause of the issue you’re facing. Here’s how to go about it.
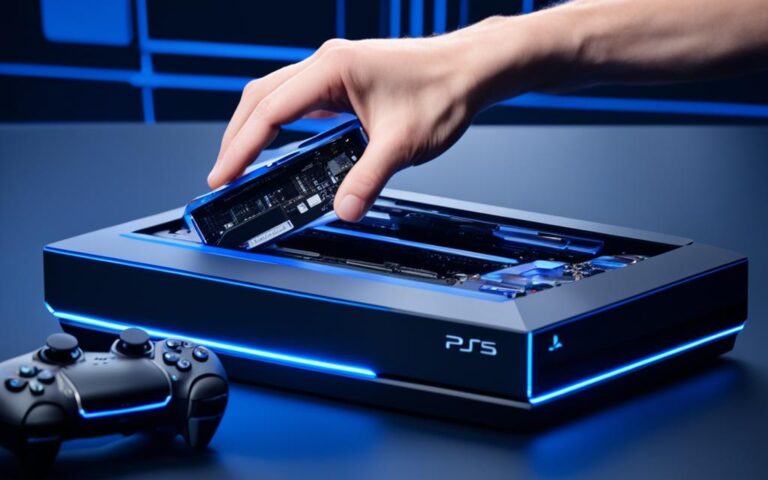
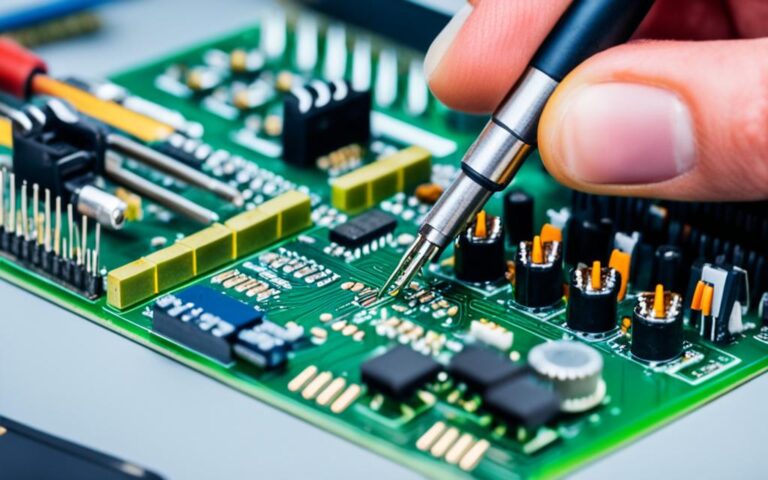
Motherboard Inspection
The motherboard is the heart of your console, hosting the CPU, RAM, and other essential components. Look for any signs of physical damage, such as burns or broken capacitors. A damaged motherboard could mean it’s time for a replacement.
Fan and Cooling System
Overheating is a common issue in gaming consoles. Inspect the fan and the cooling system for dust buildup or any signs of wear and tear. A malfunctioning fan could lead to overheating and, in turn, other hardware failures.
Power Supply Unit
If your console isn’t turning on, the power supply unit (PSU) is the first place to check. Ensure that it’s properly connected and look for any signs of damage. A faulty PSU will need to be replaced.
Hard Drive
The hard drive stores all your game data, so it’s crucial to ensure it’s in good condition. Listen for any unusual noises like clicking or grinding, as these are signs of a failing hard drive.
Optical Drive
If you’re facing issues with game discs not being read, inspect the optical drive. Check for any obstructions or dirt that might be affecting its performance.
Connectors and Ports
Don’t forget to check all the connectors and ports. Damaged HDMI or USB ports can cause connectivity issues, affecting your gaming experience.
By thoroughly inspecting the hardware, you’ll be better equipped to identify the problem and proceed with the appropriate repair steps. Remember, a good repair job starts with a good inspection.
How to Fix Your Gaming Console: Common Repair Techniques
You’ve opened your console and inspected the hardware. Now comes the fun part—actually fixing the problem. Here are some common repair techniques that can help you get your console back in tip-top shape.
Replacing Thermal Paste
If your console is overheating, one of the first things to consider is replacing the thermal paste. This compound improves heat conduction and can significantly lower temperatures. It’s a simple yet effective fix for overheating issues.
Cleaning the Fan
A dusty fan can severely impact your console’s ability to cool itself. Use a can of compressed air to clean out the fan and surrounding areas. Make sure the fan spins freely after cleaning.
Hard Drive Replacement
If your hard drive is making strange noises or you’re experiencing frequent crashes, it might be time for a replacement. Make sure to backup all your data before proceeding with this step.
Software Reset
Sometimes, the issue isn’t with the hardware but the software. Performing a factory reset can resolve various glitches and bugs. However, this will erase all your data, so proceed with caution.
Replacing Power Supply Unit
If your console isn’t turning on, and you’ve determined that the power supply unit is faulty, a replacement is in order. Make sure to purchase a unit that’s compatible with your specific console model.
Optical Drive Cleaning or Replacement
If your console is having trouble reading discs, try cleaning the optical drive first. If the issue persists, you might need to replace the drive.
By familiarizing yourself with these common repair techniques, you’ll be well-equipped to tackle most issues that come your way. Remember, always turn off and unplug your console before performing any repairs.
Software Troubleshooting
Not all console issues are hardware-related. Sometimes, the culprit is a software glitch or a corrupted file. In such cases, hardware repairs won’t solve the problem. Here’s how to troubleshoot software issues on your gaming console.
Check for Updates
Outdated software can lead to a host of issues, including crashes and poor performance. Make sure your console’s operating system and games are up to date. Most consoles have an option to check for updates in the settings menu.
Clear Cache
Over time, your console accumulates temporary files that can slow down performance or cause glitches. Clearing the cache can often resolve these issues. The process varies between consoles, so consult your user manual for specific instructions.
Safe Mode
Most consoles have a safe mode that allows you to troubleshoot software issues without loading any third-party software. This is a useful tool for isolating problems and performing basic fixes like database rebuilding or restoring default settings.
Factory Reset
As a last resort, you can perform a factory reset. This will erase all data and restore your console to its original settings. Make sure to backup your data before taking this step, as it’s irreversible.
Consult Online Forums
If you’re stumped, there’s a good chance someone else has faced the same issue. Online forums and communities can be a treasure trove of information and solutions for software-related problems.
By following these software troubleshooting steps, you can resolve a wide range of issues without even touching a screwdriver. However, remember that some software fixes will erase your data, so proceed with caution.
Testing Your Repairs
Congratulations, you’ve made it through the repair process! But before you jump back into your favorite game, it’s crucial to test your console to ensure that the issue has been resolved. Here’s how to go about it.
Performance Testing
Once you’ve completed the repairs, turn on your console and observe its performance. Is it running smoother? Are the previous issues resolved? If not, you may need to revisit the repair steps.
Benchmark Tests
Some consoles and games have built-in benchmark tests that can help you assess the system’s performance. Run these tests to ensure that all components are functioning as they should.
Heat Monitoring
If overheating was an issue, keep an eye on the console’s temperature. Many consoles have built-in temperature monitors in the settings menu. Alternatively, you can use external software to monitor heat levels.
Audio and Video Checks
Don’t forget to check the audio and video output. Make sure the picture is clear and the sound is crisp. Any anomalies could indicate a lingering issue.
Game Testing
Finally, the best way to test your console is by doing what it’s made for—gaming! Load up a game and play for a while to ensure that all issues have been resolved.
Long-Term Monitoring
Even after successful initial tests, keep an eye on your console for the next few days. Sometimes issues can reappear after a short period.
By thoroughly testing your console after repairs, you’ll ensure that the problem has been effectively resolved. It’s the final but crucial step in the repair process, giving you peace of mind as you dive back into your gaming adventures.
When to Seek Professional Help
While DIY repairs can be rewarding and cost-effective, there are times when it’s best to seek professional help. Here are some scenarios where consulting an expert is the wisest course of action.
Complex Hardware Issues
If you’re dealing with complex hardware issues like a damaged motherboard or GPU, it’s best to consult a professional. These components are delicate and expensive to replace, so it’s not worth risking further damage.
Data Recovery
If you’re facing data loss or corrupted files that you can’t recover, a professional service may be able to assist. They have specialized tools and expertise to handle such sensitive issues.
Recurring Problems
If you’ve attempted repairs but the issue keeps recurring, it’s a sign that the problem might be more complicated than it appears. In such cases, professional diagnosis and repair are advisable.
Warranty Concerns
If your console is still under warranty, it’s generally best to seek professional repair services. DIY repairs can void your warranty, leaving you without support for future issues.
Lack of Expertise
Let’s face it, not everyone is cut out for DIY repairs. If you’re not comfortable opening up your console or lack the necessary skills, there’s no shame in seeking professional help.
Time Constraints
Sometimes, you just don’t have the time to troubleshoot and repair your console. Professional services can often provide quicker solutions, allowing you to get back to gaming sooner.
While DIY repairs have their merits, knowing when to seek professional help can save you time, money, and a lot of headaches. It’s all about assessing the situation and making an informed decision.
Conclusion and Final Thoughts
You’ve made it to the end of this comprehensive guide on Console Repair Techniques: How to Fix Your Gaming Console. Whether you’re a seasoned techie or a complete novice, we hope this guide has equipped you with the knowledge and confidence to tackle console repairs.
Empowerment Through Knowledge
The aim of this guide is to empower you through knowledge. Understanding the basics, having the right tools, and knowing when to seek professional help are all crucial elements in the repair process.
Safety First, Always
Remember, safety should always be your top priority. From unplugging your console to using an anti-static wristband, taking the right precautions can prevent accidents and damage.
The Joy of DIY
There’s something incredibly satisfying about fixing something with your own two hands. The sense of accomplishment is akin to beating a challenging game level, and it’s a feeling we hope you’ll experience.
Never Stop Learning
The world of console repair is ever-evolving, with new models and technologies appearing regularly. Keep yourself updated, and don’t hesitate to dive into online forums and communities for the latest tips and tricks.
Game On!
At the end of the day, the goal is to get back to what consoles are made for—gaming! So grab your controller, power up your newly repaired console, and may your frame rates be high and your in-game enemies eternally befuddled.