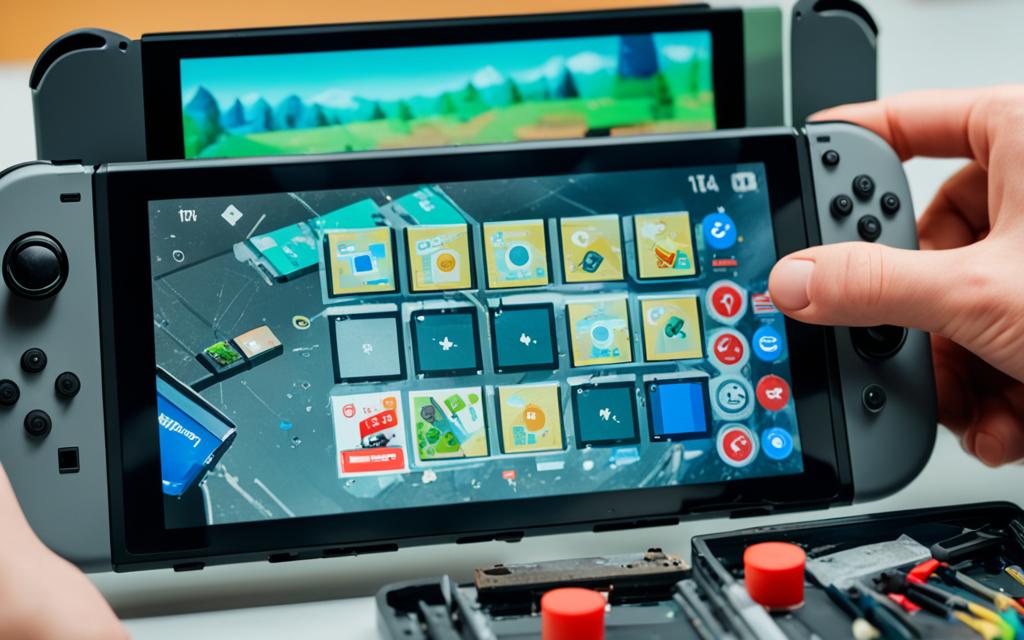
Welcome to our comprehensive step-by-step guide on repairing the screen of your Nintendo Switch. Whether you’ve encountered a cracked display or unresponsive touch functionality, this guide will help you navigate through the repair process with ease. By following our detailed instructions and using the right tools, you can restore your Nintendo Switch to its full glory. Let’s dive in!
Before we begin, it’s essential to ensure that your Nintendo Switch is completely powered off. This can be done by holding down the small round button on the back of the Joy-Con controller and sliding it upwards to remove it from the console.
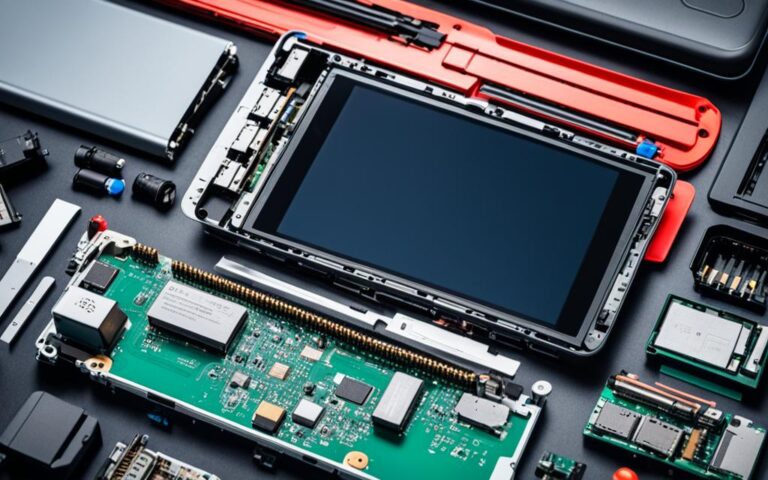
Throughout this guide, we’ll cover various aspects of the repair process, including removing the rear panel, disconnecting cables, and safely lifting off the screen assembly. Each step has been meticulously crafted to ensure a successful repair.
Repairing your Nintendo Switch screen may sound daunting, but with our detailed instructions and some patience, you’ll be able to bring your device back to life. Ready to get started? Let’s begin with Section 2: “Tools Needed for Nintendo Switch Screen Repair” and gather all the necessary tools for the job.
Tools Needed for Nintendo Switch Screen Repair
To carry out a Nintendo Switch screen repair, several essential tools are required. These tools play a crucial role in successfully replacing a damaged screen without causing any additional harm to the device. It is highly recommended to use high-quality tools that are specifically designed for this repair process.
Tools:
Y00 screwdriver
JIS 000 driver or an iFixit PH 000 driver
Spudger or opening tool
Tweezers
Suction cup
The Y00 screwdriver is used to remove the screws securing the Nintendo Switch together. The JIS 000 driver or the iFixit PH 000 driver is necessary for handling smaller screws and connectors during the repair process. A spudger or opening tool is crucial for prying open connectors and separating components without causing damage. Tweezers come in handy for handling small parts and connectors, ensuring precision during disassembly and reassembly. Lastly, a suction cup is used to lift off the screen assembly without leaving any residue or causing any pressure on the screen.
Using the right tools for a Nintendo Switch screen repair minimizes the risk of causing further damage and ensures a successful repair outcome. Invest in high-quality tools to carry out the repair process with confidence and precision.
The image above shows the essential tools needed for a Nintendo Switch screen repair. These tools are indispensable for effectively removing screws, prying open connectors, and safely lifting off the screen assembly.
Removing the Rear Panel for Nintendo Switch Screen Repair
The first step in a Nintendo Switch screen repair is to remove the rear panel of the device. This crucial step provides access to the internal components necessary for the repair process. Here’s a step-by-step guide on how to remove the rear panel:
Power off the Nintendo Switch and ensure that it is completely powered down.
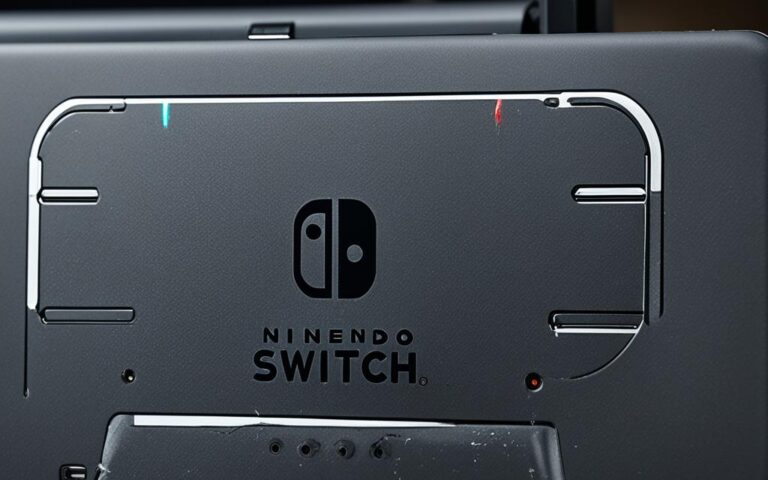
Flip the console over to access the backside.
Locate the screws positioned on the top, bottom, and sides of the device.
Using the correct screwdriver, carefully remove each screw and set them aside in a safe place.
Once all screws have been removed, gently lift off the rear panel, being mindful of any cables that may still be connected.
Take note of the position of each screw, as they need to be reinstalled in the same locations during reassembly.
With the rear panel successfully removed, you can now proceed with the remaining steps to repair the Nintendo Switch screen.
Note: It’s important to handle the device and its components with care to prevent any accidental damage or further complications.
Image depicting the removal of the rear panel during a Nintendo Switch screen repair.
Removing the MicroSD Card Reader and Shield Plate
In order to successfully remove the screen assembly of the Nintendo Switch for repair, it is necessary to remove the microSD card reader and shield plate. This process involves a few steps, including removing screws and carefully disconnecting the microSD card reader from the device.
Removing the MicroSD Card Reader
The microSD card reader is a crucial component that needs to be detached before accessing the screen assembly. Follow these steps to remove the microSD card reader:
Using a screwdriver, carefully remove the screws securing the microSD card reader in place.
Gently disconnect the microSD card reader from the device by unplugging the corresponding connector.
Removing the Shield Plate
Once the microSD card reader has been removed, the shield plate needs to be detached to gain access to the screen assembly. Here’s how to remove the shield plate:
Locate the screws securing the shield plate and use a screwdriver to remove them.
Carefully lift off the shield plate, ensuring not to damage any surrounding components.
During reassembly, it is important to ensure that the press connector underneath the foam pad is firmly connected to the motherboard. Additionally, make sure to keep track of the screws removed from both the microSD card reader and shield plate for easy reinstallation.
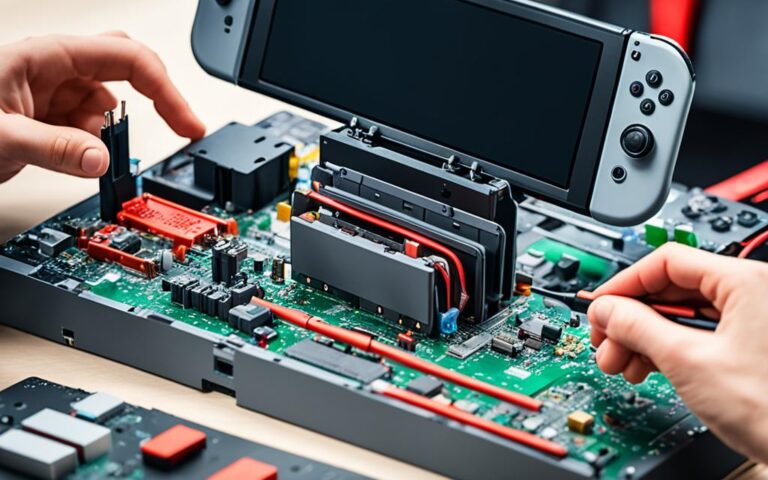
Removing the Heat Sink and Battery Connector
Removing the heat sink and battery connector is an essential step in the Nintendo Switch screen repair process. By following the instructions below, users can safely detach these components to proceed with the screen assembly removal.
Step 1: Removing Screws
Begin by locating and removing the screws that secure the heat sink in place. These screws may vary in number depending on the model, so consult the device’s manual or a trusted online resource for the exact number and placement.
Step 2: Disconnecting the Battery Connector
Next, carefully disconnect the battery connector from the motherboard. This is crucial to avoid any potential damage to the device. Ensure that you release the connector gently, using a spudger or a similar tool to separate the connector from its socket.
Note: Take extra care when handling the battery connector to prevent any accidental damage or disconnection of other components.
Step 3: Removing the Heat Sink
As the heat sink is bonded to the CPU with thermal paste, there may be some resistance when lifting it off. Apply gentle pressure and wiggle it slightly to loosen the bond. Once released, carefully lift the heat sink away from the CPU, ensuring not to damage any surrounding components.
It is important to clean off the old thermal paste from the CPU and the heat sink using isopropyl alcohol and a lint-free cloth. Afterward, apply a thin, even layer of new thermal paste to the CPU surface before reassembling the heat sink.
Disconnecting and Removing the LCD Ribbon Cables
To completely lift off the screen assembly of your Nintendo Switch during a repair, it is necessary to disconnect and remove the LCD ribbon cables. This step ensures proper separation of the screen from the motherboard and other components. Carefully following these instructions will help you successfully complete this crucial part of the repair process.
Here is a step-by-step guide on how to disconnect and remove the LCD ribbon cables:
Locate the ZIF connectors on the motherboard where the LCD ribbon cables are attached.
Identify the small locking flaps on the ZIF connectors. These flaps can be flipped up.
Using your fingernail or a plastic opening tool, gently flip up the small locking flaps without applying excessive force.
Once the flaps are flipped up, carefully pull the ribbon cables out of their connectors.
Ensure that you pull the ribbon cables straight out and avoid any twisting or bending.
Properly disconnecting and removing the LCD ribbon cables is crucial for the successful removal of the screen assembly. Mishandling the cables or not disconnecting them appropriately can result in damage to the touchscreen functionality.
When reassembling the Nintendo Switch after the screen repair, make sure to reconnect the LCD ribbon cables securely into their respective connectors. Remember to gently push each cable into place and ensure they are fully inserted before locking the small flaps back down.
Reconnecting the LCD ribbon cables is an essential step to ensure the proper functioning of the touchscreen on your Nintendo Switch. Taking the time to connect them accurately will help prevent any issues or malfunctions in the future.
Continue reading to learn how to remove the screen assembly and adhesive in the next section.
Removing the Screen Assembly and Adhesive
Once all the necessary components and connectors have been disconnected, the next step in the Nintendo Switch screen repair process is to remove the screen assembly. This requires the careful application of heat to soften the adhesive that holds the LCD panel to the digitizer.
To begin, you’ll need to gather the following tools:
A heat gun or hairdryer
A suction cup
Opening picks or guitar picks
To start, apply heat to the edges of the screen assembly. This will help to loosen the adhesive and make it easier to remove the screen. Be careful not to overheat the device and avoid direct contact between the heat source and the screen assembly.
Once the adhesive is warm and soft, use the suction cup to create a gap between the screen assembly and the device. Place the suction cup near the edge of the screen and gently pull upwards to create the gap.
With the gap created, insert the opening or guitar picks into the gap and carefully slice through the adhesive. Move along the edges of the screen assembly, slicing through the adhesive to ensure it is fully separated from the device.
After separating the screen assembly, lift it off the device, taking care not to strain or damage the ribbon cables that are still connected to the motherboard. Carefully thread the ribbon cables through the frame of the device as you lift the screen assembly away.
If the adhesive on the screen assembly is still sticky and in good condition, it can be reused during reassembly. However, if the adhesive is damaged or not sticky, it should be replaced with double-sided tape to ensure a secure fit when reattaching the screen assembly.
Conclusion
Repairing a Nintendo Switch screen is a task that can be accomplished by following a detailed step-by-step guide. By utilizing the correct tools and adhering to the proper procedures, users can successfully replace their damaged screen and restore their gaming experience. It is crucial to exercise caution and handle delicate components with care.
Following the provided instructions ensures that each step is executed accurately, minimizing the risk of additional damage. By doing so, users can achieve a successful screen repair, saving both time and money. Attention to detail and a meticulous approach will yield the best results.
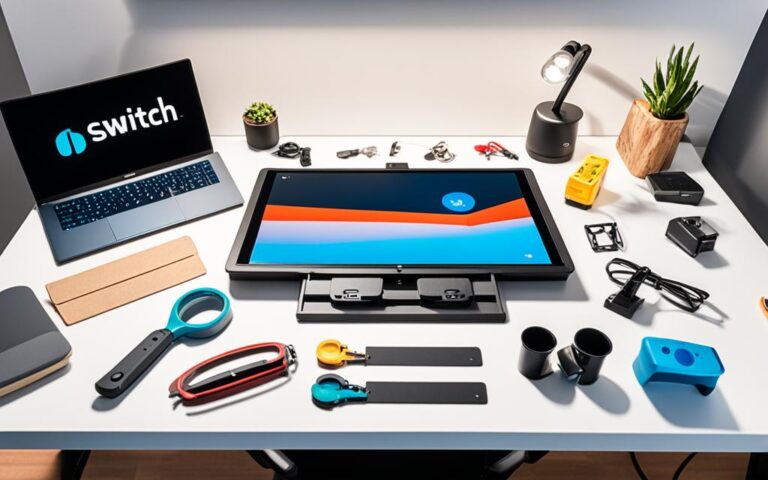
Remember, when undertaking a Nintendo Switch screen repair, it is essential to create a suitable workspace and gather all the necessary tools before beginning the process. By having everything readily available, users can work efficiently and avoid unnecessary delays.
In conclusion, by following the step-by-step guide for Nintendo Switch screen repair, users can confidently and effectively replace their damaged screens. With the right tools, attention to detail, and careful handling, a successful repair is within reach. Restore your gaming experience and get back to enjoying your Nintendo Switch with a fully functional screen!
FAQ
Before beginning a Nintendo Switch screen repair, what should I do?
It is important to ensure that the device is completely powered off. This can be done by holding down the small round button on the back of the Joy Con controller and sliding it upwards to remove it from the console.
What tools are needed for a Nintendo Switch screen repair?
Specific tools required include a Y00 screwdriver, a JIS 000 driver or an iFixit PH 000 driver, a spudger or opening tool, tweezers, and a suction cup.
How do I remove the rear panel for a Nintendo Switch screen repair?
To remove the rear panel, you need to remove screws and carefully lift off the panel. The screws are located on the top and bottom edges of the device, as well as on the sides.
How do I remove the microSD card reader and shield plate for a Nintendo Switch screen repair?
To remove the microSD card reader and shield plate, you need to remove screws and carefully disconnect the microSD card reader from the device.
How do I remove the heat sink and battery connector for a Nintendo Switch screen repair?
To remove the heat sink and battery connector, you need to remove screws and carefully disconnect the battery connector from the motherboard.
How do I disconnect and remove the LCD ribbon cables for a Nintendo Switch screen repair?
To disconnect and remove the LCD ribbon cables, you need to flip up the small locking flaps on the ZIF connectors and gently pull the ribbon cables out of their connectors on the motherboard.
How do I remove the screen assembly and adhesive for a Nintendo Switch screen repair?
To remove the screen assembly and adhesive, heat is applied to soften the adhesive holding the LCD panel to the digitizer, and then a suction cup is used to create a gap and insert opening picks to slice through the adhesive.
Can I reuse the adhesive when removing the screen assembly for a Nintendo Switch screen repair?
The adhesive can be reused if it is still sticky, otherwise, it should be replaced with double-sided tape.
How can I successfully repair my Nintendo Switch screen?
By using the right tools, following the proper procedures, and exercising caution, you can successfully replace your damaged screen.
The Nintendo Switch is a popular gaming console that may experience issues such as cracked screens, broken Joy-Cons, and other hardware problems. However, you…
The Nintendo Switch Dock is an essential component for connecting your Nintendo Switch console to your TV for an immersive gaming experience. However, you…
Welcome, UK enthusiasts, to our informative guide on crafting the ultimate Nintendo Switch Repair Workspace. Whether you’re a passionate gamer or a dedicated repair…