Samsung Galaxy Note 8 users often encounter charging circuit issues, which can be frustrating and hinder the device’s functionality. That’s why we’ve put together these expert tips to help you troubleshoot and repair the charging circuit on your Samsung Galaxy Note 8.
Whether you’re experiencing slow charging, intermittent charging, or no charging at all, our tips will guide you through the process of resolving these common issues. By following these step-by-step instructions, you can potentially save yourself the time and expense of taking your device to a repair center.
In this article, we’ll cover everything from disassembling the back glass to removing the internal metal plate and adhesive tape. We’ll also show you how to disconnect the connectors and screws, as well as remove the wireless charging module and charging port. Furthermore, we’ll provide troubleshootingtips to help you address common charging problems.
With our guidance and using proper safety precautions, you’ll be able to confidently tackle charging circuit repairs on your Samsung Galaxy Note 8. Let’s get started!
Disassembling the Back Glass
To access the charging circuit on the Samsung Galaxy Note 8, you need to remove the back glass. This can be done by following a few simple steps:
Step 1: Heating the Back Glass
Start by heating the back glass using a heating bag. This helps soften the adhesive and makes it easier to remove the glass. Take caution not to overheat the device to prevent any damage.
Step 2: Attaching a Suction Cup
Once the back glass is heated, attach a suction cup to the heated edge. The suction cup provides leverage and allows you to pull the glass away from the device.
Step 3: Using an Opening Pick
With the suction cup in place, gently insert an opening pick into the gap between the back glass and the screen module. Slowly slide the opening pick along the edges of the device to create a gap and loosen the adhesive holding the back glass.
Please note: It is important to follow the proper procedure and use safety equipment, such as gloves and eye protection, to avoid any damage or injury during the disassembly process.
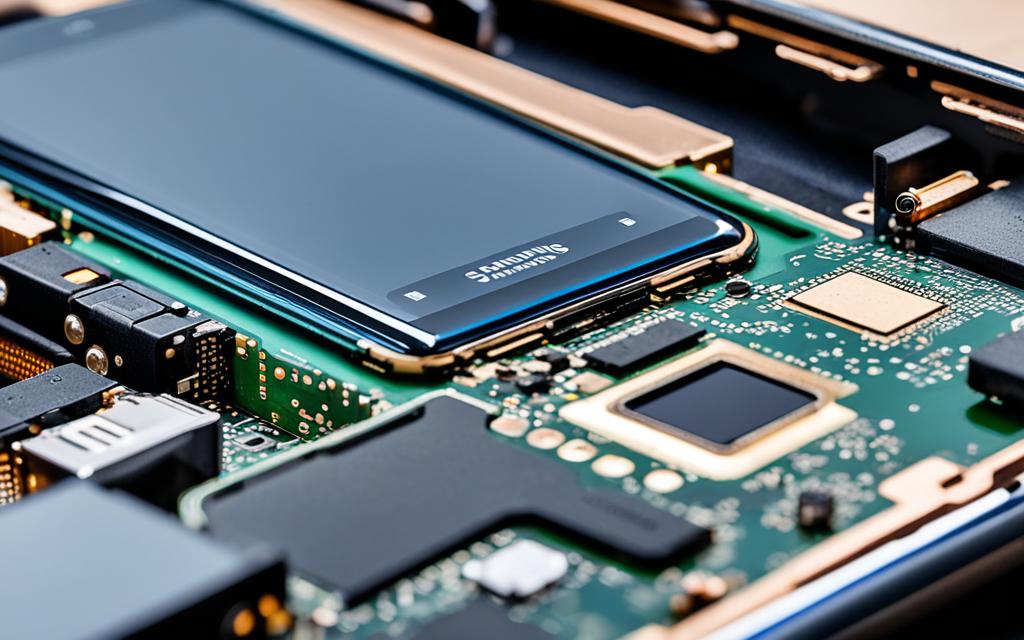
By carefully disassembling the back glass, you will gain access to the internal components, including the charging circuit, for further inspection and repair.
Removing the Internal Metal Plate and Adhesive Tape
Once you have successfully removed the back glass, the next step in repairing the charging circuit of your Samsung Galaxy Note 8 is to remove the internal metal plate and adhesive tape. These components play a crucial role in ensuring the proper functionality of the charging circuit.
Using a pair of tweezers, carefully lift the internal metal plate. It is important to handle it with care to avoid any damage. The metal plate acts as a protective shield and helps secure the charging circuit in place.
Similarly, the adhesive tape needs to be lifted gently. The adhesive tape provides structural support and keeps the various components of the charging circuit in position. Properly removing the adhesive tape ensures easy access to the charging circuit for repair or replacement.
When reassembling the device after the charging circuit repair, it is vital to use new adhesive tape and metal plate. This ensures a secure and stable connection, avoiding any potential issues with charging. Using high-quality adhesive tape and a well-functioning metal plate will guarantee the proper functioning of your Samsung Galaxy Note 8.
By carefully removing the internal metal plate and adhesive tape, you can proceed with repairing the charging circuit of your Samsung Galaxy Note 8. The next sections will guide you through the process of disconnecting the connectors and screws, removing the wireless charging module and charging port, and troubleshooting common charging circuit issues.
Disconnecting the Connectors and Screws
In order to repair the charging circuit on your Samsung Galaxy Note 8, it is necessary to disconnect the connectors and remove the screws that secure the circuit to the main board. This step is essential to gain access to the charging circuit and address any issues that may be affecting its functionality.
The charging circuit is linked to the main board through various connectors, including the NFC connector and UWB connector. These connectors play a crucial role in facilitating the transfer of power to the device. To disconnect the connectors, it is recommended to use an opening tool that allows for the safe removal of the connectors without causing any damage.
In addition to disconnecting the connectors, there are screws that need to be removed using a screwdriver. These screws secure the charging circuit to the main board and need to be carefully unscrewed to avoid any mishaps. It’s important to note that the locations of the connectors and screws may vary depending on the specific model of your Samsung Galaxy Note 8.
By disconnecting the connectors and removing the screws, you can successfully detach the charging circuit from the main board, making it easier to troubleshoot and address any underlying issues. This step is crucial in the overall repair process and should be performed with caution and precision to ensure the integrity of the device.
Step
Description
1
Locate the connectors and screws on the main board.
2
Use an opening tool to safely disconnect the connectors.
3
Use a screwdriver to carefully remove the screws.
4
Take note of the locations of the connectors and screws for reassembly.
By following these steps and using the appropriate tools, you can successfully disconnect the connectors and remove the screws, allowing for further troubleshooting of the charging circuit on your Samsung Galaxy Note 8.
Removing the Wireless Charging Module and Charging Port
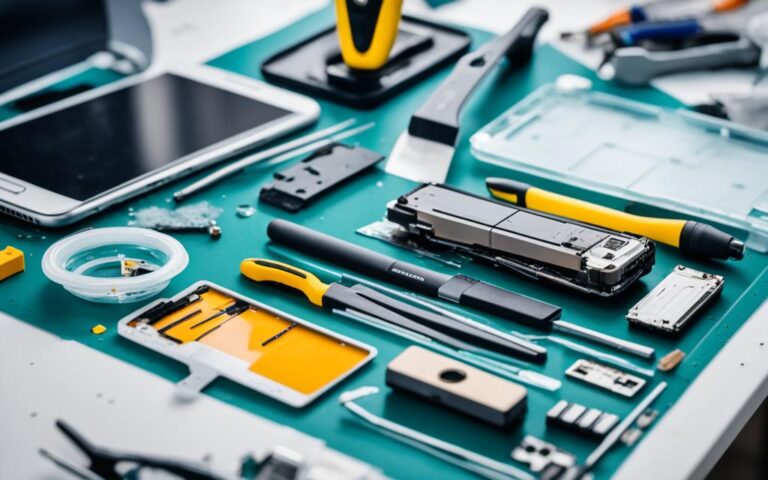
Once the connectors and screws are removed, you can proceed to detach the wireless charging module and charging port from the assembly. To ensure the best results and proper functionality, it is crucial to use high-quality screwdrivers and Samsung-authorized genuine parts when servicing the device.
Follow these steps to safely remove the wireless charging module and charging port:
Begin by locating the wireless charging module and charging port within the device.
Using the appropriate tools, carefully disconnect any cables or connectors attached to the wireless charging module and charging port.
Gently remove the wireless charging module and charging port from their respective positions.
Make sure to handle the components with care to avoid any damage.
It is important to note that the removal process may slightly differ depending on the device model. Always refer to the manufacturer’s guidelines or consult a professional if you are uncertain.
By following these steps and using the correct tools and parts, you can successfully remove the wireless charging module and charging port from your Samsung Galaxy Note 8.
Important Reminders:
When handling the wireless charging module and charging port, remember:
To work in a clean and well-lit environment to prevent accidental damage or misplaced components.
To exercise caution when disconnecting cables to avoid any unnecessary strain or damage.
To keep track of the screws and components you remove, ensuring their proper placement during reassembly.
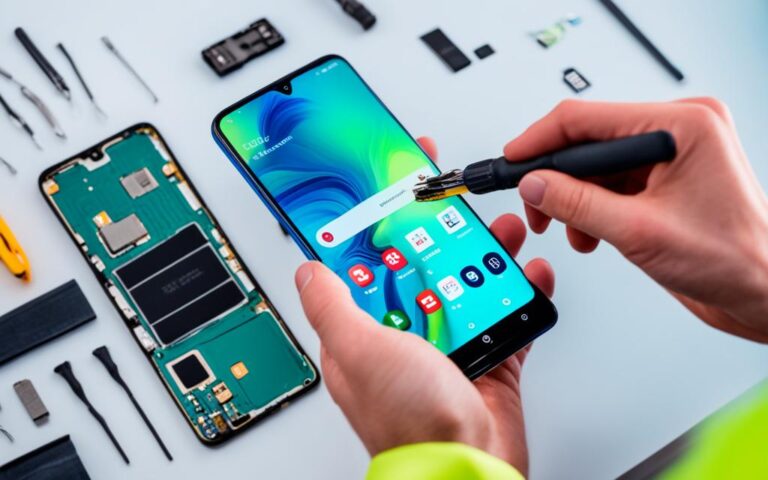
Troubleshooting Common Charging Circuit Issues
Aside from repairing the charging circuit, troubleshooting common charging problems is crucial to ensure optimal device performance. Some of the commonly encountered issues include a faulty cable, dirt or debris in the charging port, third-party apps interrupting charging, or the need for a software update.
One possible cause of charging problems is a faulty cable. Using an official charger can help alleviate this issue. Ensure that the cable is undamaged and securely connected to both the power source and the device. If you suspect a faulty cable, try using a different one to see if the problem persists.
Dirt or debris in the charging port can also hinder proper charging. Take a moment to inspect the charging port and remove any visible dirt or debris using a soft brush or a compressed air can. Ensure the device is turned off before attempting any cleaning.
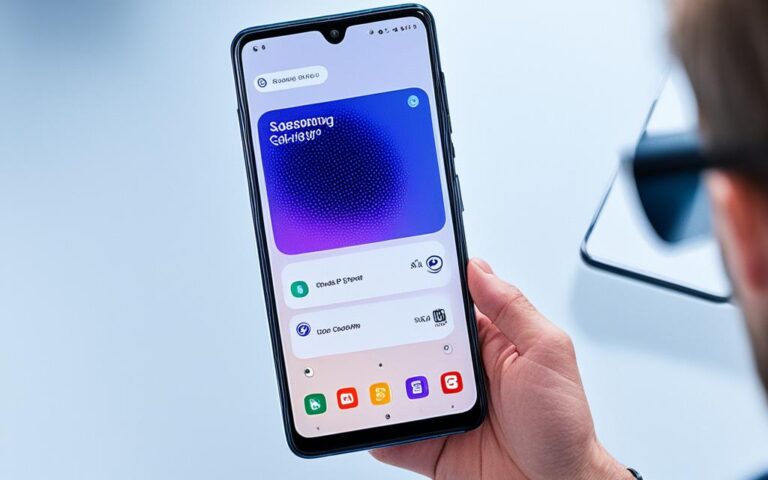
Third-party apps may also interfere with the charging process. To troubleshoot this, try charging the device in Safe Mode. Safe Mode disables third-party apps, allowing you to identify if one of them is causing the issue. If the device charges properly in Safe Mode, you can uninstall recently installed apps or perform a factory reset to resolve the problem.
In some cases, a software update may be required to address charging problems. Regularly check for and install software updates provided by Samsung to ensure that your device’s software is up to date. Software updates often include bug fixes and optimizations that can improve charging performance.
Remember, if you encounter charging issues, troubleshooting steps such as using an official charger, cleaning the charging port, checking for third-party app interference, and updating the software can help resolve the problem. In the table below, we summarize the common charging problems and their troubleshooting solutions.
Charging Problem
Troubleshooting Solution
Faulty cable
Try using an official charger or a different cable
Dirt or debris in the charging port
Clean the charging port with a soft brush or compressed air
Third-party apps interrupting charging
Charge the device in Safe Mode or uninstall recently installed apps
Need for a software update
Check for and install software updates provided by Samsung
Conclusion
Samsung Galaxy Note 8 charging circuit repair can be a complex task, but with the right tips and guidance, it is possible to resolve common charging issues. By following the steps outlined in this article, you can disassemble the device, remove the necessary components, and troubleshoot common charging problems.
It is important to use caution and follow proper procedures when attempting charging circuit repair on your Samsung Galaxy Note 8. Ensure that you have the necessary tools and equipment, and use high-quality parts to ensure the best repair results.
Remember, if you’re not confident in your repair skills, it’s always a good idea to seek professional assistance. These tips are meant to provide general guidance and should not replace expert advice or technical knowledge. With the right approach and attention to detail, you can restore the charging circuit functionality of your Samsung Galaxy Note 8 and enjoy uninterrupted charging once again.
FAQ
Can I repair the charging circuit on my Samsung Galaxy Note 8?
Yes, it is possible to repair the charging circuit on your Samsung Galaxy Note 8. By following the tips provided in this article, you can troubleshoot and fix common charging issues on your device.
How do I disassemble the back glass of my Samsung Galaxy Note 8?
To disassemble the back glass of your Samsung Galaxy Note 8, you can heat the back glass using a heating bag, attach a suction cup to the heated edge, and use an opening pick to create a gap between the back glass and screen module. It is important to follow the proper procedure and use safety equipment to avoid damage to the device.
What should I do to remove the internal metal plate and adhesive tape?
To remove the internal metal plate and adhesive tape, you can carefully lift these components using tweezers. When reassembling the device, it is recommended to use new adhesive and a metal plate to ensure proper functionality.
How can I safely disconnect the connectors and screws?
The connectors and screws that connect the charging circuit to the main board can be safely disconnected using an opening tool. It is important to note that the locations of the connectors and screws may vary depending on the device model.
How do I remove the wireless charging module and charging port?
To remove the wireless charging module and charging port, you can detach them from the assembly. It is crucial to use high-quality screwdrivers and Samsung-authorized genuine parts when servicing the device to ensure proper functionality.
What are some common charging circuit issues and how can I troubleshoot them?
Common charging circuit issues can include a faulty cable, dirt or debris in the charging port, third-party apps interrupting charging, or the need for a software update. You can troubleshoot these issues by using an official charger, cleaning the charging port, checking for water and moisture, rebooting the device, trying a wireless charger, and updating the software.
Can I fix charging circuit problems on my Samsung Galaxy Note 8 myself?
Yes, you can fix charging circuit problems on your Samsung Galaxy Note 8 yourself by following the steps outlined in this article. It is important to use caution, follow proper procedures, and use high-quality parts and equipment to ensure the best repair results.
If you’re experiencing difficulties with contactless payments on your Samsung Galaxy A71, it’s essential to address any NFC chip issues. NFC technology is a…
Welcome to our comprehensive guide on DIY screen repair techniques for the Samsung Galaxy Note 20 Ultra. If you’ve accidentally damaged your phone’s screen,…
Improve your Samsung Galaxy A50’s signal strength, ensuring a reliable network performance with antenna repairs. By replacing the old antenna flex with a new…
Are you experiencing issues with your Samsung Galaxy S8 Plus? The logic board, which is responsible for controlling the phone’s various functions, could be…