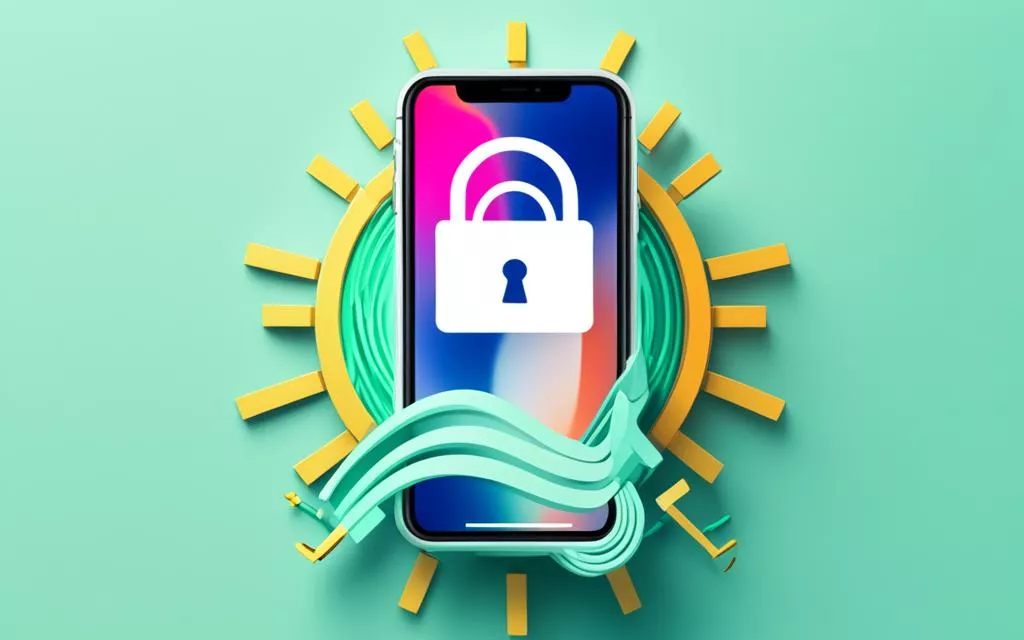
Are you faced with a disabled iPhone and worried about losing your important data? Don’t panic! In this article, we will explore methods to unlock a disabled iPhone without compromising your valuable data. With the right approach, you can regain access to your iPhone and preserve all your cherished files, photos, and documents.
When you enter an incorrect password too many times, your iPhone becomes disabled, urging you to connect to iTunes. But fear not, there are ways to overcome this obstacle without sacrificing your data. A related console issue also shows up in restoring ps5 after system crash, especially when compatibility, settings, or controller behaviour affect play.
In the following sections, we will address frequently asked questions about unlocking a disabled iPhone without losing data, and delve into step-by-step instructions for various methods, including the usage of WooTechy iDelock, iTunes or Finder, and iCloud.
By the end of this article, you will be equipped with all the necessary information to confidently restore your disabled iPhone without experiencing any data loss. So, let’s get started and reclaim access to your iPhone while keeping your precious data intact!
FAQs About Unlocking a Disabled iPhone Without Losing Data
If you’ve ever found yourself with a disabled iPhone, you may be wondering how to unlock it without losing any precious data. In this section, we will address some frequently asked questions regarding unlocking disabled iPhones while preserving your valuable information.
Q1: Can you unlock a disabled iPhone without losing data?
The good news is, yes, it is possible to unlock a disabled iPhone without losing any data if you have previously backed up your device. Through various methods, you can regain access to your iPhone while safeguarding your important files, photos, and settings.
Q2: How many times can I try before the iPhone gets disabled?
It’s important to note that the number of incorrect password attempts before an iPhone gets disabled increases with each try. Initially, you may have a few attempts before the device locks you out. However, repeated incorrect entries will progressively lengthen the disabled period. To avoid this inconvenience, it’s recommended to back up your iPhone regularly and choose a strong, memorable passcode.
Regularly creating backups of your iPhone not only ensures your data’s safety but also enables a smoother restoration process in the event of a disabled device. By regularly backing up your iPhone, you can easily recover your data without the risk of losing any valuable information.
Methods
Benefits
1. Using WooTechy iDelock
– Professional unlocking tool specifically designed to enable a disabled iPhone without data loss – Simple and user-friendly interface – Supports iOS 16
2. Using iTunes or Finder
– Reliable and widely used methods to restore a disabled iPhone without data loss – Allows for seamless recovery by following on-screen instructions
3. Via iCloud
– Convenient option to unlock a disabled iPhone remotely – Requires Apple ID and password – Data can be restored to the device after unlocking
Now that we’ve answered some common FAQs and highlighted the importance of backing up your iPhone regularly, let’s explore each method in detail in the upcoming sections.
Enable a Disabled iPhone Without Losing Data
Restoring a disabled iPhone without losing data is essential for preserving important information and returning your device to full functionality. This section will explore different methods that can enable a disabled iPhone without compromising data integrity.
Using WooTechy iDelock (iOS 16 Supported)
WooTechy iDelock is a professional unlocking tool that offers a reliable solution for enabling a disabled iPhone without data loss. With compatibility for iOS 16, this software ensures a seamless and efficient restoration process.
By iTunes or Finder
iTunes and Finder, trusted applications for managing Apple devices, can also be used to restore a disabled iPhone without causing data loss. By following the on-screen instructions, you can regain access to your device and retain your valuable data.
Via iCloud
iCloud, Apple’s cloud storage and synchronization service, provides another avenue for enabling a disabled iPhone without compromising data. By leveraging iCloud’s vast capabilities, you can unlock your device and restore it without fear of data loss.
To explore these methods further and choose the most suitable one for your needs, continue reading the corresponding sections in this article.
Unlock a Disabled iPhone Using WooTechy iDelock
If you find yourself with a disabled iPhone and want to unlock it without losing any data, WooTechy iDelock is the solution you need. This professional unlocking tool offers a convenient and efficient way to regain access to your device.
Follow these simple steps to unlock your disabled iPhone using WooTechy iDelock:
Launch WooTechy iDelock on your computer.
Select “Unlock Screen Passcode” from the main interface.
Connect your disabled iPhone to the computer using a USB cable.
Follow the on-screen instructions to put your iPhone into recovery mode.
Once the device is in recovery mode, WooTechy iDelock will begin the unlocking process.
Wait patiently for WooTechy iDelock to unlock your disabled iPhone.
By using WooTechy iDelock, you can bypass the “connect to iTunes” message and regain access to your iPhone without losing any of your valuable data. It is a reliable and user-friendly tool that ensures a successful unlocking process.
After unlocking your disabled iPhone using WooTechy iDelock, you can restore your previous backup to enable your device without any data loss.
Don’t let a disabled iPhone prevent you from accessing your important files and apps. Use WooTechy iDelock to unlock your device and preserve your data.
Testimonial
“WooTechy iDelock saved the day for me! My iPhone got disabled and I was worried about losing all my photos and personal data. Thanks to iDelock, I was able to unlock my device without any hassle and keep everything intact. Highly recommended!”
– Sarah Anderson, iPhone user
Unlocking a disabled iPhone has never been easier. Try WooTechy iDelock now and regain access to your device without the fear of data loss.
Benefits of WooTechy iDelock
Features
1. Swift unlocking process
1. Unlock screen passcode
2. Preserves existing data
2. Support for all iOS versions
3. User-friendly interface
3. Unlock Apple ID
4. Compatible with Mac and Windows
4. Bypass MDM activation lock
Unlock a Disabled iPhone Using iTunes or Finder
If you have a disabled iPhone and want to restore it without losing your valuable data, using iTunes or Finder is an effective solution. Follow the instructions below to unlock your disabled iPhone:
Connect your disabled iPhone to a computer with iTunes or Finder installed.
Put your iPhone into recovery mode. To do this, follow these steps:
On iPhone 8 or later models: Press and quickly release the Volume Up button, then press and quickly release the Volume Down button. Finally, press and hold the Side (or Top) button until the recovery mode screen appears.
On iPhone 7 or iPhone 7 Plus: Press and hold both the Side (or Top) button and the Volume Down button until the recovery mode screen appears.
On iPhone 6s and earlier models: Press and hold both the Home button and the Side (or Top) button until the recovery mode screen appears.
Once your iPhone is in recovery mode, a window should pop up on your computer with the option to restore the device.
Follow the on-screen instructions to restore your disabled iPhone. Please note that during the restoration process, your device will be erased to remove the disabled screen passcode.
Important: Although your device will be erased, you can restore it from a previous backup to avoid data loss. Ensure you have a recent backup of your iPhone through iTunes or Finder, so you can easily restore your data after the unlocking process.
“Unlocking a disabled iPhone using iTunes or Finder provides a reliable way to regain access to your device while preserving your valuable data.” – Apple Support
By following these instructions, you’ll be able to unlock your disabled iPhone using iTunes or Finder without the risk of losing any important information.
Pros
Cons
Efficient and reliable method
Data loss is possible if there is no recent backup
Allows you to restore your iPhone to full functionality
The device will be erased during the unlocking process
Compatible with both iTunes and Finder
Recovery mode may seem complicated for some users
Unlock a Disabled iPhone Using iCloud
If you need to unlock a disabled iPhone, iCloud can be a valuable tool. By following the instructions below, you can regain access to your device without losing any data.
Open icloud.com/find on your computer.
Sign in with your Apple ID used on the disabled iPhone.
Select the disabled iPhone and click “Erase.”
Confirm the action and enter your Apple ID and password.
After erasing the device, you can restore your previous backup to enable the disabled iPhone without any data loss.
This method offers a convenient solution for unlocking disabled iPhones. Follow the steps above and regain access to your device in no time.
Icloud.com/find
Apple ID
Instructions
Open icloud.com/find on your computer
Sign in with your Apple ID used on the disabled iPhone
Select the disabled iPhone and click “Erase”
Confirm the action and enter your Apple ID and password
Restore the previous backup after unlocking the disabled iPhone
Conclusion
Restoring a disabled iPhone without losing data is entirely possible through various reliable methods. Whether you choose to utilize WooTechy iDelock, iTunes/Finder, or iCloud, you can effectively unlock your disabled iPhone while preserving all your valuable data. To avoid the distress of data loss, it is crucial to regularly back up your iPhone to ensure seamless restoration in case of disabling.
WooTechy iDelock, a professional unlocking tool compatible with iOS 16, offers a straightforward solution. By following the simple instructions provided, you can unlock your disabled iPhone showing the “connect to iTunes” prompt without any fear of data loss. Additionally, iTunes/Finder and iCloud also serve as reliable options for restoring a disabled iPhone without compromising your cherished data. Just remember to follow the step-by-step guides available for each method.
Make data preservation a priority when unlocking your disabled iPhone. By regularly backing up your device, you can have peace of mind knowing that your crucial information remains secure and accessible. Whether you encounter an unfortunate disabling event or simply want to ensure data safety, following the instructions and methods mentioned in this article will help you unlock your disabled iPhone without any data loss.
FAQ
Can you unlock a disabled iPhone without losing data?
Yes, you can unlock a disabled iPhone without losing data if you have a previous backup of the device.
How many times can I try before the iPhone gets disabled?
The number of incorrect password attempts before the iPhone gets disabled increases with each attempt.
How can I restore a disabled iPhone without data loss?
There are several methods to restore a disabled iPhone without data loss, including using WooTechy iDelock, iTunes or Finder, and iCloud. Each method has its own set of instructions to follow.
What is WooTechy iDelock?
WooTechy iDelock is a professional unlocking tool that can enable a disabled iPhone without losing data. It is one of the methods you can use to restore a disabled iPhone without data loss.
How to unlock a disabled iPhone using WooTechy iDelock?
To unlock a disabled iPhone using WooTechy iDelock, you need to launch the software, select “Unlock Screen Passcode,” connect your device to the computer, and follow the on-screen instructions. WooTechy iDelock will then unlock the disabled iPhone showing “connect to iTunes.” After unlocking, you can restore the previous backup to enable the disabled iPhone without data loss.
How to unlock a disabled iPhone using iTunes or Finder?
To unlock a disabled iPhone using iTunes or Finder, you need to connect your disabled iPhone to a computer with iTunes or Finder installed, put your iPhone into recovery mode, and follow the on-screen instructions to restore the disabled iPhone. The device will be erased, but you can restore it from a backup to avoid data loss.
How to unlock a disabled iPhone using iCloud?
To unlock a disabled iPhone using iCloud, you need to open icloud.com/find on your computer, sign in with your Apple ID used on the disabled iPhone, select the disabled iPhone, click “Erase,” confirm the action, and enter your Apple ID and password. After unlocking, you can restore the previous backup to enable the disabled iPhone without data loss.
Users have reported experiencing overheating issues with the iPhone 11 Pro, particularly during tasks such as data transfer, charging, and normal use. Some have expressed concerns about the impact of overheating on battery life and overall device performance. This article will provide expert tips and strategies for managing overheating issues with iPhone 11 Pro repairs,…
Are you experiencing screen brightness issues on your iPhone? If so, you’re not alone. Many users have reported encountering screen brightness problems, including the iPhone XR and iPhone 11 Pro Max. These issues can disrupt your viewing experience and make it difficult to optimize display visibility. One common problem is that the brightness automatically reduces…
Are you facing screen issues with your iPhone 12 Pro? You’re not alone. Many users have reported common screen issues that affect the performance of their device. Don’t worry; there are simple solutions available to fix these problems and restore your iPhone 12 Pro’s screen functionality. In this article, we will explore the most common…
If you’re looking to restore your iPhone’s ringtone and vibration settings, you’ve come to the right place. In this article, we’ll guide you through the simple steps to get your iPhone back to its default ringtone and vibration settings. Whether you’ve accidentally changed your settings or experienced a glitch, we’ve got you covered. By accessing…
iPhone back glass repair and replacement have become common needs for many users. Cracked back glass not only affects the aesthetics of your device but also poses practical concerns such as water seepage, loss of wireless charging functionality, and the risk of cuts. That’s why it’s essential to be aware of the expert techniques available…
Few things are more frustrating than an unresponsive app in the middle of an important task. Whether you’re gaming, chatting, or working, a sudden freeze can disrupt your flow and test your patience. This issue affects various iPhone models, from the latest iPhone 15 to the compact iPhone SE. Thankfully, most cases are temporary glitches…