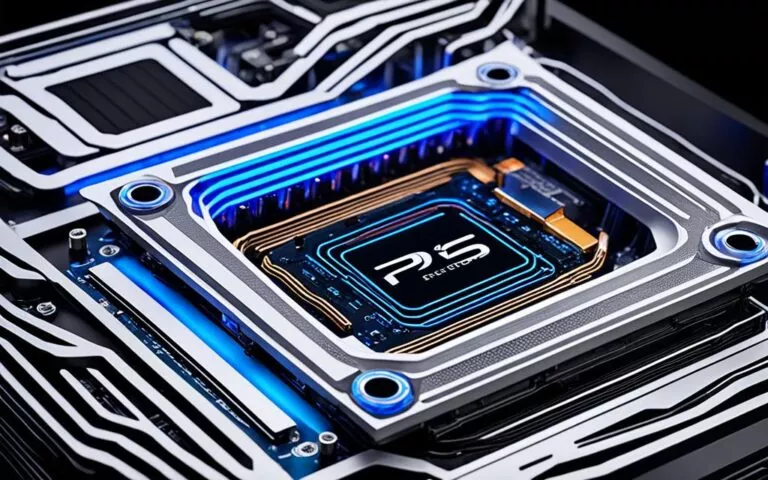
PlayStation 5 Power Supply Unit Replacement Tips
If you’re facing issues with the power supply unit (PSU) of your PlayStation 5 (PS5), don’t worry, you’re not alone. Many PS5 owners experience problems with their PSU and may need to replace it. But fret not, we’ve got you covered with these essential tips for a successful power supply unit replacement.
Whether you’re a tech-savvy enthusiast or a casual gamer, this article will guide you through the process step-by-step, ensuring a smooth and hassle-free replacement. By following these tips, you’ll have your PS5 up and running again in no time. A related console issue also shows up in playstation 5 hdmi port replacement, especially when compatibility, settings, or controller behaviour affect play.
Before diving into the replacement process, it’s crucial to gather the necessary tools and prepare your PS5. Make sure to turn off your console and unplug it from the power source. Find a flat surface to work on and ensure good lighting to identify the components easily. You’ll need tools like a flathead screwdriver, a TR8 Torx security driver, and a spudger for the replacement process.
Once you’re ready, proceed to the next section for a detailed guide on how to remove the stand and faceplates of your PS5.
Preparing for PSU Replacement
Before embarking on the power supply unit (PSU) replacement process for your PlayStation 5 (PS5), it is crucial to take the necessary precautions and prepare adequately. By following these steps, you can ensure a smooth and successful replacement.
Related:


Gather the Required Tools
Before beginning the replacement process, gather the following tools:
- A flathead screwdriver
- A TR8 Torx security driver
- A spudger
Having these tools at hand will help you navigate the various components and ensure a safe and efficient replacement process.
Turn Off and Unplug Your PS5
Make sure your PS5 is turned off and unplugged from the power source. This step is crucial for your safety and to prevent any electrical damage during the replacement process.
Select a Suitable Workspace
Work in a well-lit area that allows you to clearly see the components of your PS5. Having adequate lighting will help you identify and navigate the various parts more effectively.
Place Your PS5 on a Flat Surface
Choose a flat surface to ensure stability while you work on replacing the power supply unit. This will prevent any accidental damage from mishaps or the console toppling over.
Once you have gathered the necessary tools, turned off and unplugged your PS5, and prepared a suitable workspace, you are ready to proceed with the power supply unit replacement process. This preparation will help ensure a seamless replacement and protect your console from any unnecessary damage.
Removing the Stand and Faceplates
In order to replace the power supply unit (PSU) in your PS5, it is necessary to remove the stand and faceplates. The process may differ depending on the orientation of your console.
If your console is in its vertical orientation:
- Flip the console upside down.
- Locate the stand screw and use a coin or flathead screwdriver to remove it.
- Lift the stand straight up to detach it from the console.
If your console is in its horizontal orientation:
- Rest the console on its face.
- Lift the stand straight up to remove it.
Next, you’ll need to remove the faceplates:
- Lift up one corner of a faceplate.
- Slide the faceplate towards the bottom of the device to release it.
- Repeat the process for the other faceplate.
By following these steps, you can safely remove the stand and faceplates of your PS5 to proceed with the PSU replacement.
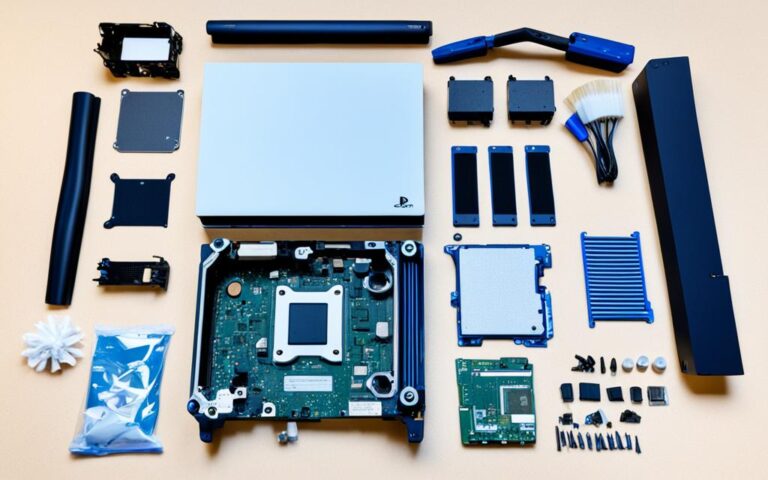
Opening the PS5 and Removing Components
With the faceplates removed, it’s time to open your PS5 and begin removing the necessary components for the power supply unit (PSU) replacement. Follow these steps to ensure a smooth process:
-
Step 1: Insert a spudger between the grille and the case to pry the grille away. Gently lift the grille to remove it. This will give you access to the internals of your PS5.
-
Step 2: Now, you will need a TR8 Torx security driver to remove the screws that secure the fan shroud. Carefully lift the fan shroud straight up and set it aside.
-
Step 3: Use the spudger to peel off the wire cover and disconnect the fan cable from the motherboard. Take your time to ensure a clean disconnection.
-
Step 4: Remove the SSD cover by lifting it up. Disconnect the optical drive cable as well, ensuring a secure disconnection.
-
Step 5: Take note of the tamper-evident sticker and remove it carefully. This will expose the screws that secure the case.
-
Step 6: To remove the case, use a T8 Torx driver to unscrew and remove the screws that secure it. Once the screws are removed, you can lift the case straight up to detach it from the PS5.
Following these steps will allow you to access and remove the necessary components to proceed with the PSU replacement.
PS5 Opening Image
Disconnecting Power Supply and Other Cables
Once the case is removed, you can disconnect the power supply and other cables. Follow these steps to ensure a safe disconnection:
- Use a spudger to press down on the locking tabs and disconnect the optical drive cable.
- Locate the power and eject button ribbon cable and disconnect it.
- Disconnect the LED ribbon cable by gently pressing on the locking tabs.
- Find the Wi-Fi antenna wires and detach them from the motherboard.
- Peel back any stickers and remove the cables from underneath.
- Next, use a T8 Torx driver to remove the screws securing the top shield plate.
- Lift the top shield plate off of the motherboard.
- Depress the locking tab on the USB board cable and disconnect it.
- Lift up the corner of the faceplate with the PlayStation logo and slide it towards the bottom to remove it.
- Remove the screws securing the case to the motherboard.
- Lift the case off to complete the disconnection process.
Disconnecting the power supply and other cables is an essential step in the power supply unit replacement process. Take your time and ensure that all connections are properly disconnected to avoid any damage to your PlayStation 5.
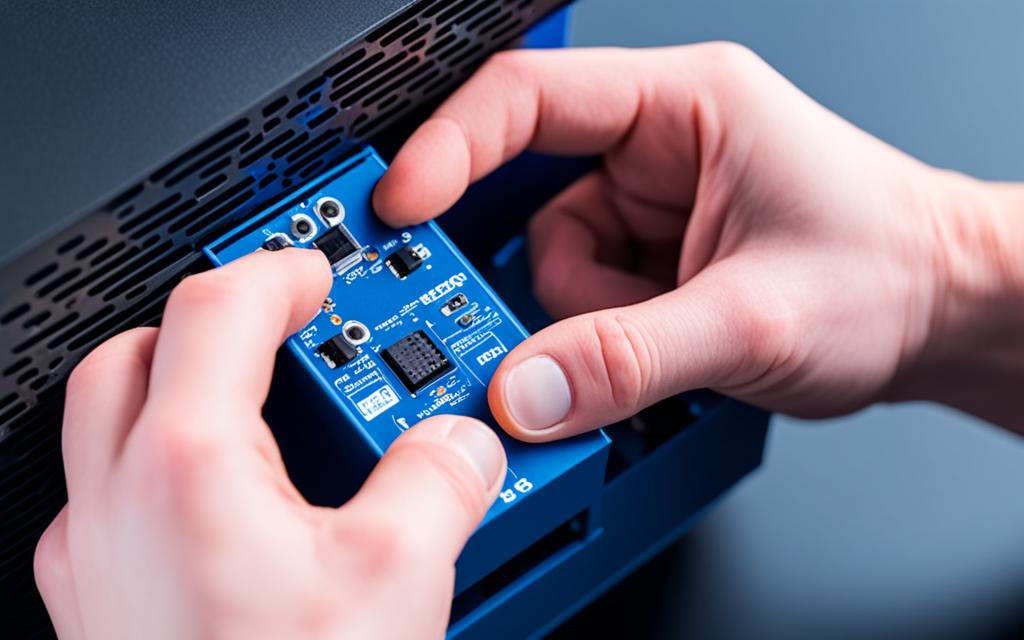
Replacing the Power Supply Unit
Now that you have successfully removed the old power supply unit (PSU) from your PlayStation 5 (PS5), it’s time to replace it with a new one. Follow these step-by-step instructions to ensure a proper PS5 power supply replacement and assembly.
Step 1: Align the New PSU
Take your new power supply unit (PSU) and align it with the motherboard in your PS5 console. Make sure the connections match up and the PSU is securely positioned.
Step 2: Connect the Cables
In reverse order of the disassembly process, begin connecting the necessary cables to the new PSU. Refer to your documentation or the marks on the cables themselves to ensure proper connections.
Note: Take care not to force any connections or use excessive pressure, as this may damage the cables or ports. If you encounter resistance, double-check the alignment and try again.
Step 3: Replace the Case and Screws
Once all the cables are securely connected, it’s time to put the PS5 back together. Carefully replace the case, making sure it sits flush with the console. Use the appropriate screws to fasten the case in place, following the reverse order of their removal.
Step 4: Reassemble Other Components
After securing the case, reattach any other components that were removed during the disassembly process. This may include the fan shroud, grille, and faceplates. Take your time to ensure everything is properly aligned and fitted.
Step 5: Verify Secure Connections
Before powering on your PS5, double-check all the connections to ensure they are secure. This will help prevent any issues or errors that may arise from loose connections.
Step 6: Power On and Test
With the power supply unit (PSU) successfully replaced and all components securely reassembled, plug in your PS5 and turn it on. Monitor the console for any abnormal behavior or error messages that may indicate further troubleshooting is needed.
| Benefits of Replacing PS5 Power Supply Unit | Precautions and Tips |
|---|---|
| 1. Restores proper power distribution 2. Fixes power-related issues or malfunctions 3. Enhances overall performance and longevity |
1. Ensure compatibility with your PS5 model 2. Use proper tools to avoid damaging components 3. Follow manufacturer guidelines for safe replacement 4. Consider professional assistance if unsure or uncomfortable |
By following these instructions and ensuring a successful power supply replacement, you can enjoy a fully operational PS5 console and smoother gaming experience. If you need any further assistance or encounter difficulties during the process, it is recommended to consult a professional repair service or seek guidance from the PlayStation community.
Conclusion
Undertaking a PS5 power supply replacement may initially appear overwhelming, but by adhering to these invaluable tips and meticulous instructions, you can successfully complete the process. Remember to approach the task calmly and attentively, ensuring that all connections are firmly secured. In the event that you encounter any complications or require further guidance, it is advisable to consult a professional repair service or seek assistance from the supportive PlayStation community.
FAQ
Is replacing the power supply unit (PSU) in my PlayStation 5 (PS5) a difficult task?
Replacing the PSU in your PS5 may seem daunting, but by following the step-by-step instructions provided, you can successfully complete the process.
What tools do I need to replace the PSU in my PS5?
To replace the PSU in your PS5, you will need a flathead screwdriver, a TR8 Torx security driver, and a spudger.
How do I prepare my PS5 for the power supply replacement?
Before starting the replacement process, ensure that your PS5 is turned off and unplugged from the power source. Place your console on a flat surface and gather the necessary tools.
How do I remove the stand and faceplates of my PS5?
To remove the stand, flip your vertical console upside down and remove the stand screw using a coin or flathead screwdriver. Lift the stand straight up to remove it. For faceplate removal, lift up the corner and slide the faceplate towards the bottom of the device. Repeat for the other faceplate.
How do I open my PS5 and remove the necessary components?
With the faceplates removed, insert a spudger to pry the grille away from the case and lift it to remove it. Use a TR8 Torx security driver to remove the screws securing the fan shroud, then lift the fan shroud straight up. Use a spudger to peel off the wire cover and disconnect the fan cable, followed by removing the SSD cover and disconnecting the optical drive cable. Remove the tamper-evident sticker and use a T8 Torx driver to remove the screws securing the case, then lift the case straight up to remove it.
How do I disconnect the power supply and other cables from my PS5?
After removing the case, use a spudger to press down on the locking tabs and disconnect the optical drive cable, power and eject button ribbon cable, LED ribbon cable, and Wi-Fi antenna wires. Peel back the stickers and remove the cables from underneath. Use a T8 Torx driver to remove the screws securing the top shield plate and lift the plate off of the motherboard. Depress the locking tab on the USB board cable and disconnect it. Lift up the corner of the faceplate with the PlayStation logo and slide it towards the bottom to remove it. Remove the screws securing the case to the motherboard and lift the case off.
How do I replace the power supply unit in my PS5?
After removing the old PSU, align the new one with the motherboard and connect all the cables in reverse order. Replace the case, screws, and other components in reverse order as well, ensuring that all connections are secure and the console is properly reassembled.
What should I do if I encounter any issues during the power supply replacement?
If you encounter any issues or need further assistance, it is recommended to consult a professional repair service or reach out to the PlayStation community for help.