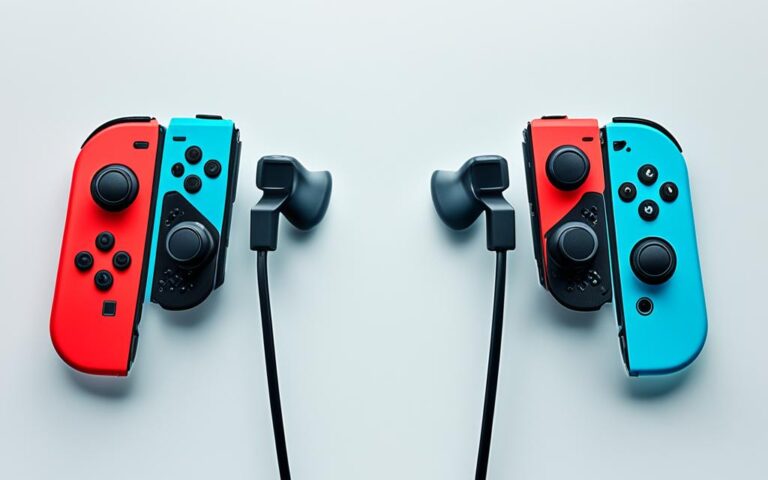
If you’re experiencing issues with your Nintendo Switch buttons, don’t fret! With a little DIY know-how, you can fix your console and get back to gaming in no time. Whether you’re dealing with sticky buttons, unresponsive controls, or completely broken buttons, this guide will walk you through the process of button replacement.
Why spend money on costly repairs or a new console when you can take matters into your own hands? By following these step-by-step instructions, you can save money and prolong the lifespan of your beloved Nintendo Switch.
In this guide, you’ll learn how to remove the back casing, detach the battery and motherboard, replace the buttons, and reassemble your Nintendo Switch. No technical expertise is required – just a few simple tools and a gentle touch.
So, let’s dive in and fix those broken buttons together. You’ll be back to gaming in less time than it takes to defeat the final boss!
Removing the Back Casing and Battery
To replace the buttons on your Nintendo Switch, the first step is to remove the back casing and battery. This will allow you to gain access to the internal components and disconnect them safely.
Follow these steps to remove the back casing and battery:
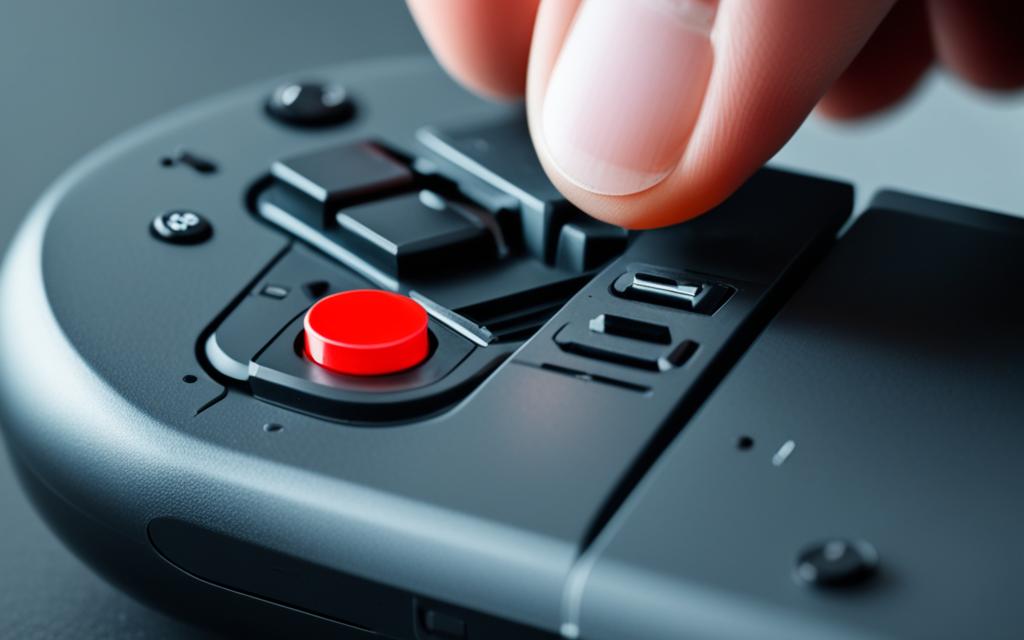
Using a Y00 screwdriver, remove the four screws on the back casing of the Joy-Con.
Insert a plastic opening tool or pick to release the back plate, carefully separating it from the rest of the device.
Open the Joy-Con towards the rail side, taking care not to damage the fragile ribbon cables.
Use a spudger or plastic opening tool to release the battery from the inner casing by prying downwards.
Finally, disconnect the battery cord from the motherboard.
It is crucial to be cautious and gentle during this process to avoid causing any damage to the components and ensuring a successful repair. Take your time and make sure to follow each step carefully.
Here is an image below highlighting the removal of the back casing and battery:
Tools Required for Removing the Back Casing and Battery
Tool
Description
Y00 screwdriver
A screwdriver specifically designed for small electronics, perfect for removing the screws on the back casing.
Plastic opening tool or pick
Used to release the back plate and separate it from the Joy-Con.
Spudger or plastic opening tool
Helps in prying downwards and releasing the battery from the inner casing.
With the back casing and battery removed, you are now ready to proceed to the next step of the button replacement process, which involves removing the motherboard and other components.
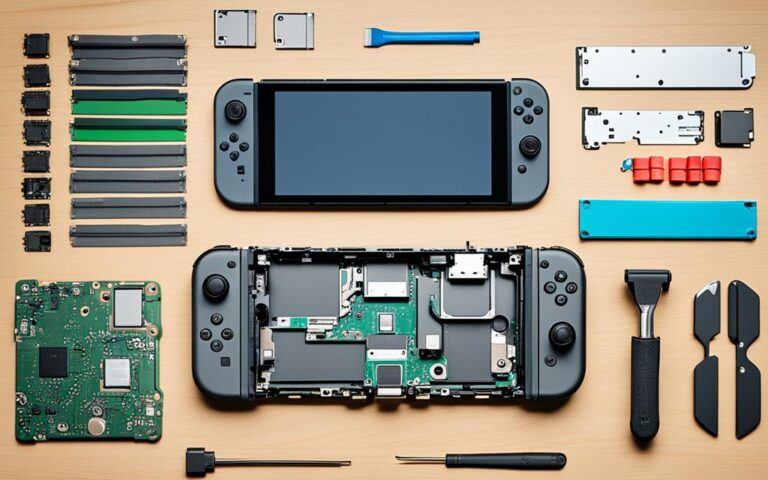
Removing the Motherboard
When replacing the buttons on your Nintendo Switch, removing the motherboard is a crucial step. Follow these instructions carefully to safely disconnect the ribbon cables and remove the motherboard:
Begin by using a Phillips #2 screwdriver to remove the screws holding the inner casing in place.
Open up the inner casing, ensuring you are cautious of the fragile ribbon cable.
Lift up the clasps that are holding down the ribbon cables connected to the motherboard. Gently pull the ribbon cables out to disconnect them.
Next, unscrew the screws that are connecting the analog stick to the motherboard.
Carefully lift the analog stick out, taking care not to damage any components.
Finally, remove the screws that are holding the motherboard in place, and lift it out along with the rumble pack.
Take your time during this process to avoid any accidental damage. Once the motherboard is successfully removed, you can proceed to replace the buttons on your Nintendo Switch.
Visual Guide:
Refer to the following table for a visual representation of the steps involved in removing the motherboard:
Step
Description
Image
1
Use a Phillips #2 screwdriver to remove the screws holding the inner casing.
2
Open up the inner casing, being cautious of the fragile ribbon cable.
3
Lift up the clasps holding down the ribbon cables connected to the motherboard. Gently pull them out to disconnect.
4
Unscrew the screws connecting the analog stick to the motherboard.
5
Carefully lift the analog stick out, taking care not to damage any components.
6
Remove the screws holding the motherboard and lift it out along with the rumble pack.
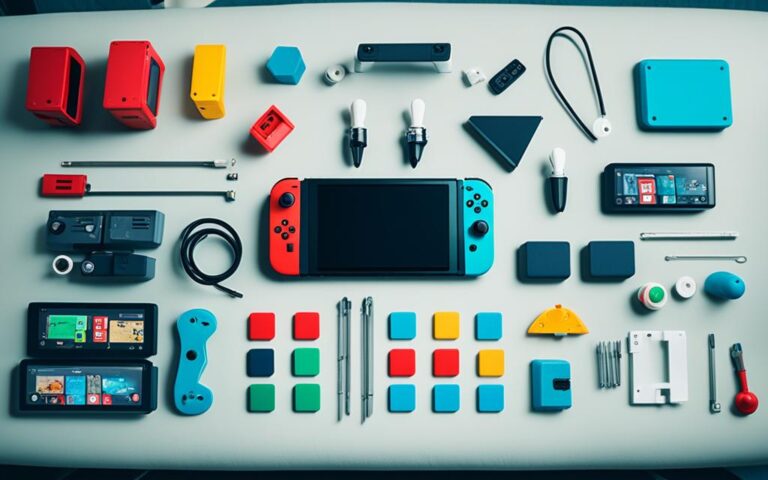
Removing and Replacing the Buttons
When it comes to fixing your Nintendo Switch’s broken buttons, the process of removing and replacing them requires careful attention to detail. By following these steps, you can ensure a successful button replacement without causing any damage to the device.
Step 1: Gather the Necessary Tools
Before you begin, make sure you have a Phillips #2 screwdriver, tweezers, and new buttons ready. These tools will help you remove the old buttons and properly align the new ones.
Step 2: Removing the Buttons
Start by using the Phillips #2 screwdriver to remove the screws holding the minus button and L button in place. Keep these screws in a safe place so that you can reattach them later.
Next, remove the rubber casings that cover the buttons. Take your time and be gentle to avoid causing any unnecessary damage.
Using the tweezers, delicately remove the old buttons. Pay close attention to their orientation, as this will ensure that the new buttons are properly aligned.
Step 3: Placing the New Buttons
Once the old buttons have been removed, it’s time to insert the new ones. Carefully position the new buttons in the proper alignment, making sure that the notches on the buttons match up with the corresponding slots in the controller.
Take a moment to visually inspect the alignment before proceeding to the next step. This will help ensure that the buttons are correctly positioned and will function as intended.
Step 4: Reassembling the Controller
With the new buttons in place, it’s time to reassemble the controller. Follow the previous sections of this article to reverse the disassembly process and put everything back together.
Remember to be cautious and take your time when screwing the controller back together. Improper screwing can result in a loose or unresponsive button. Test the buttons to ensure they are functioning properly before fully securing the device.
You have successfully removed and replaced the buttons on your Nintendo Switch! Enjoy your console with fully functional buttons once again.
Step
Description
Step 1
Gather the necessary tools: Phillips #2 screwdriver, tweezers, and new buttons.
Step 2
Remove the screws holding the old buttons in place. Take off the rubber casings covering the buttons. Carefully remove the old buttons using tweezers.
Step 3
Place the new buttons in proper alignment, ensuring the notches are properly lined up with the controller slots.
Step 4
Reassemble the controller by following the previous sections of this article in reverse order. Test the buttons for proper functionality.
Reassembling the Nintendo Switch
To reassemble the device, carefully follow the instructions in reverse order. The proper reassembly of the Nintendo Switch is crucial to ensure its functionality. Avoid rushing through this step and take your time to ensure everything is securely put back together.
Start by cautiously screwing the motherboard back into place. It is important to strike a balance between securely fastening the screws and avoiding overtightening, which can affect button responsiveness. Ensure the screws are tightened just enough to hold the motherboard in place, but not so tight that it puts excessive pressure on the buttons.
Once the motherboard is securely in place, it’s time to test the buttons. Press each button on the Joy-Con to verify their functionality. Take note of any buttons that feel unresponsive or spongy, as this may indicate a faulty installation. If necessary, disassemble the device again and reseat the buttons properly.
After testing the buttons, proceed with fully securing the device by carefully reattaching the back casing. Align the casing properly and make sure to engage all the retaining clips. Double-check that no cables or components are trapped or pinched during this process.
Once the back casing is securely in place, give the Nintendo Switch a final inspection. Check for any visible gaps or misalignments. Make sure all buttons and ports are accessible and functioning correctly.
Common Mistakes to Avoid:
Rushing through the reassembly process, which can lead to missed steps or improper component placement.
Overtightening the screws, potentially damaging the motherboard or affecting button functionality.
Not testing the buttons after reassembly, resulting in a faulty repair.
Forgetting to check for gaps or misalignments in the back casing, which may affect the overall stability of the device.
Remember, taking your time and being extra cautious during the reassembling process of your Nintendo Switch is crucial for a successful repair. Properly screwing the motherboard and testing the buttons are essential steps to ensure the functionality and longevity of your console.
Now that you’ve successfully reassembled your Nintendo Switch, it’s time to enjoy your fully functional device with its fresh set of buttons!
Conclusion
By following these step-by-step instructions, you can successfully replace the buttons on your Nintendo Switch, providing a cost-effective solution for a DIY console repair. Not only will this save you money, but it will also extend the lifespan of your beloved gaming device.
Remember, during the button replacement process, it is crucial to exercise caution and care to avoid any accidental damage to other components. Take your time, follow the instructions precisely, and ensure proper alignment when inserting the new buttons.
Once you have completed the button replacement and reassembled your Nintendo Switch, you can enjoy a fully functional console with fresh, responsive buttons. Whether you’re smashing opponents in your favorite game or playing casually with friends, the successful button replacement will enhance your gaming experience for hours of uninterrupted fun.
FAQ
What do I need to do to replace the buttons on my Nintendo Switch?
To replace the buttons on your Nintendo Switch, you will need to follow a step-by-step process. This includes removing the back casing of the Joy-Con, disconnecting the battery, motherboard, and rumble pack, removing the old buttons, and inserting the new ones. Finally, you will need to reassemble the device. It is important to be cautious during the process to avoid damaging any components.
How do I remove the back casing and battery of the Joy-Con?
Start by removing the four screws on the back casing using a Y00 screwdriver. Then, use a plastic opening tool or pick to release the back plate. Open the Joy-Con towards the rail side, being careful with the fragile ribbon cables. Use a spudger or plastic opening tool to release the battery from the inner casing by prying downwards. Lastly, disconnect the battery cord from the motherboard.
How do I remove the motherboard from the Joy-Con?
Use a Phillips #2 screwdriver to remove the screws holding the inner casing in place. Open up the inner casing, being cautious of the fragile ribbon cable. Lift up the clasps holding down the ribbon cables connected to the motherboard and gently pull them out. Unscrew the screws connecting the analog stick to the motherboard and carefully lift the analog stick out. Remove the screws holding the motherboard and lift it out along with the rumble pack.
How do I remove and replace the buttons on my Nintendo Switch?
Use a Phillips #2 screwdriver to remove the screws holding the minus button and L button in place. Remove the rubber casings covering the buttons. Use tweezers to remove the old buttons, being mindful of their orientation. Carefully place the new buttons in the proper alignment, ensuring the notches are properly lined up.
What should I consider when reassembling my Nintendo Switch?
To reassemble the device, follow the instructions in reverse order. Be cautious when screwing the motherboard back into place to avoid it being too tight and affecting button responsiveness. Test the buttons to ensure they are functioning properly before fully securing the device.
Can I replace the buttons on my Nintendo Switch myself?
Yes, replacing the buttons on your Nintendo Switch is a DIY repair that can save you money and extend the lifespan of your console. Just make sure to be careful during the process to avoid damaging any components.
If your Nintendo Switch console is experiencing issues with charging, it can be frustrating and limit your ability to enjoy portable gaming. There are…
The Nintendo Switch is a popular gaming console that requires proper protection to ensure its longevity. This article will provide you with expert tips…